Contents
- 1 Materials Needed to Build a Cabin Deck
- 2 Step 1: Planning & Measuring Your Deck
- 3 Step 2: Build a Solid Foundation
- 4 Step 3: Installing Deck Boards & Railings
- 5 Deck Maintenance Tips for Longevity
- 6 FAQ
- 6.0.1 How much does a DIY cabin deck cost per square foot in the U.S.?
- 6.0.2 Can my DIY cabin deck hold a hot tub or will it crash through?
- 6.0.3 How long does it actually take to build a small cabin deck by myself?
- 6.0.4 Is a freestanding cabin deck actually better than bolting it to the cabin?
- 6.0.5 Can I build a cabin deck on a slope without grading the whole hill?
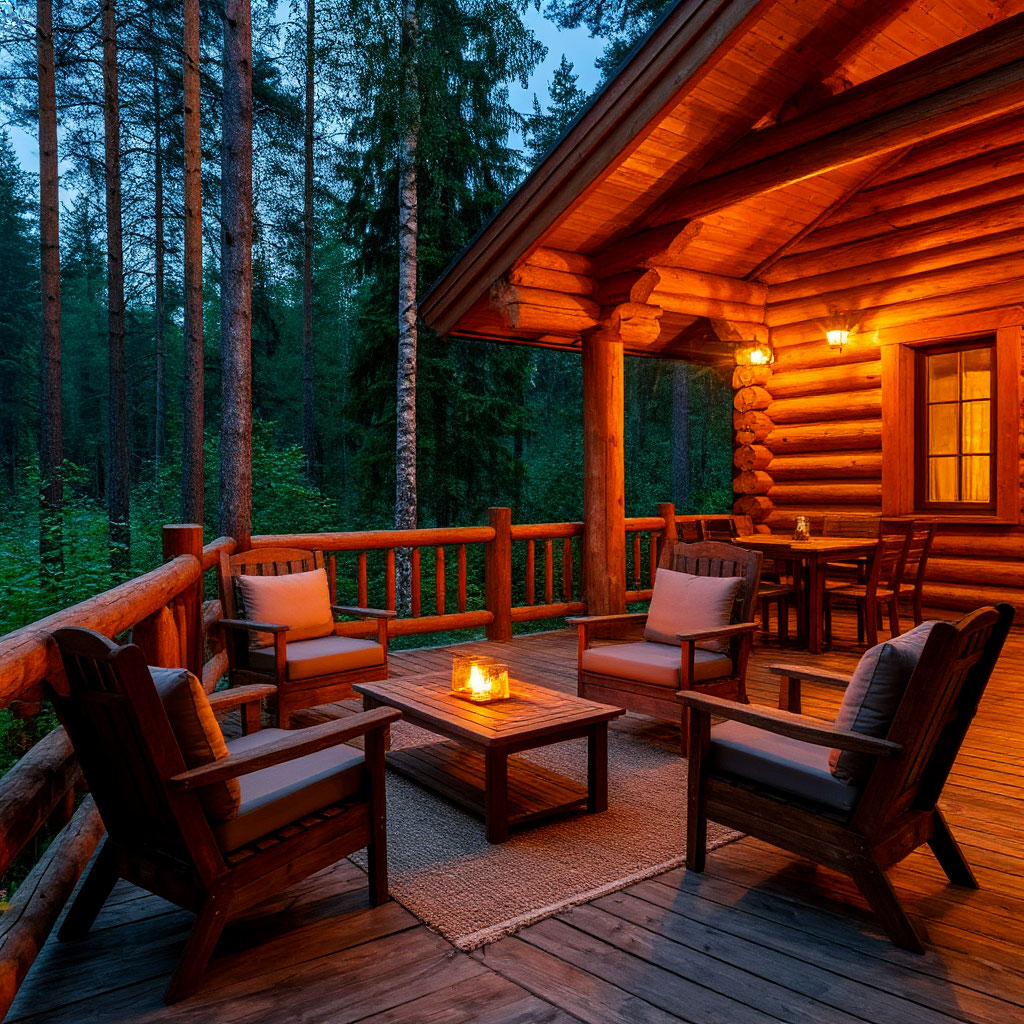
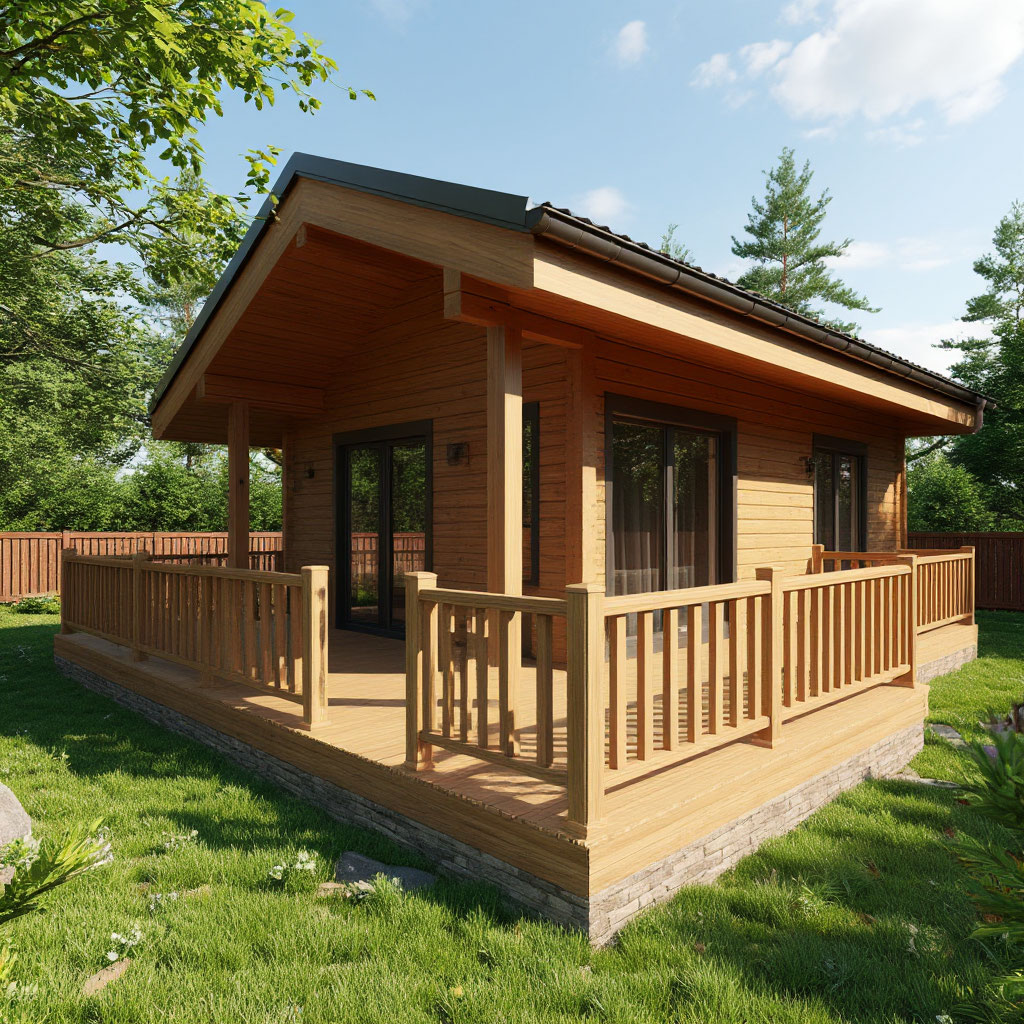
Dreaming of a cozy cabin deck where you can relax and enjoy the outdoors? Building your own deck doesn’t have to be complicated or expensive. With the right approach, you can create a durable, stylish space perfect for relaxing or entertaining. Whether you’re figuring out how to build a small deck or looking for budget-friendly ideas, we’ll cover everything from choosing the best wood to clever tricks for building on the cheap—no special skills required. Grab your tools and turn your dream into reality, one simple step at a time.
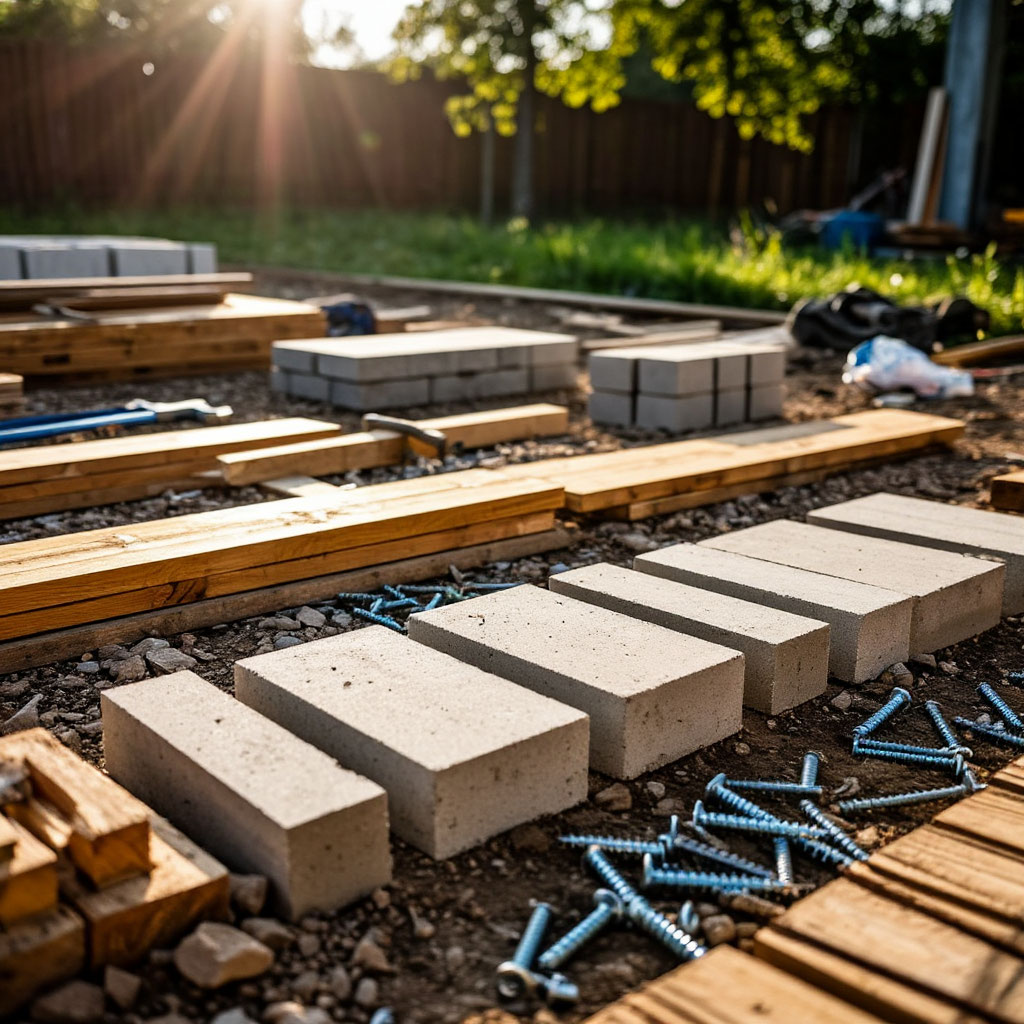
Materials Needed to Build a Cabin Deck
Building a cabin deck is one of those projects that looks intimidating until you break it down. What’s the trick? Using the right materials from the start. Whether you’re working from DIY deck plans or improvising your own cabin deck ideas, having the right materials is crucial. Let’s take a look at everything you’ll need to build a strong, stylish, and durable cabin deck without blowing your budget on cheap deck building mistakes.
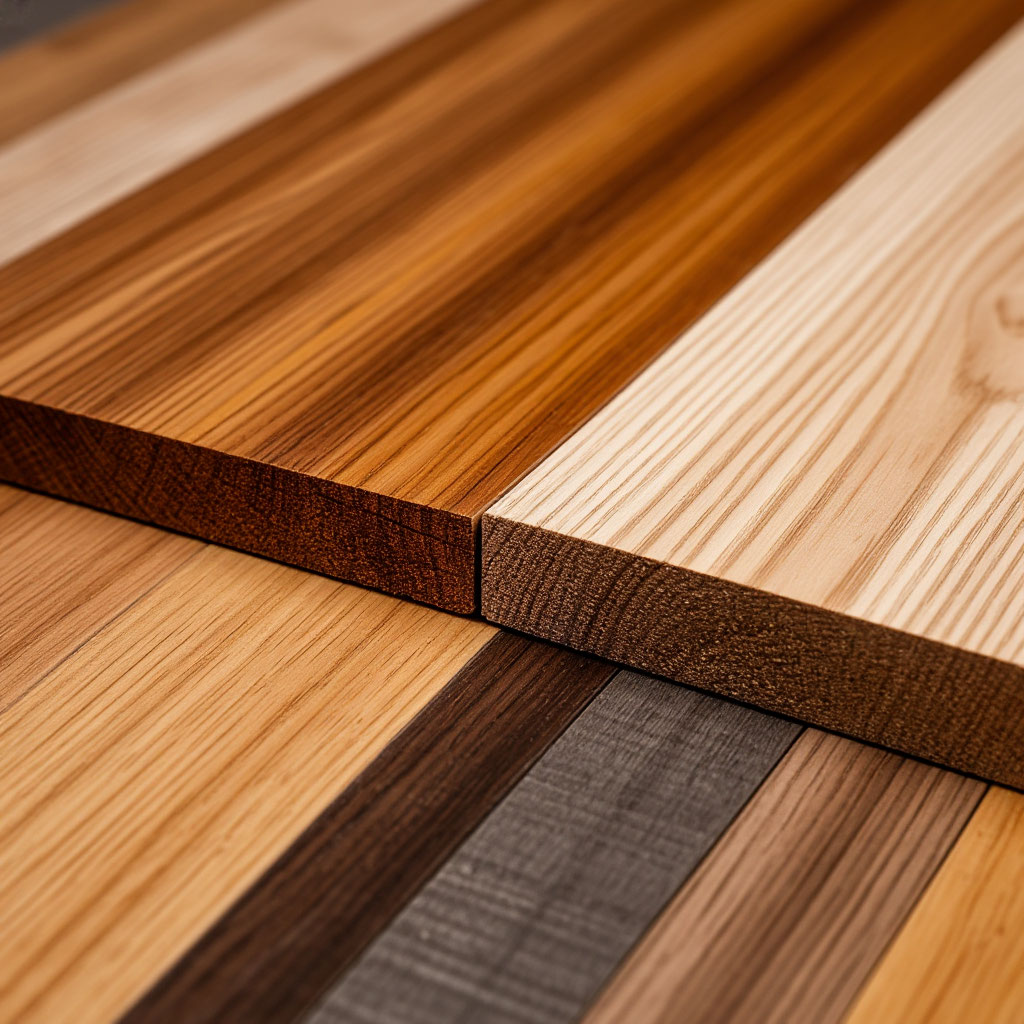
Choosing the Backbone of Your Deck: Lumber and Framing
The foundation of any great deck starts with quality framing materials. For most small deck projects, pressure-treated pine is the workhorse – it’s affordable, readily available, and resistant to rot and insects. If you’re wondering about the best wood for a cabin deck that combines cost and durability, this is it.
But if you’re willing to spend a little more, cedar and redwood are naturally resistant to moisture and rot, and they age beautifully. Composite decking is another option, costing more upfront but requiring little to no maintenance over time. Just keep in mind that composites can get hot in direct sunlight and may not have the same rustic charm as real wood.
For a standard small deck (say, 10’ x 12’), you’ll need:
- Joists and beams: 2×8 or 2×10 pressure-treated lumber for the frame.
- Deck boards: 5/4×6 or 2×6 boards (pressure-treated, cedar, or composite).
- Concrete footings: at least 12 inches in diameter for stability.
- Gravel: for drainage under the footings.
Hardware and fasteners: Don’t skimp here
Nothing ruins a deck faster than rusty nails or wobbly joints. Galvanized or stainless steel screws are a must — they won’t corrode like regular nails and will hold up better over time. For extra strength, use joist hangers and metal brackets on all framing joints.
If you’re attaching the deck to your cabin, you’ll need cross beams secured with lag bolts or structural screws. And don’t forget the post caps — they keep the support posts from sitting directly on the concrete, which helps prevent rot.

Tools You’ll Actually Use
You don’t need a contractor’s shop, but a few key tools will save you a lot of headaches:
- Circular saw or miter saw: For clean, straight cuts.
- Drill and screwdriver combo: Pre-drilling holes prevents the wood from splitting.
- Level and tape measure: Because eyeballing never works.
- Chalk line and speed square: For marking straight lines and angles.
- Post hole digger or auger: If you’re installing posts in the ground.
Finishing touches: Railings, stain, and extras
Railings aren’t just for safety — they can completely change the look of your deck. Wooden balusters add a classic cottage feel, while metal or cable railings offer a more modern vibe. If you’re looking for cheap deck building hacks, pre-made railing kits can save you time.
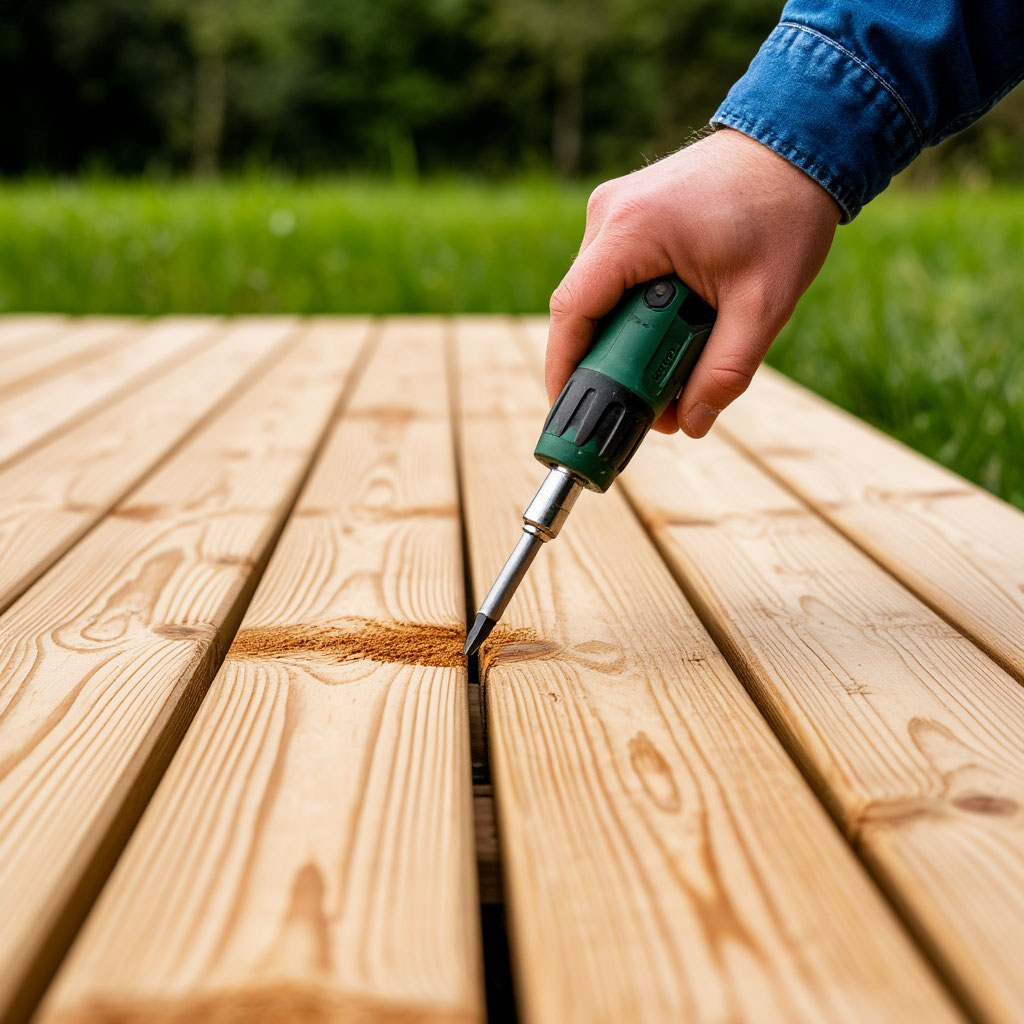
Once your deck is built, protect it with a quality stain or sealer. Clear sealers bring out the natural grain of the wood, while solid stains add color and extra UV protection. If you want recessed lighting, solar post caps are an easy, cord-free solution.
Pro tip: Buy 10-15% more materials than you think you’ll need. Warped boards, measurement errors, and last-minute design changes happen to everyone.
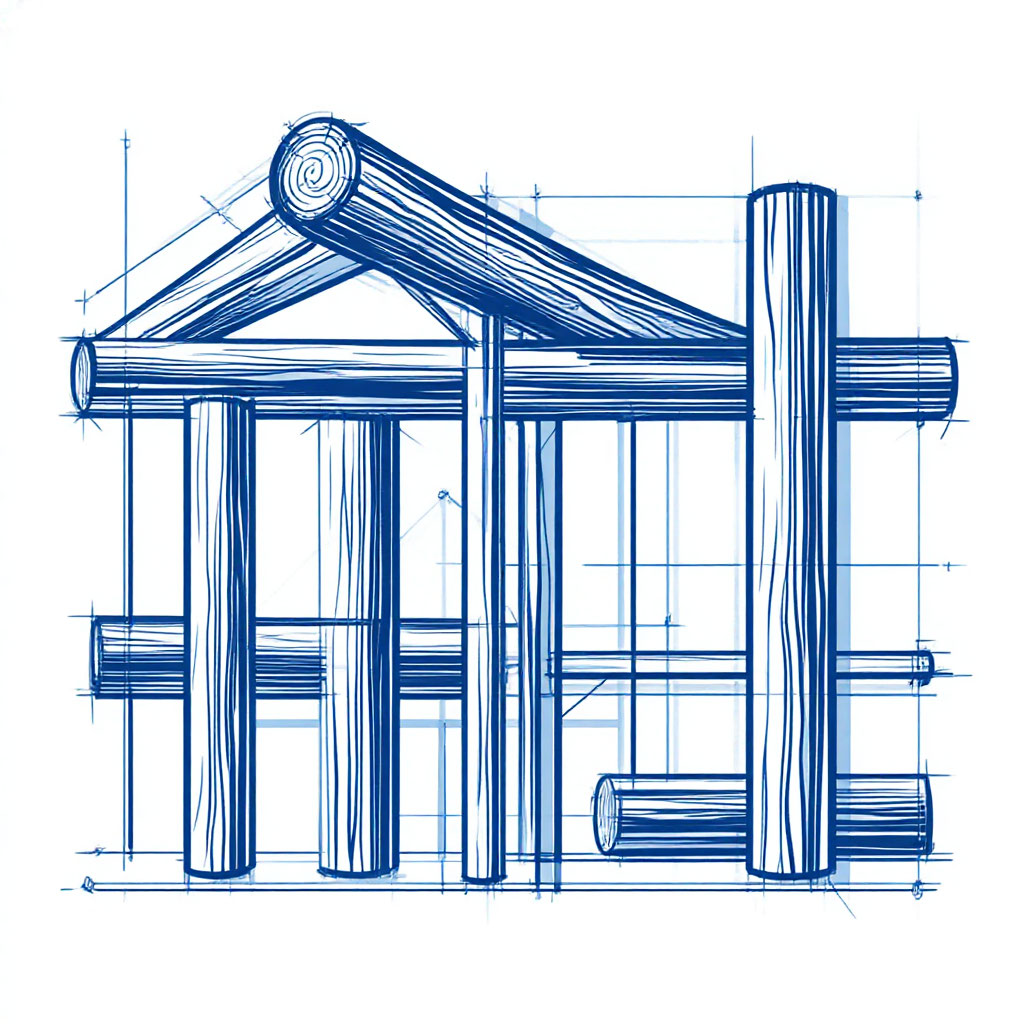
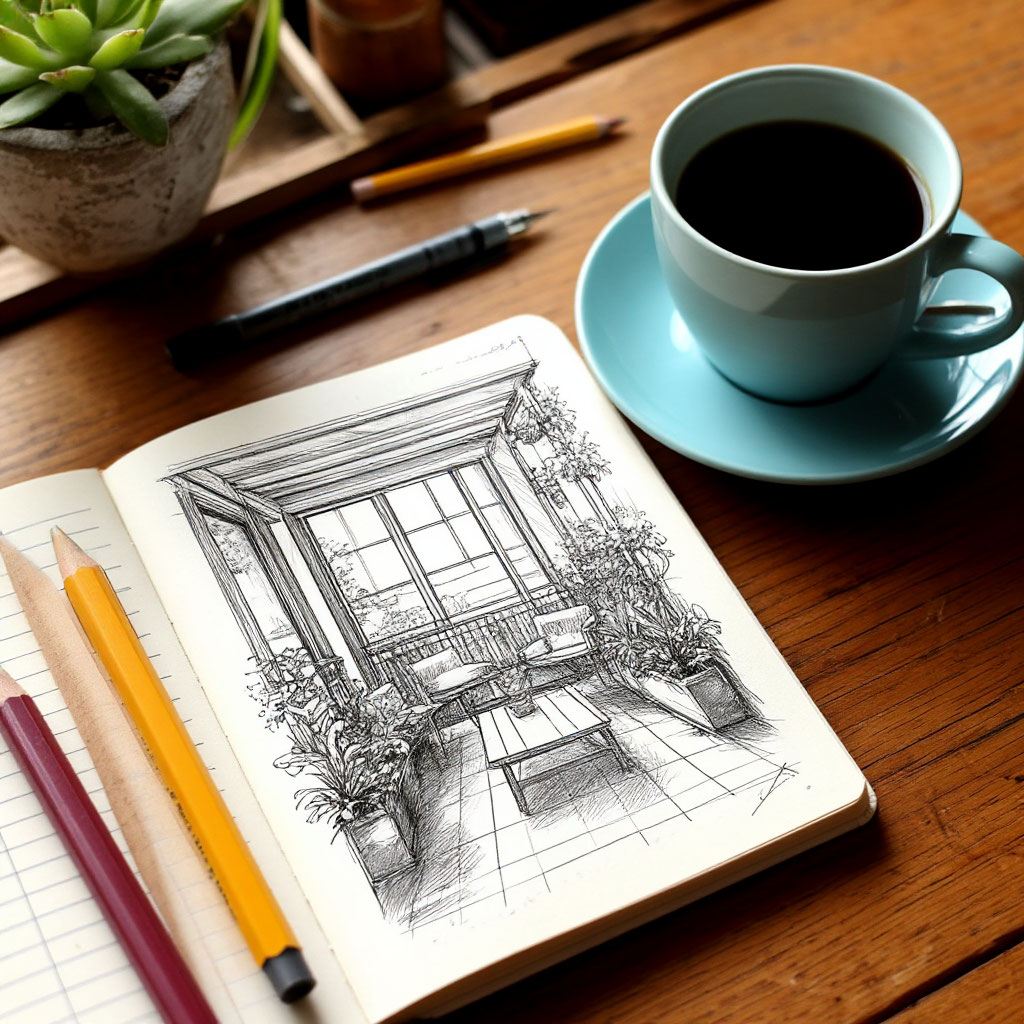
Step 1: Planning & Measuring Your Deck
Building a cabana deck starts long before the first nail is driven. A little time spent planning can save you headaches like an uneven foundation or running out of materials mid-project. Whether you’re working from DIY deck plans or drawing your own design, these steps will help you build a cabana deck that’s both functional and beautiful.

Check Local Codes and Get Permits
Before you get carried away with cabana deck ideas, check your local building codes. Some areas require permits for decks of a certain height or size, and there may be rules about how close you can build to property lines. Skipping this step could mean tearing down your hard work later—no one wants that.
If you’re going the cheap deck route, make it low (under 30 inches) to avoid the need for railings in many places. A small deck will often fall under less stringent regulations, making the approval process smoother.
Determining the Size and Layout
How much space do you really need? A deck big enough for a couple of chairs and a small table may only need an 8×10 spot. If you’re dreaming of an outdoor dining or lounging area, a 12×16 spot may be more appropriate.
Draw out a rough plan, noting where the posts will go and how the boards will be spaced. Most DIY deck plans recommend spacing the beams 16 inches apart for a standard deck. If you’re using composite boards, check the manufacturer’s specifications — some call for tighter spacing.
Measuring and Marking the Construction Site
Grab a tape measure, stakes, and string. Start by marking the outline of your deck directly on the ground. Use the 3-4-5 triangle method (measure 3 feet on one side, 4 feet on the other, and the diagonal should be 5 feet) to ensure perfectly square corners.
Don’t forget to account for slope. If your yard isn’t perfectly level, you’ll need to adjust the height of your posts or consider a stepped design. A laser level or simple level with a string will help you get everything level.

Choosing the Right Height and Access
Determine how high you want your deck to be. Attached decks often line up with the threshold of the cabana door for easy access. Freestanding structures can be lower, especially if you want to create a ground-level patio feel.
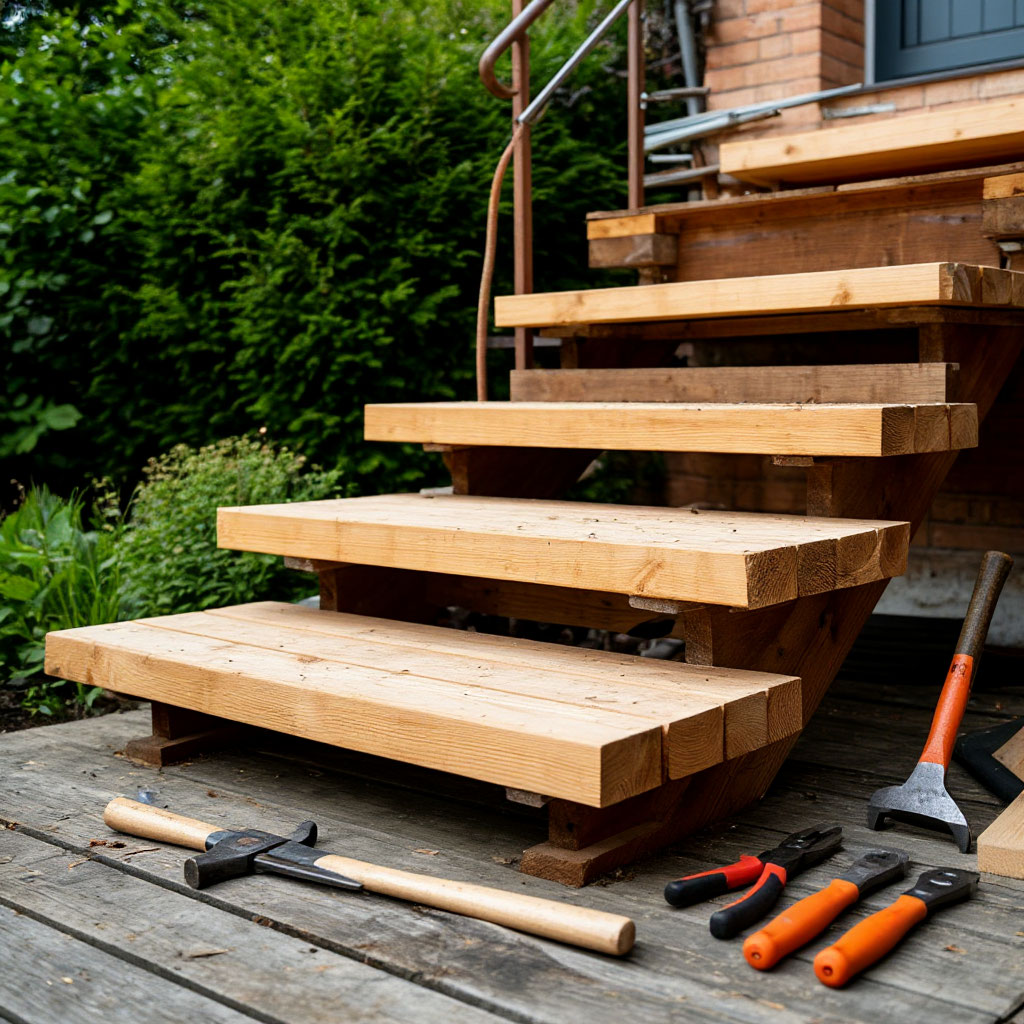
Think about stairs early – even a small deck may require one or two steps, depending on the height. Plan their placement so they don’t interfere with seating areas or foot traffic.
Finalize your materials list
Now that you have the measurements, double-check your lumber needs. Pressure-treated wood is still the best type of wood for a cabana deck if you’re keeping an eye on costs, but check the length of your boards to minimize waste.
If you’re mixing materials (like wood decking with metal railings), make sure everything is ordered in advance. Nothing slows down progress faster than waiting for backordered shipments.
Pro tip: Take a photo of your layout before you dig. It’s easier to adjust the strings than to fix misplaced supports later.
Step 2: Build a Solid Foundation
Now that you’ve got your plans in order, it’s time to get dirty — literally. The foundation is what separates a deck that will last for decades from one that starts to sag after its first winter. When you want to build a cabin deck that will stand the test of time, this is where you’ll want to pay extra attention.
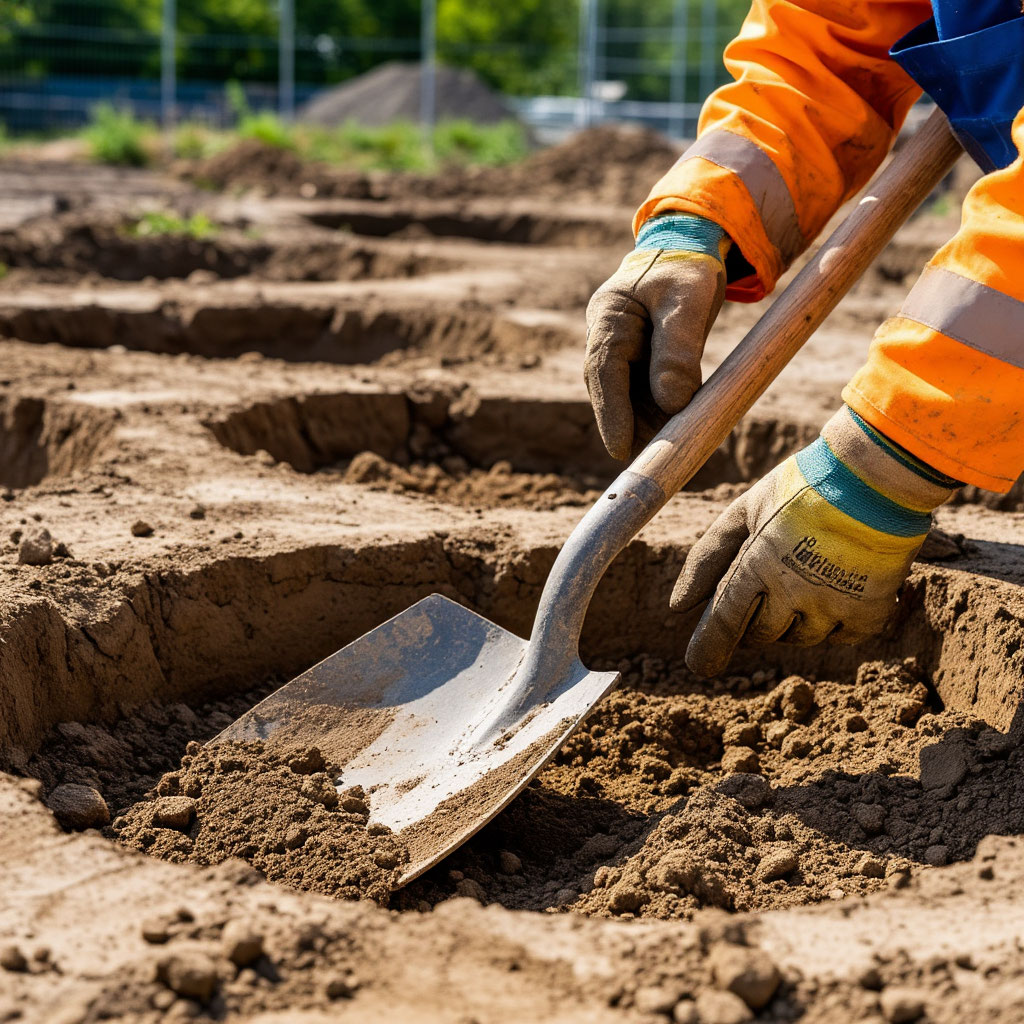
Choosing the Right Footings
Nothing ruins cheap deck building dreams faster than installing posts. Start by digging holes for the concrete footings — in cold climates, they should be below the frost line. For most small deck projects, holes 12 inches in diameter and about 36 inches deep are sufficient.
If you’re working with softer soil, consider using tube forms to keep the concrete from spreading. Mixing bags of concrete is backbreaking work, but it’s cheaper than ordering a truck for modest DIY deck plans. Let the concrete cure for at least 48 hours before adding weight.

Install posts that won’t wobble
The best wood for cabin deck posts is pressure-treated 6×6 lumber. It’s strong enough to withstand lateral loads without breaking the bank. When installing them, use metal post bases to keep the wood from touching the concrete—this simple trick prevents rot at the critical ground contact point.
Use temporary braces to keep the posts perfectly plumb until the concrete has fully cured. Post level is gold here—eyeballing won’t do for structural members. Space posts according to your load requirements, typically every 6 to 8 feet for standard builds.
Frame Like a Pro
Your deck frame needs to be strong. Double 2x10s installed on top of the posts create a solid foundation for the beams. For cabin deck ideas that include a hot tub or heavy furniture, consider using 2×12 lumber for added strength.
Beam hangers may seem like an unnecessary expense when building a cheap deck, but they are what keep your framing from sagging over time. Galvanized nails specifically made for hangers are worth the extra trip to the hardware store. Joists are spaced 16 inches on center for most decking materials.
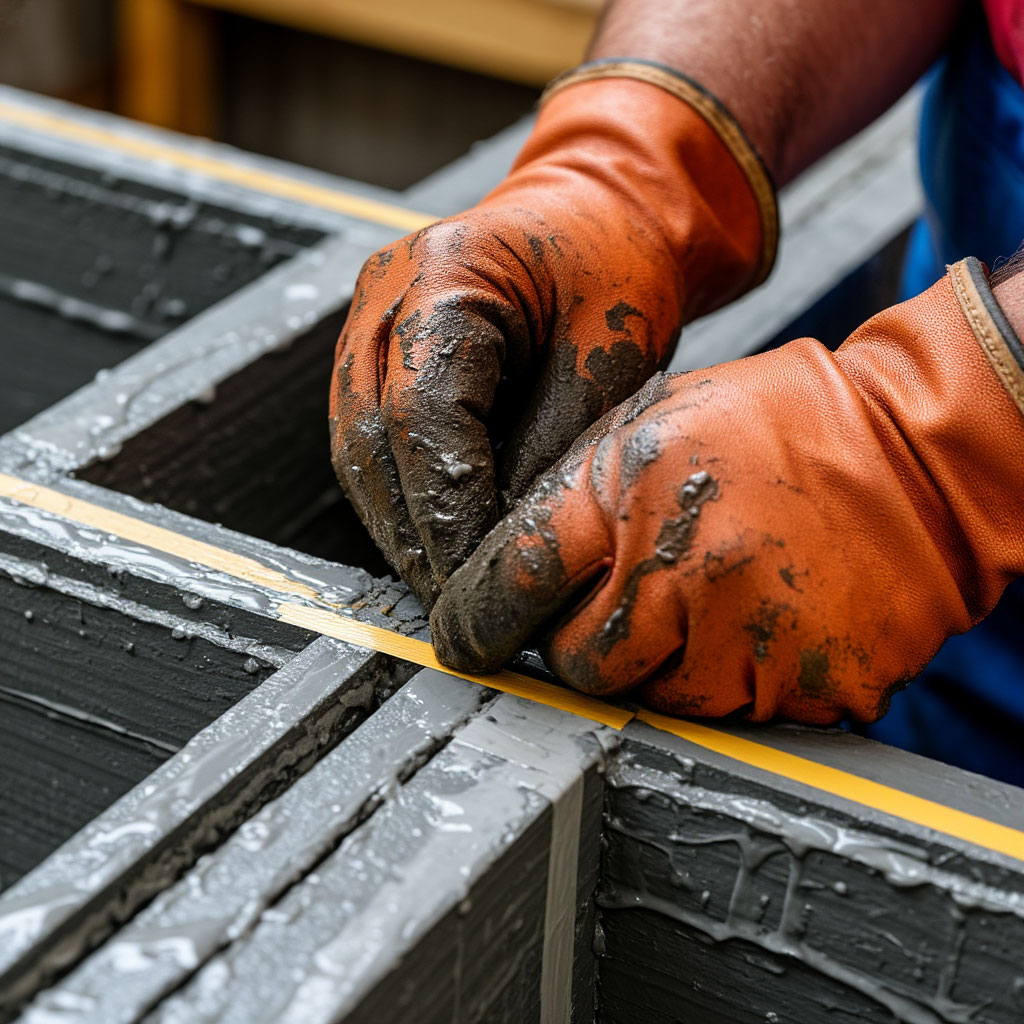
Waterproofing and Air Circulation
A little prevention goes a long way. Apply waterproofing tape to the tops of beams and rafters where they meet the studs to prevent water from seeping into the end grain. Leave at least 1/2-inch gaps between framing members to allow air circulation and prevent moisture buildup.
For the raised structures in the How to Build a Small Deck category, be sure to plan for access underneath the deck. You’ll thank yourself when it’s time to retrieve dropped tools or check for pests. Skirting can wait until the main structure is complete.

Final Checks Before Decking
Before moving on, take the time to:
- Make sure all posts are perfectly plumb.
- Make sure joists are level and properly spaced.
- Check for protruding fasteners.
- Make sure there’s adequate clearance between the cabin and the cabin.
- Check the rigidity of the structure by walking along the frame.
Pro tip: Run chalk lines along the joists to mark the exact placement of boards — this will keep the deck level and save time measuring later.
Step 3: Installing Deck Boards & Railings
This is where your project starts to look like a real deck. After all the hard work on the foundation and framing, it’s time for the fun part — laying the surface and adding those finishing touches that will bring your cabin deck ideas to life.
Laying Deck Boards Like a Pro
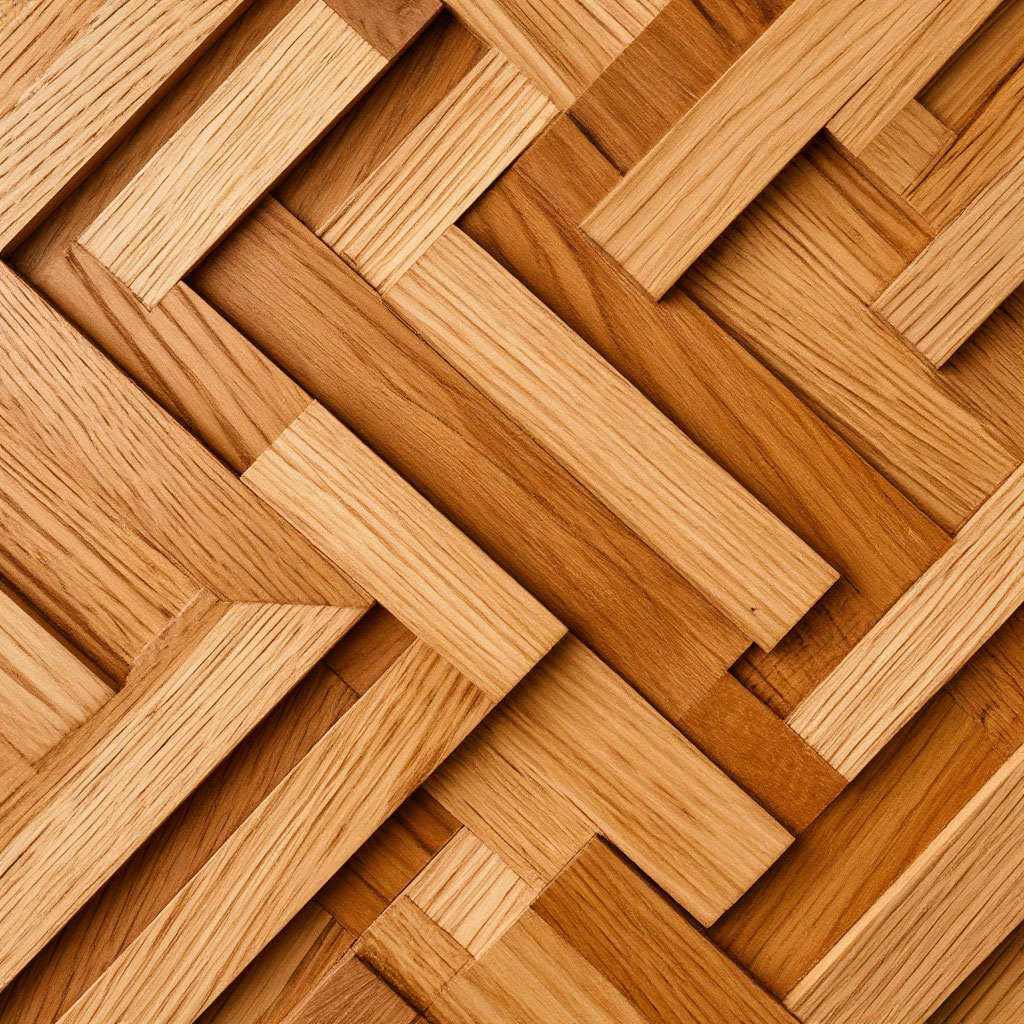
Whether you’ve chosen pressure-treated pine or splurged on the best wood for cabin deck projects, how you install those boards is critical. Start by deciding which direction they’ll run — typically perpendicular to the house for a classic look, but diagonal patterns can make a small deck feel larger.
Leave about an 1/8-inch gap between boards to allow for expansion — a nail or brace works well as a guide. If you’re going the cheap route of building a deck with standard lumber, lay the bark side up to minimize warping as the wood dries. Pre-drilling holes near the ends of the boards prevents splitting, especially with harder woods.
For a polished look, plan your board layout so that all necessary cuts fall on the least visible sides. Randomly place end joints rather than lining them up—this looks more professional and strengthens the structure. If you’re following specific DIY deck plans, they may include specific template instructions.
Securing Everything Properly
Securing your deck is more than just hammering nails. Screws provide better holding power, especially if you’re using the best wood for cabin deck projects, like dense hardwood. Consider hidden fastening systems for a clean, splinter-free surface—they’re worth the extra cost if you’ll be walking barefoot.
Work from the inside out when installing the boards, checking every few rows to make sure they’re straight. A chalk line across the joists helps keep everything aligned. Don’t force warped boards—small bends can often be fixed with clamps or strategic screw placement.
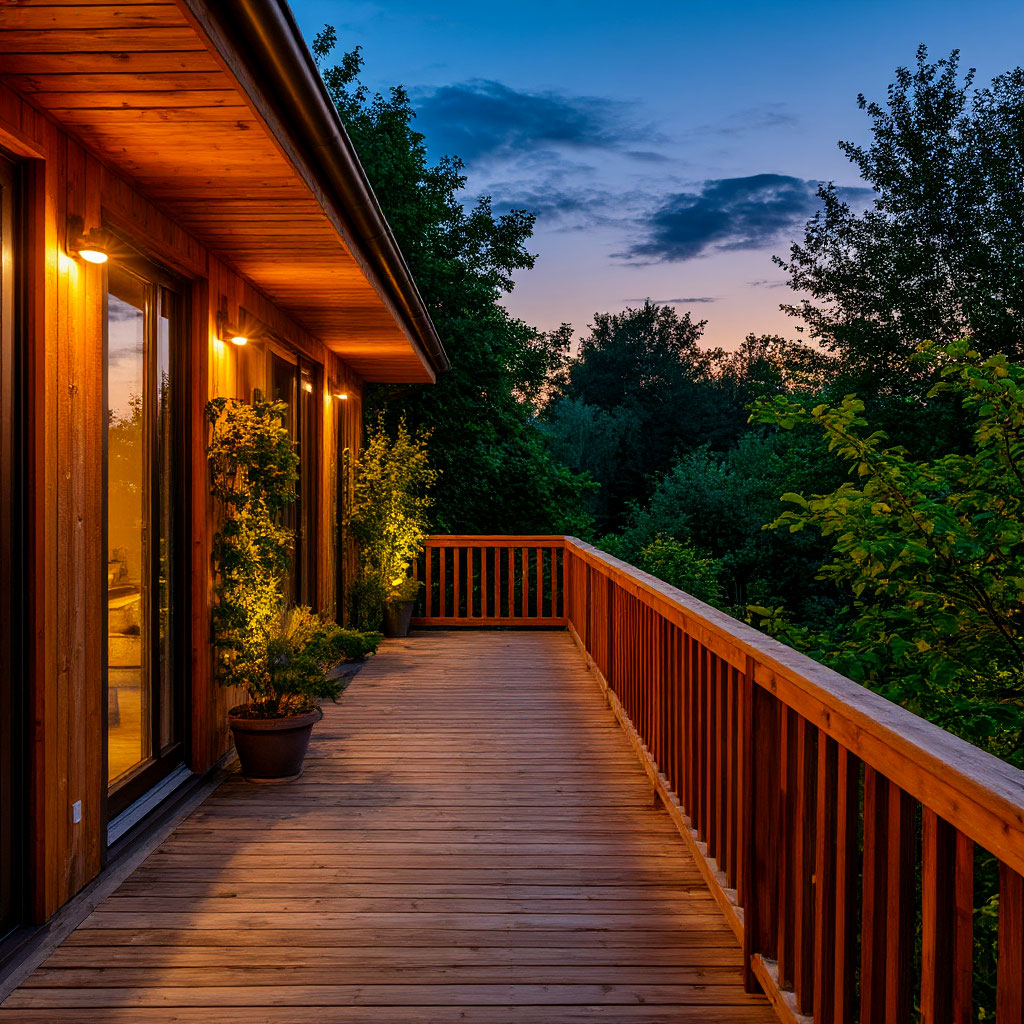
Adding a Railing That Looks Great
Railings don’t just comply with safety regulations—they define the character of your deck. For rustic cabin deck ideas, simple 2×2 balusters spaced no more than 4 inches apart create a classic look. If you’re looking for something more modern, horizontal cable railings open up the view without sacrificing safety.
Post bushings can transform simple pressure-treated posts into something more elegant. When installing railing posts, make sure they’re secured to the frame, not just the decking. Diagonal braces add rigidity, especially for taller railings around elevated areas.
Finishing Strong With Professional Touches.
Those final details separate adequate decks from exceptional ones:.
- Stair construction: Use treated stringers and anti-slip treads.
- Lighting integration: Solar caps or recessed LED options.
- Edge trimming: Conceals rough ends for polished look.
- Ventilation: Important for enclosed under-deck areas.
- Storage solutions: Built-in benches with hidden compartments.
Pro Tip: When working with the best wood for cabin deck projects, apply end-grain sealer to all cuts before installation – it dramatically extends lifespan.
Deck Maintenance Tips for Longevity
You’ve put in the work to build a cabin deck – now let’s make sure it stays looking great for years. Proper care means the difference between a weathered eyesore and a space that gets better with age. Whether you followed detailed DIY deck plans or improvised your own design, these maintenance strategies will protect your investment.
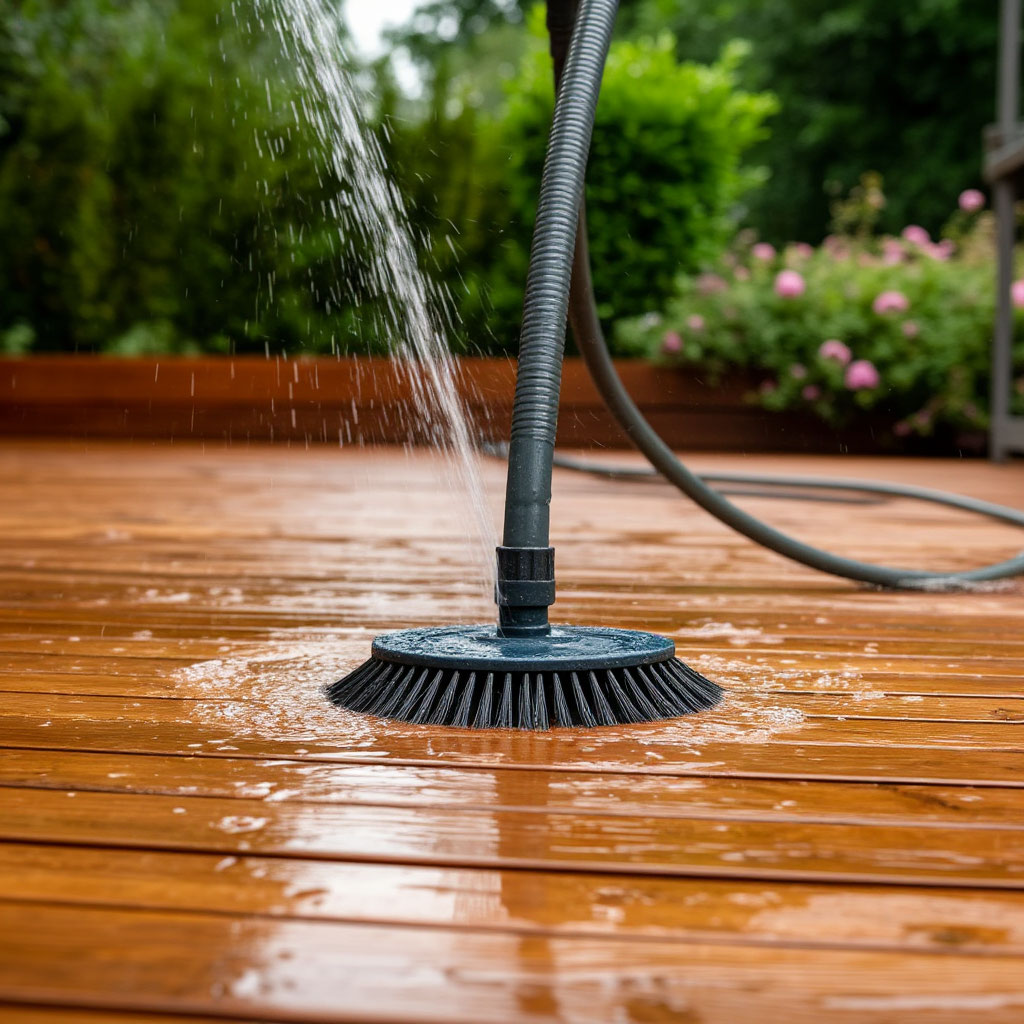
Keeping It Clean Year-Round
Dirt and debris accelerate wear, especially between boards where moisture collects. Start with a stiff broom to clear surface dirt, working along the grain to avoid scratching. For deeper cleaning, mix a mild soap solution and scrub with a deck brush, rinsing thoroughly. Avoid harsh pressure washing that can damage wood fibers – gentle is better for preserving the best wood for cabin deck surfaces.
Mold and mildew need special attention in shaded areas. Oxygen bleach solutions work wonders without harming plants or finishes. Pay extra attention to corners and railings where grime builds up. If you went with cheap deck building materials, more frequent cleaning helps compensate for lower durability.
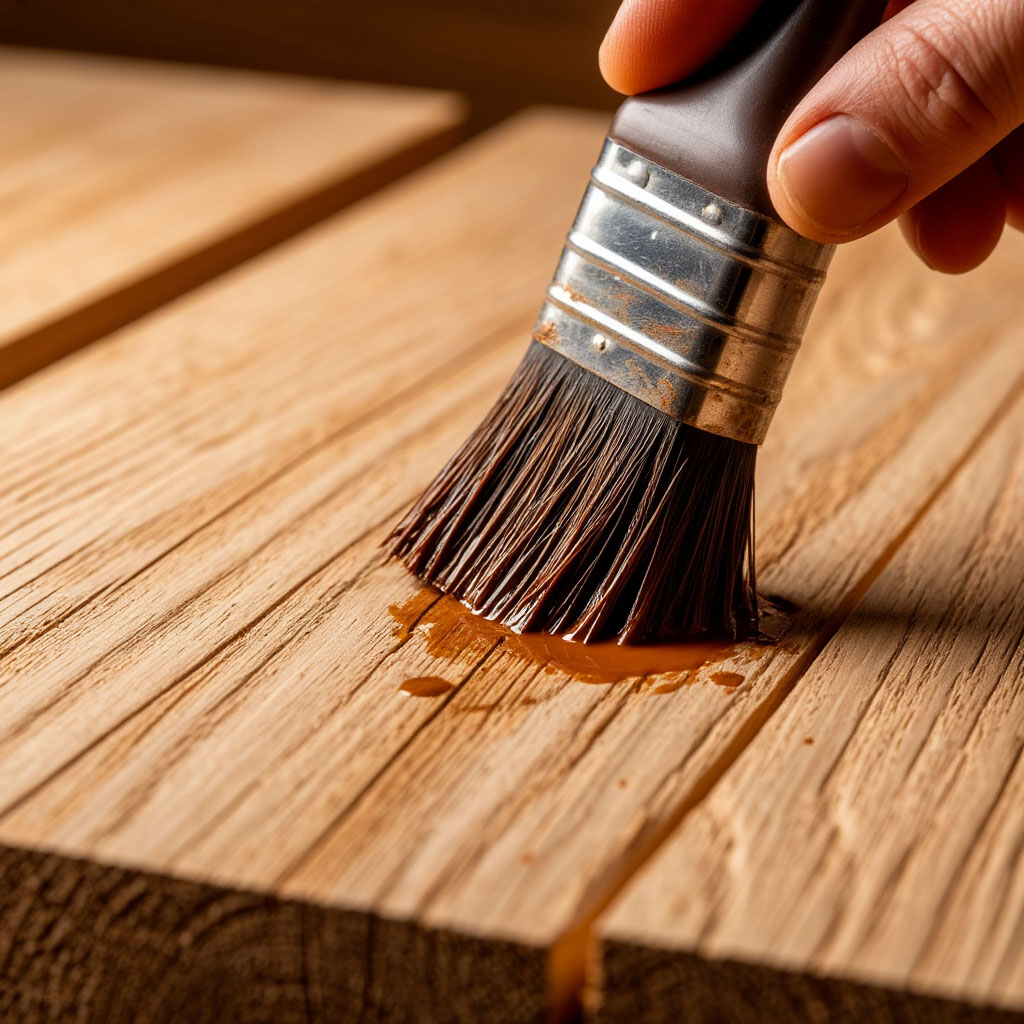
Protective Coatings That Last
Choosing the right sealant makes all the difference in maintenance frequency. Transparent sealers highlight natural grain but require annual refreshing. Semi-transparent stains add subtle color while lasting 2-3 years between applications. For maximum protection, solid stains provide the longest coverage at 3-5 years.
Application timing matters as much as product selection. Wait for several dry days when temperatures stay between 50-90°F. Check wood moisture with a meter – below 15% is ideal for absorption. Work in manageable sections, maintaining a wet edge to prevent lap marks. For those following how to build a small deck maintenance guides, remember compact spaces dry faster but show wear more quickly.
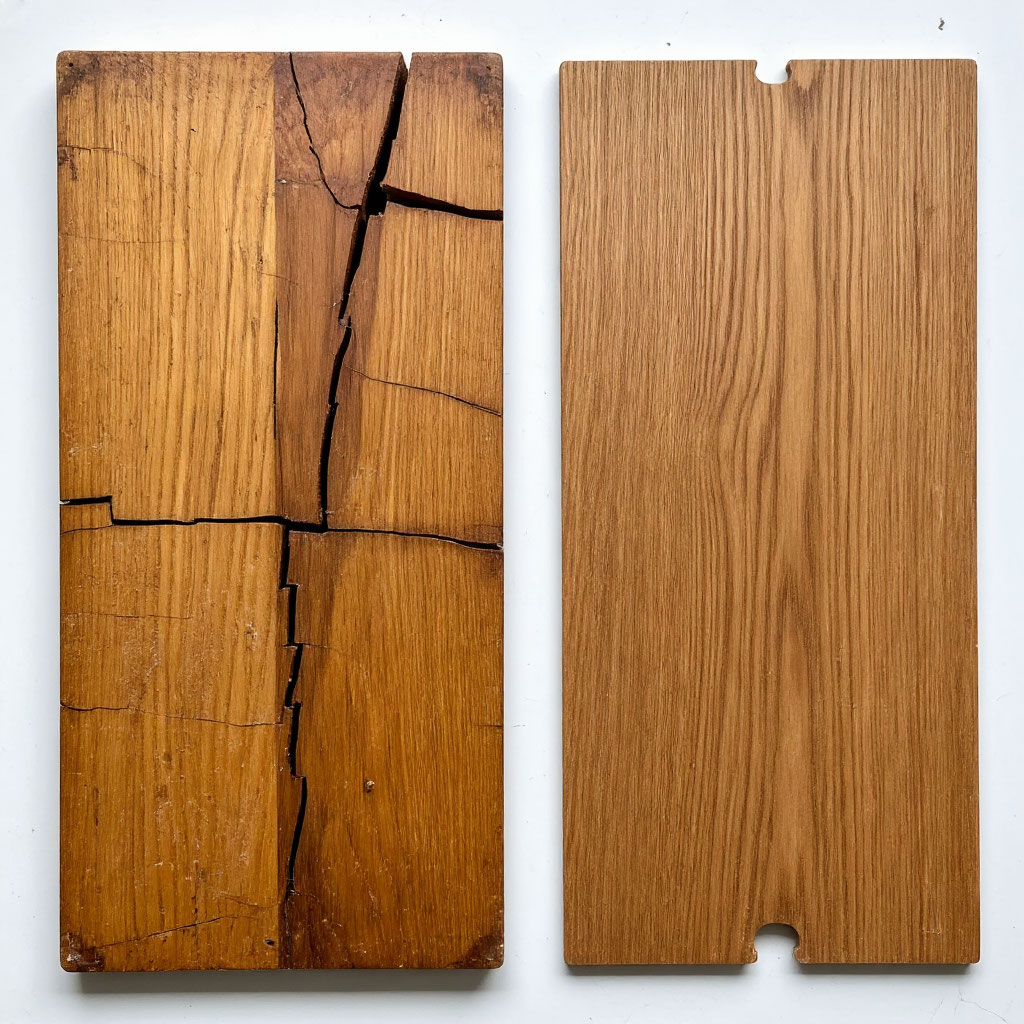
Spotting Trouble Early
Regular inspections prevent minor issues from becoming major repairs. Walk the deck slowly, listening for squeaks that indicate loose fasteners. Probe posts near the ground with a screwdriver – soft spots signal rot beginning. Check where the deck meets your cabin for signs of water intrusion or rusting hardware.
Railings deserve special attention since they protect against falls. Shake posts firmly to test stability. Ensure baluster spacing still meets safety codes, especially important for elevated cabin deck ideas. Stair treads should sit firmly on stringers without wobble.
Climate-Specific Care
Your local weather dictates special maintenance needs. In snowy regions, use plastic shovels instead of metal to prevent surface damage. Avoid chloride-based ice melts that corrode fasteners. Hot climates demand UV protection – consider shade solutions to minimize sun damage.
Humid environments require extra mold prevention. Improve airflow under the deck and treat annually with inhibitors. Coastal areas need more frequent checks for salt corrosion. The best wood for cabin deck longevity varies by location – cedar resists moisture well while tropical hardwoods stand up to intense sun.

Smart Upgrades for Less Work
Small improvements can dramatically reduce future maintenance. Adding flashing where the deck meets your cabin prevents water damage. Corrosion-resistant fasteners last longer than standard screws. Proper grading around the deck prevents water pooling.
Consider traffic patterns when planning upkeep. High-use areas might benefit from non-slip treatments. Strategic lighting makes night inspections easier. For those referencing DIY deck plans for maintenance, matching original materials simplifies repairs.
Pro Tip: Keep a maintenance log to track cleaning, staining, and repairs – it helps predict when services are needed next.

FAQ
How much does a DIY cabin deck cost per square foot in the U.S.?
For most pressure-treated wood builds, plan around $20–$35 per sq ft in materials if you do the work yourself. Hiring it out usually runs $45–$80 per sq ft, labor included. Railings, stairs, and lighting can add another 20–30%. A simple 12×12 cabin deck often ends up around $3,000–$5,000 DIY.
Can my DIY cabin deck hold a hot tub or will it crash through?
Yes, but only if you frame for the weight. A normal deck is usually designed for about 40 pounds per square foot of live load. A filled hot tub can push 100+ pounds per square foot, plus people. You’ll need extra beams, shorter spans, and dedicated footings under that spot, not just standard joists.
How long does it actually take to build a small cabin deck by myself?
Most people with basic tools need about two weekends. First weekend is layout, digging footings, and setting posts solid. Second weekend is framing, decking boards, and stairs. Railings and stain are usually another 4–6 hours of work.
Is a freestanding cabin deck actually better than bolting it to the cabin?
Yes, for most cabins a freestanding deck is safer long-term. A freestanding deck uses its own posts and beams instead of relying on a ledger bolted to the cabin wall. That helps avoid rot and water intrusion where the house siding gets pierced. It can also simplify code in some areas because the deck isn’t structurally tied to the dwelling.
Can I build a cabin deck on a slope without grading the whole hill?
Yes, you can build on a slope using different post heights and stepped beams instead of flattening the entire yard. Each footing still needs to hit solid, frost-depth support, not just sit on loose fill. Taller posts over 30 inches off the ground usually trigger guardrail rules and tighter inspection. The simple test: if someone could fall off and break something, plan on railings and bracing.
After walking through everything from planning to maintenance, you’re now equipped with the knowledge to build a cabin deck that’ll be the envy of your campground or backyard. Whether you followed precise DIY deck plans or adapted as you went, what matters most is that you’ve created an outdoor space that fits your life perfectly.
Remember that even the most carefully executed cabin deck ideas need occasional attention. Those seasonal cleanings and protective coatings might seem tedious now, but they’re what keep your deck looking great year after year. If you took the cheap deck building route, don’t worry – consistent care can make budget materials outlast their expected lifespan.
The best wood for cabin deck projects isn’t necessarily the most expensive – it’s what works for your climate, skills, and how you’ll use the space. Your small deck might be modest in size, but with proper maintenance, it’ll deliver big on memories and relaxation.