Contents
- 1 Why a Loft Bed is Perfect for Cabins
- 2 Choosing the Right Wood & Tools
- 3 Step-by-Step Loft Bed Assembly
- 4 Safety Tips for Sturdy Construction
- 4.1 Weight Capacity Matters More Than You Think
- 4.2 Wall Anchoring Makes All the Difference
- 4.3 The Right Angles Prevent Catastrophes
- 4.4 Guardrail Height Isn’t Optional
- 4.5 Ladder Safety Is Often Overlooked
- 4.6 Regular Maintenance Checks
- 4.7 Material Choices Impact Safety
- 4.8 Lighting Prevents Midnight Mishaps
- 4.9 When to Call a Professional
- 5 Creative Storage Under the Loft
Living in a small cabin doesn’t mean sacrificing comfort – it just means using the space wisely. A DIY cabin loft bed is one of the best ways to free up floor space while adding a cozy sleeping nook. Whether you’re looking for small cabin loft ideas or a sturdy raised bed, building one is easier than you think. How to make a cabin bunk bed using simple materials and basic tools? This project is perfect for space-saving furniture, tiny homes, rustic retreats. With the right plans, you’ll create a sturdy loft bed structure that’s both functional and stylish.
Why a Loft Bed is Perfect for Cabins
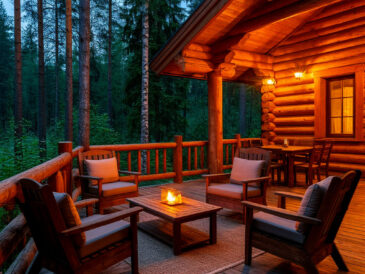
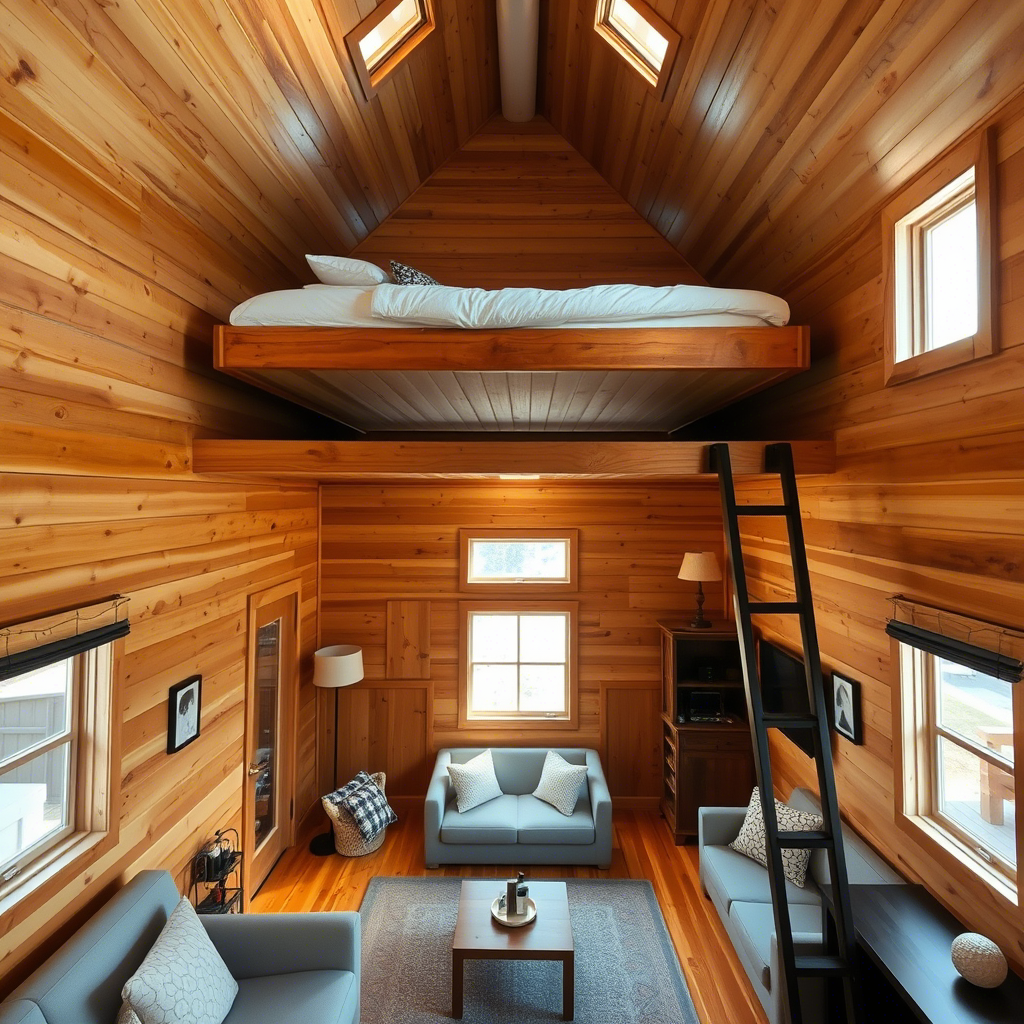
Living in a small house means that every square foot counts. That’s where a DIY cabin loft bed shines — it instantly doubles your usable space without an expensive renovation. Whether you’re in a rustic retreat, a hunting cabin, or a tiny home, elevating your sleeping area frees up floor space for storage, seating, or even a mini workspace.
Maximizing Limited Space
Cabins aren’t known for their huge spaces. That makes small cabin loft ideas completely different. By elevating the bed higher, you free up valuable space underneath. Suddenly, that tight corner can accommodate:
- a reading nook;
- a compact desk;
- extra storage bins;
Unlike traditional beds, a loft bed design doesn’t just sit there — it works for you.
Customizable for Any Cabin Layout
One of the best things about building your own loft bed for cabin living is that you can tailor it to your needs:
- Do you have low ceilings? Adjust the height.
- Need extra support for a heavier mattress? Reinforce the frame.
- Prefer a ladder instead of a stepladder? You can do that.
Unlike store-bought bunk beds, custom assembly means you control the dimensions, materials, and style.
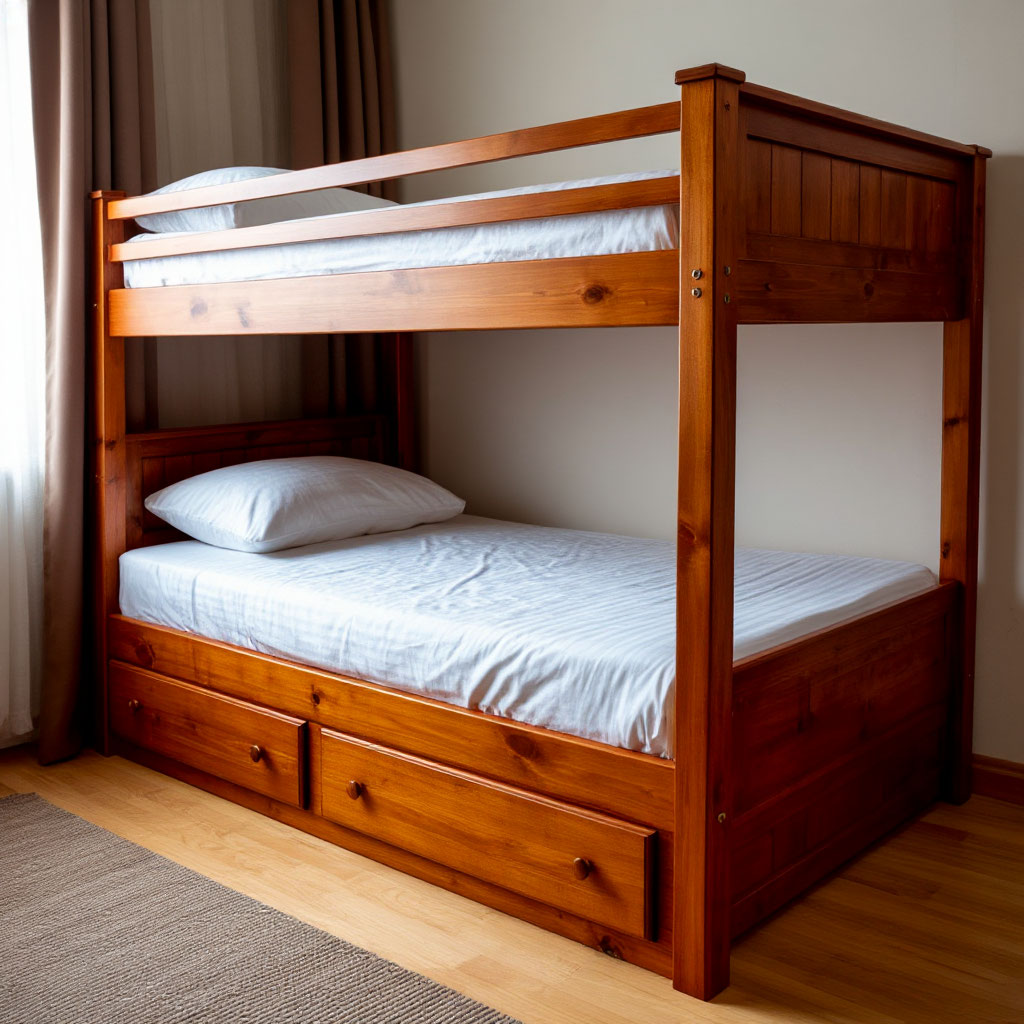
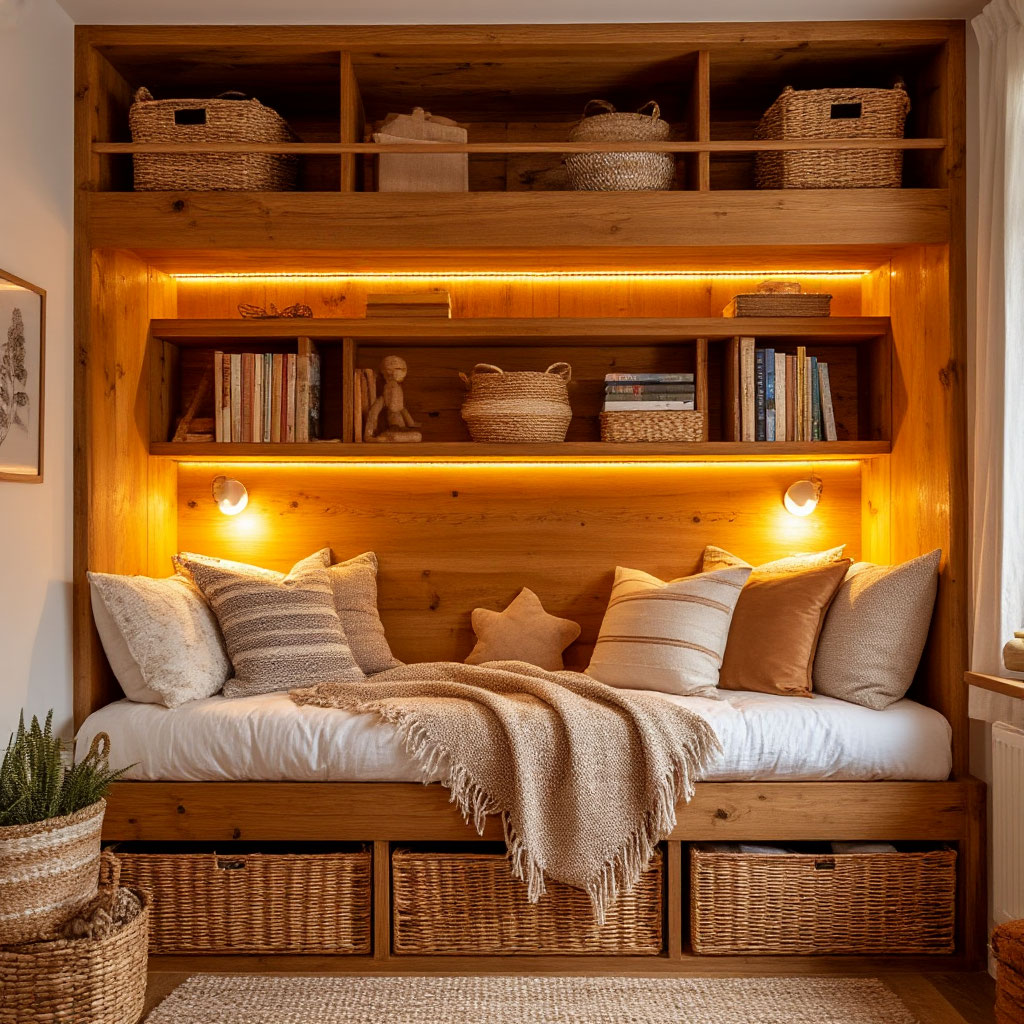
Cozy Sleeping Nooks
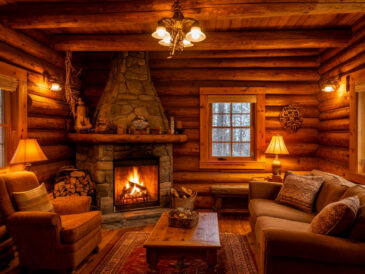
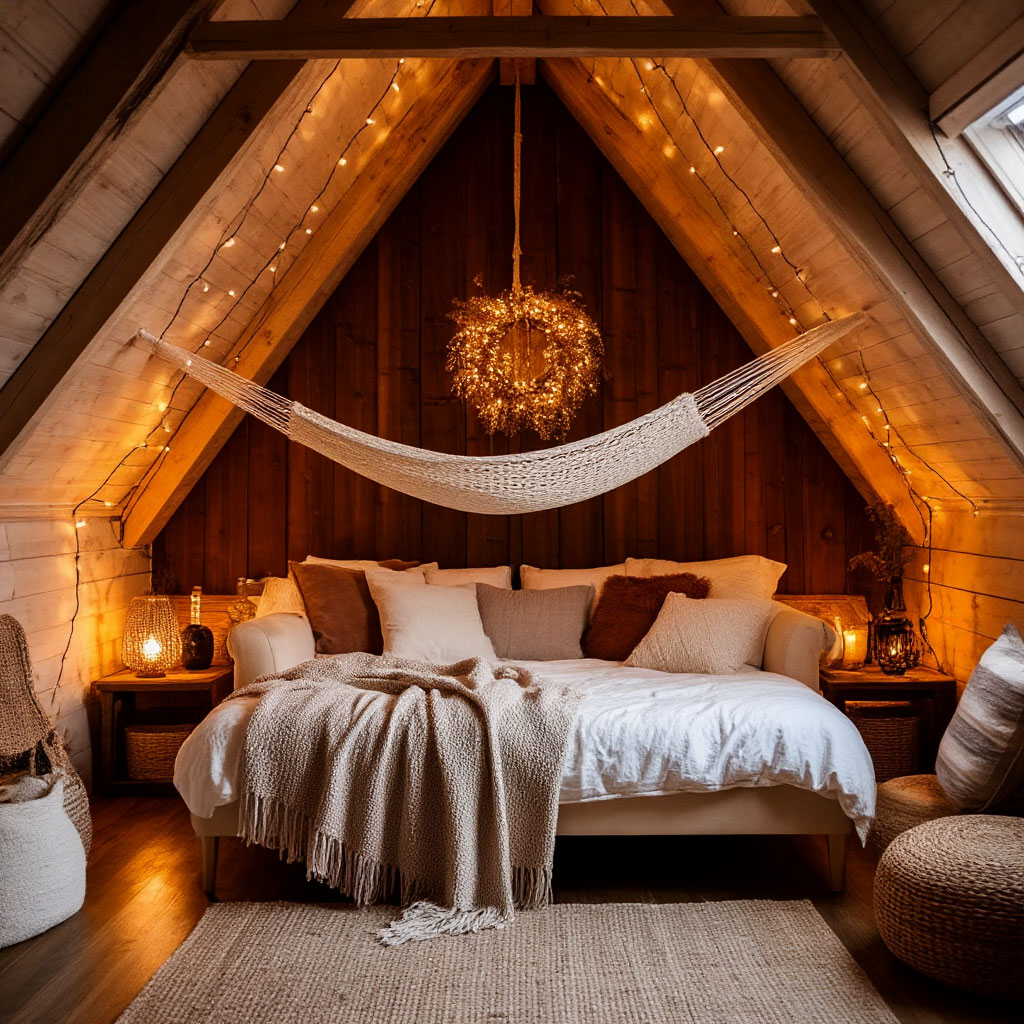
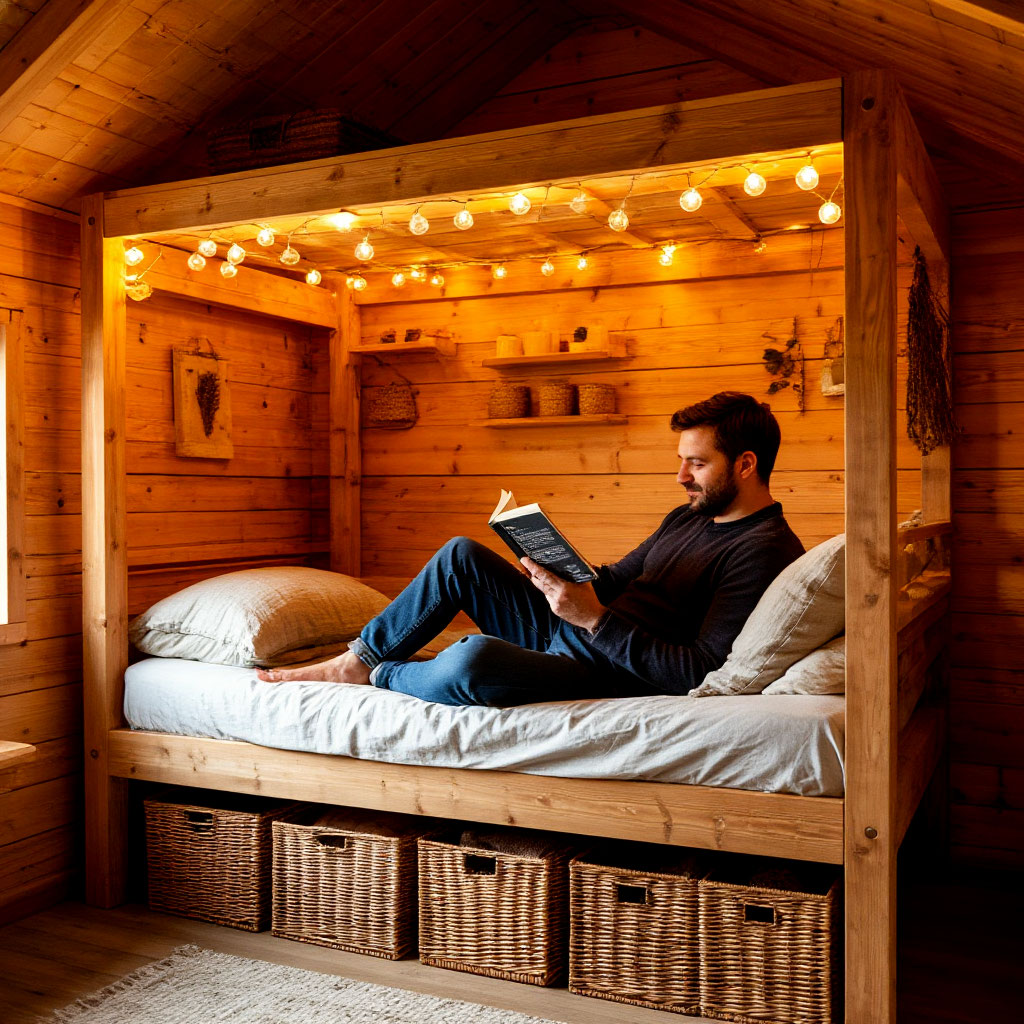
There’s something undeniably charming about sleeping on a raised bed—it’s like a hidden refuge. With the right loft bed plans for tiny houses, you can create a cozy, enclosed space that’s perfect for those chilly nights in the cabin. Add some fairy lights, a thick blanket, and maybe even a small shelf for books, and you’ve got the perfect cozy retreat.
Sturdy and Stable When Done Right
A flimsy loft bed isn’t just annoying — it’s dangerous. But with a solid loft bed design, you get security without sacrificing style. By attaching the frame to wall studs and using reliable carpentry techniques, your loft bed will stay rock solid. No wobbling, no squeaking — just a solid place to sleep that makes the most of your compact cabin furniture.
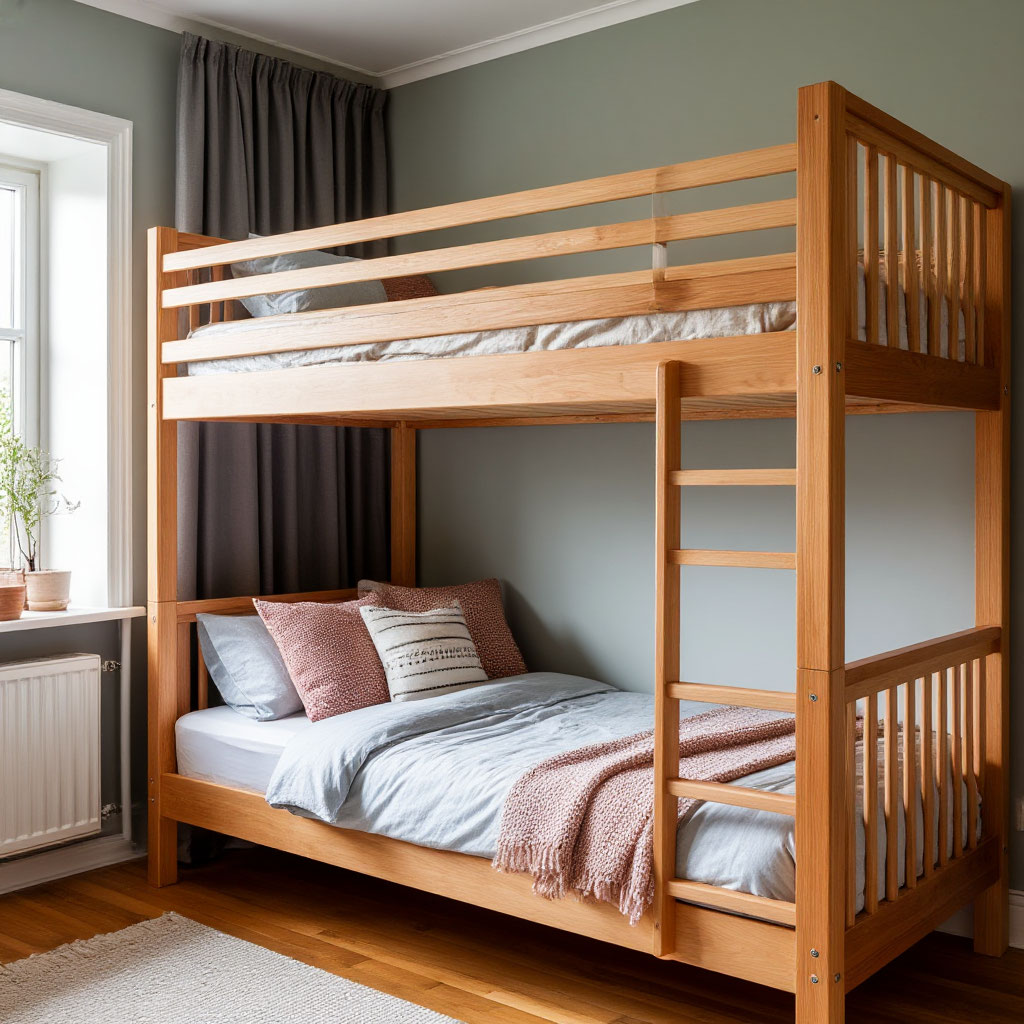
Better Than a Standard Bunk Bed
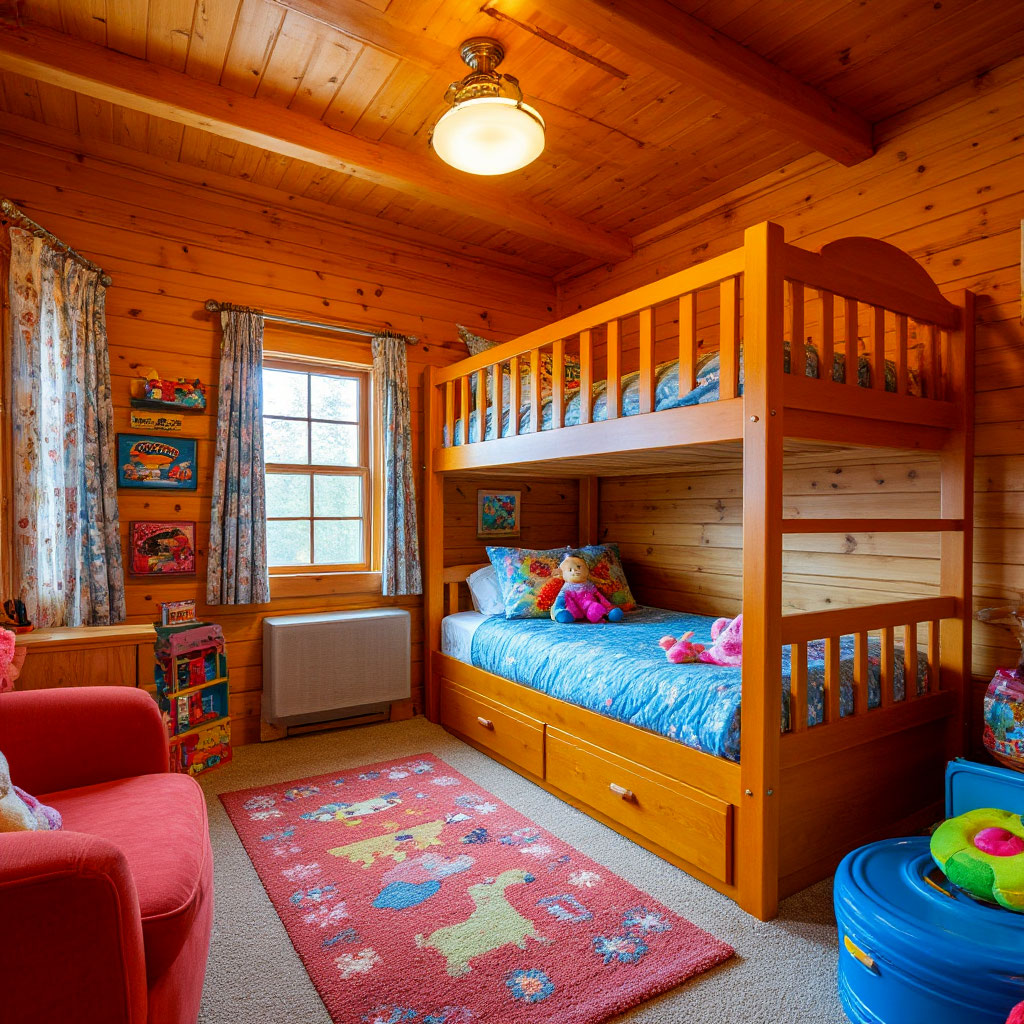
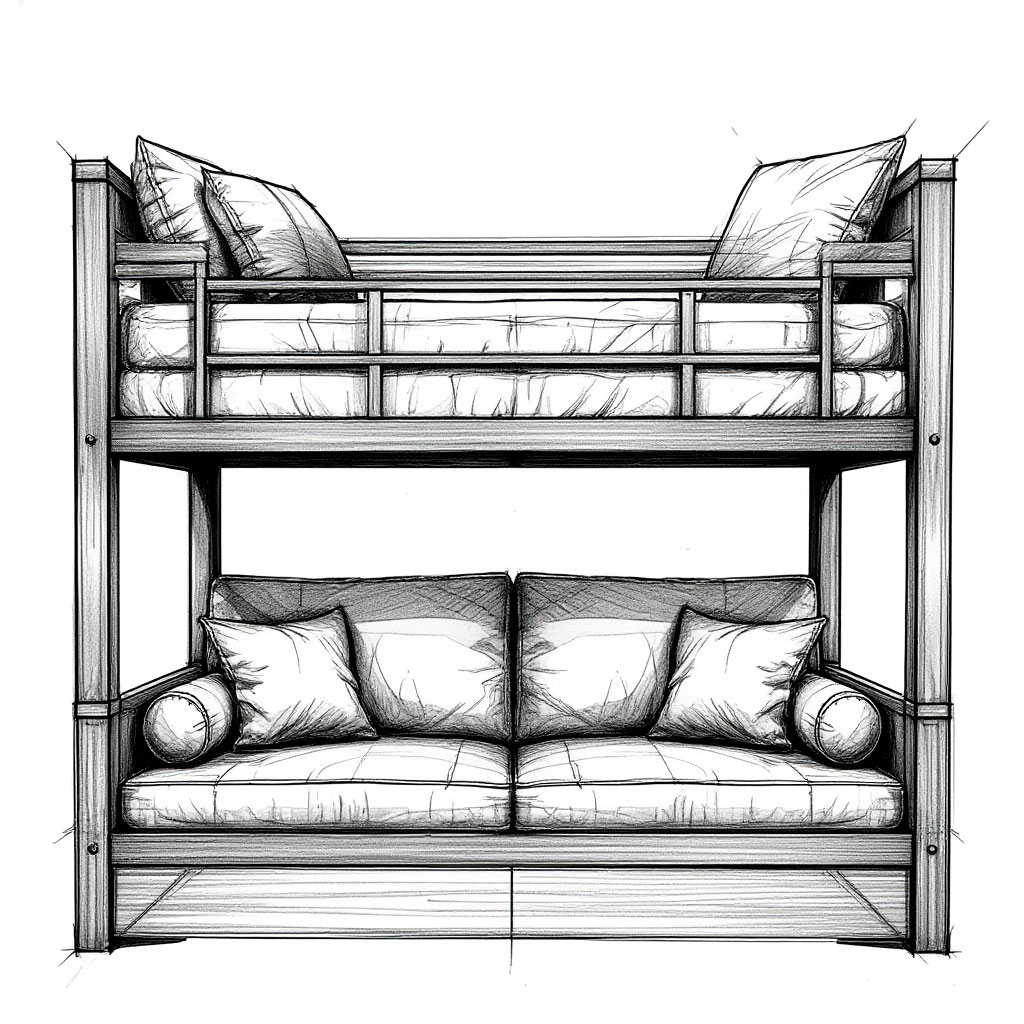
While bunk beds are perfect for kids’ rooms, a DIY loft bed for cabin living is more versatile. Instead of a second mattress underneath, you get an open space for whatever you need — a couch, a workbench, or even pet beds. Plus, making your own means you avoid the cheap particle board and flimsy metal frames often found in pre-made bunks.
Perfect for Guest Cabins and Vacation Homes
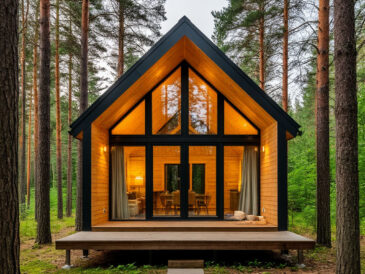
Whether you’re working with a hunting lodge or a weekend getaway, a loft bed maximizes functionality without the clutter. Guests get a comfortable place to sleep, while the space underneath remains flexible for gear, bags, or extra seating. It’s one of the smartest small loft lodge ideas out there, making the most of a compact space.
A Budget Makeover
Compared to expanding a lodge or buying expensive space-saving lodge furniture, building a loft bed is surprisingly affordable. With simple lumber, a few tools, and a weekend, you can transform your sleeping area without breaking the bank.
When you’re dealing with limited square footage, a DIY lodge loft bed isn’t just a good idea—it’s obvious. You gain storage, improve functionality, and add a bit of rustic charm, all in one project.
Choosing the Right Wood & Tools
Building a DIY cabin loft bed starts with choosing materials that can handle the job. You don’t need expensive solid hardwood, but you will want a strong, durable material that won’t sag or crack under the weight. The right wood and tools can be the difference between a wobbly mess and a solid loft bed structure that will last for years to come.
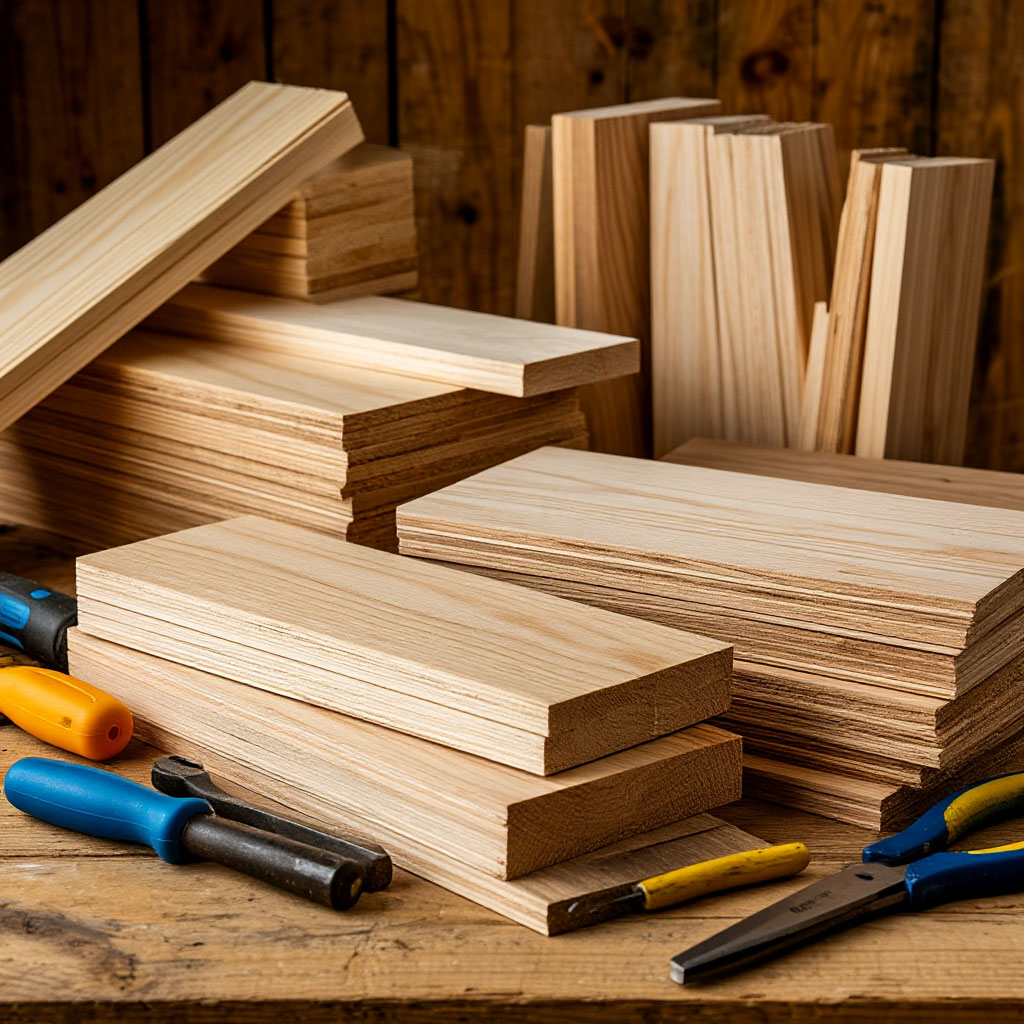
The Best Types of Wood for Durability and Budget
Not all lumber is created equal. For a loft bed that balances cost and strength, stick to these options:
- Pine – Affordable, easy to work with, and quite durable. Perfect if you’re on a budget but still want something sturdy.
- Spruce – Slightly stronger than pine, great for taller lofts or heavier sleepers.
- Douglas Fir – A step up in strength, perfect if you need extra stability without breaking the bank.
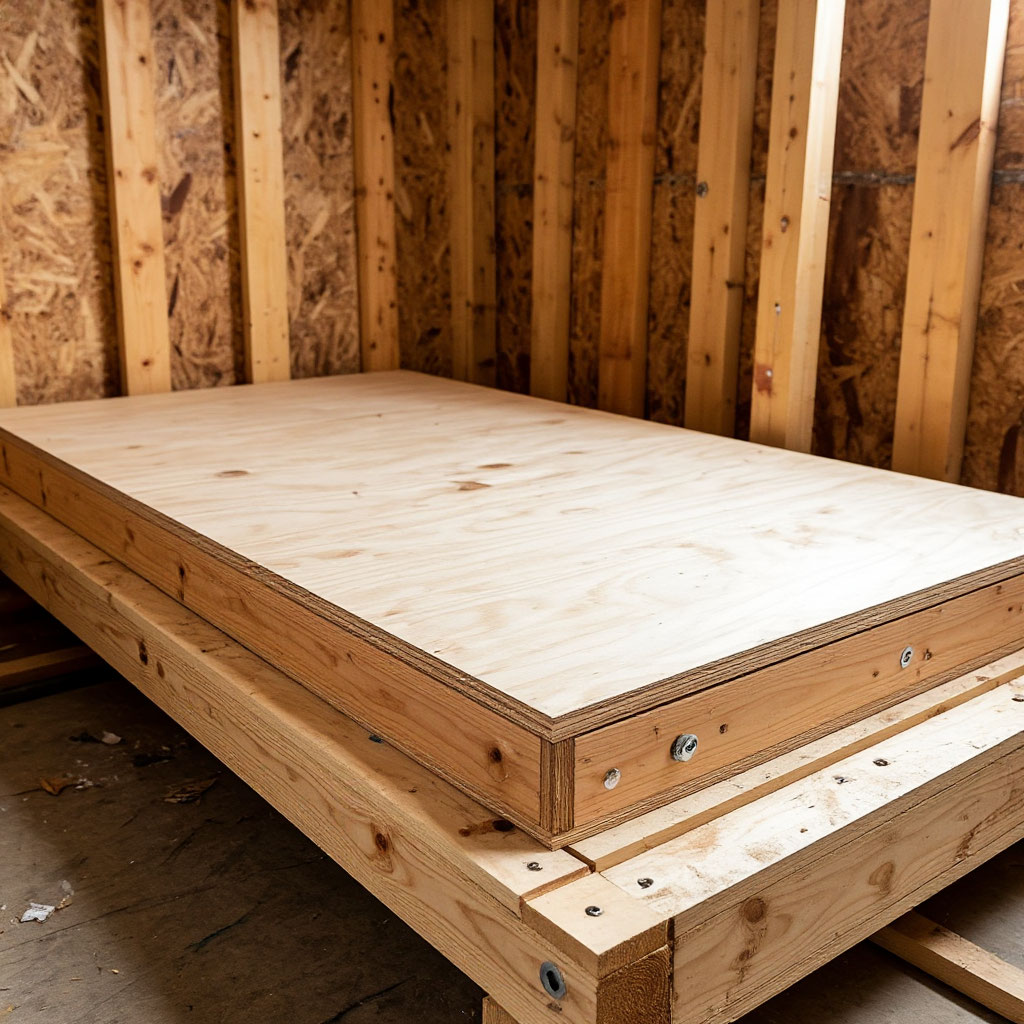
- Plywood – The best material for the bed platform itself – smooth, stable, and less likely to warp.
Don’t use particleboard or MDF – they’re cheap but won’t last. If you’re going for a polished look, sanding and staining can make even plain pine look high-end.

Tools to Get the Job
You don’t need a professional workshop, but a few basic tools will make assembling a loft bed for your playhouse a breeze:
- Circular saw or miter saw – for clean, straight cuts. A handsaw will do in a pinch, but power tools save time.
- Drill and wood screws – nails loosen over time; screws hold everything together. Pre-drilling holes prevents splits.
- Tape measure and square – precision matters – measure twice, cut once.
- Level – a crooked loft bed is annoying (and unsafe).
- Clamps – Hold the pieces together while drilling, making for a smoother assembly.
- Sandpaper or orbital sander – Smooth edges prevent chipping and give a finished look.
If you’re following loft bed plans for tiny houses, check the list of tools you’ll need before you begin. Some designs may require a Kreg pocket hole jig or a router for rounded edges.

Hardware that can actually support the weight
Regular screws will do, but for a sturdy loft bed, consider upgrading:
- Studs and nuts – Essential for attaching the legs to the frame – they can handle heavier loads better than screws.
- Angle braces – Reinforce the joints, preventing wobble over time.
- Wood glue – Adds extra stability when used with screws (but don’t rely on it alone).
Don’t skimp on hardware — it’s what keeps your compact cabin furniture from collapsing.
Calculating Lumber Needed
Before heading to the hardware store, sketch out your design and calculate the amount of materials you’ll need. For a basic DIY loft bed, you’ll typically need:
- 4×4 posts (for the legs).
- 2×6 or 2×8 beams (for the frame).
- 1×4 or 2×4 boards (for the railings and ladder).
- ¾-inch plywood (for the sleeping platform).
First, measure the height of the cabin’s ceiling — standard lofts sit about 5-6 feet off the ground, leaving plenty of room underneath.
Preparing Your Workspace
Cutting and assembling the inside of a small cabin can be tricky. If possible, work outside or in the garage to avoid sawdust everywhere. Lay down a tarp if you’re stuck indoors – it’ll make cleanup a lot easier.
Additional Upgrades for a Sophisticated Look
If you want your tiny house loft bed ideas to look professional, consider the following:
- Sanding and Staining – A little sanding and staining can transform plain pine into rustic decor.
- Paint – White or wood-grain paint will match the aesthetic of your cabin.
- Trim – Adding decorative molding will hide rough edges.
These extras are optional, but they take your tiny house loft bed plans from functional to magazine-worthy.
Double-check your measurements, tools, and materials before you make your first cut. There’s nothing worse than realizing in the middle of a build that you’re missing a board.
Step-by-Step Loft Bed Assembly
Putting together your DIY loft bed for cabin spaces should feel straightforward, not overwhelming. By breaking the process into manageable phases, you’ll create a strong loft bed design that makes the most of your compact living area without cutting corners on safety or comfort.
Prepping Your Workspace
Start by clearing enough space to work comfortably. If assembling inside the cabin, lay down protective coverings to catch sawdust and wood shavings. Gather all lumber, tools, and hardware in one accessible spot to avoid unnecessary interruptions. For those working with particularly tight quarters as part of their small cabin loft ideas, consider pre-cutting materials outdoors or in a garage before bringing pieces inside for final assembly.
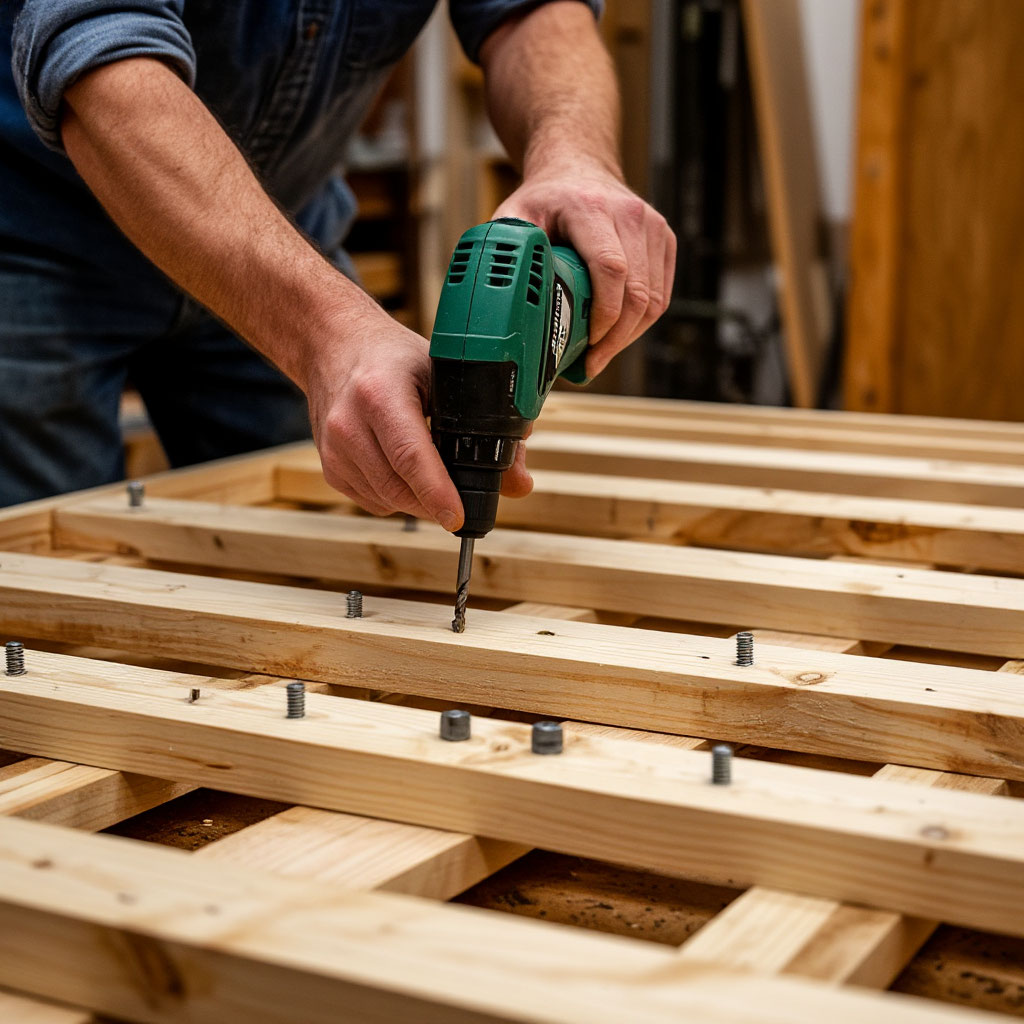
Building the Support Frame
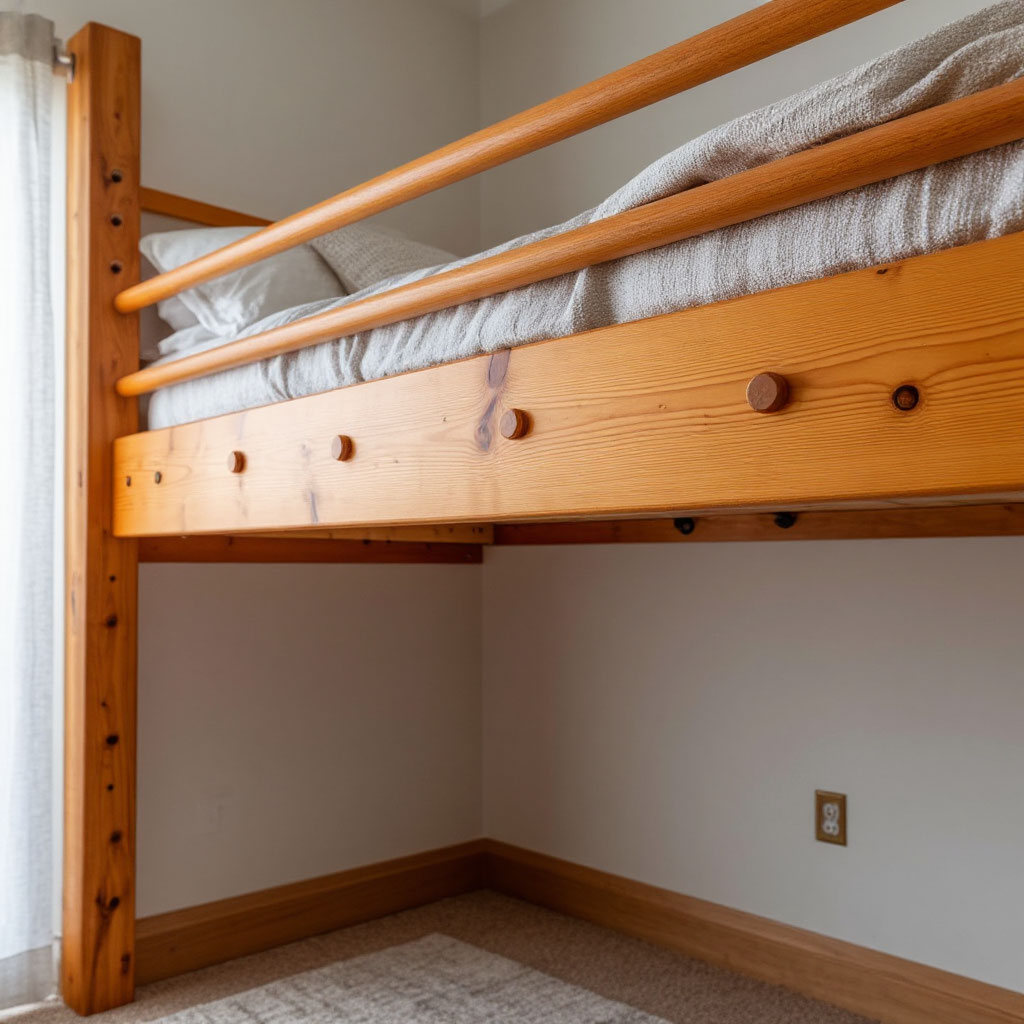
The rectangular base forms the foundation of your entire structure. Most loft bed plans for tiny homes call for two longer side rails cut from 2×6 or 2×8 lumber paired with two shorter end pieces matching your mattress width. Secure these at the corners using heavy-duty lag bolts, predrilling holes to prevent wood splitting. Use a carpenter’s square to verify perfect 90-degree angles before tightening everything down completely. This frame determines the bed’s ultimate stability, so precision matters here more than anywhere else.
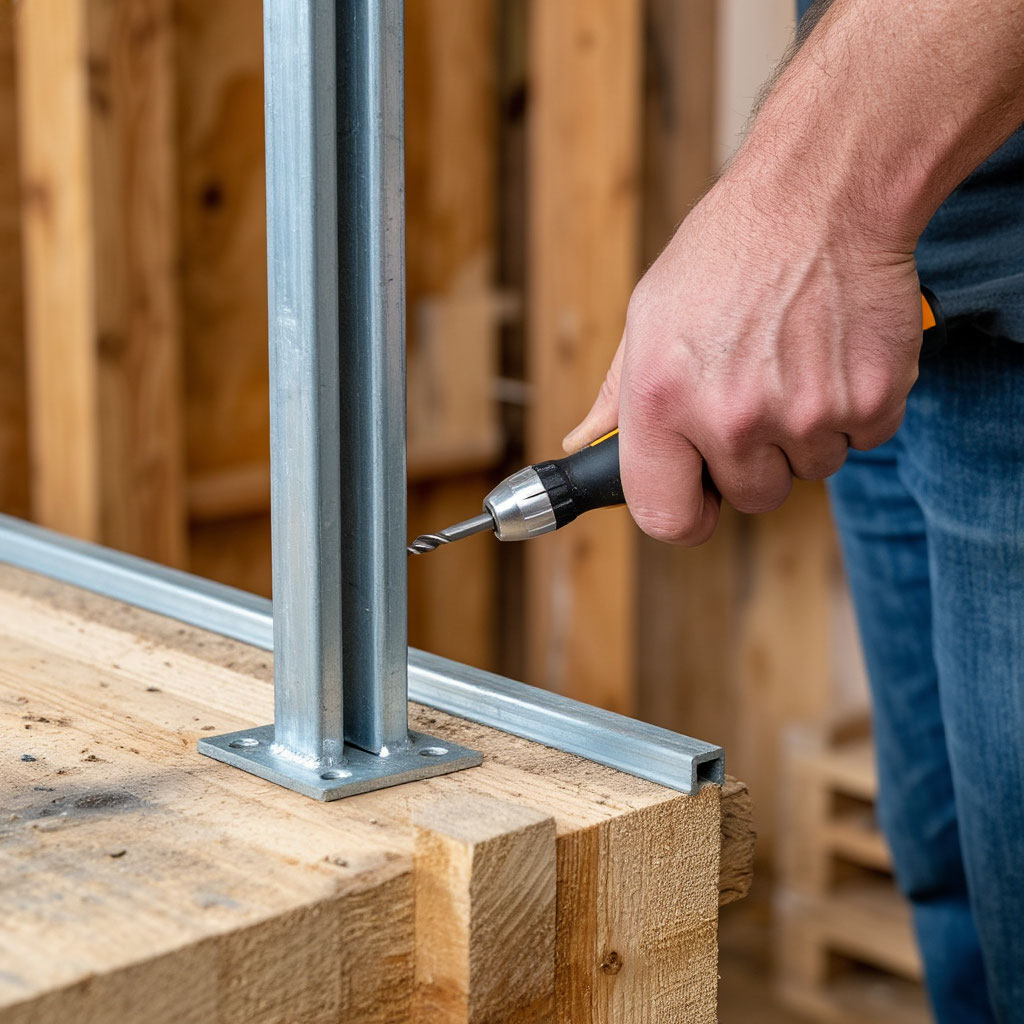
Installing the Vertical Supports
Those sturdy 4×4 posts transform from simple lumber into the legs that elevate your entire sleeping area. Cut four identical lengths – typically between five and six feet depending on your ceiling height. Mount them vertically at each corner using heavy-duty metal brackets, checking each with a level before final tightening. For additional stability in your space-saving cabin furniture, consider adding diagonal braces between the legs and frame. This extra step prevents any potential wobbling that might develop over time.
Creating the Sleeping Platform
The actual sleeping surface needs to support weight without sagging while providing a comfortable base. Cut your 3/4″ plywood to fit snugly within the frame, leaving about half an inch around the edges for bedding. Secure the platform with wood screws spaced every eight to twelve inches, adding a center support beam if working with a larger mattress size. Run sandpaper along all exposed edges to eliminate rough spots that could cause splinters.
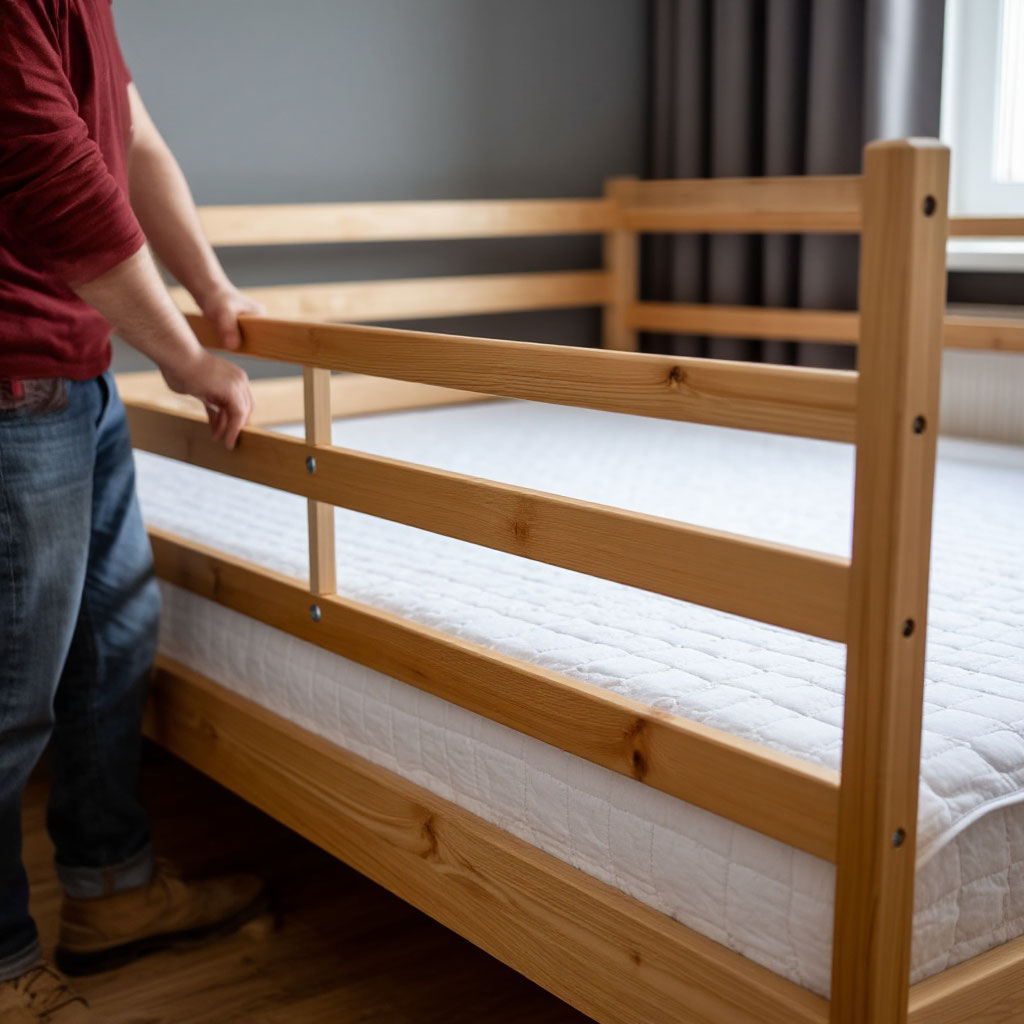
Adding Safety Rails
Guardrails on at least three sides transform an elevated platform into a secure sleeping area. Use 2x4s or 1x4s for the vertical posts, spacing horizontal rails no more than four inches apart to prevent anything from slipping through. Position the top rail at least five inches above the mattress surface. For a cleaner finished appearance, countersink all screws and fill the holes with wood putty before applying any stain or paint.
Building the Access Ladder
Getting in and out of your loft bed for cabin sleeping area should feel safe and effortless. The simplest approach uses 2x4s for side rails with 1×3 rungs spaced about ten inches apart. Angle the ladder slightly for easier climbing, securing it firmly to the bed frame. Round over all edges with sandpaper for comfortable barefoot use. Those looking for more flexibility might prefer a detachable version that can be moved or stored when not needed.
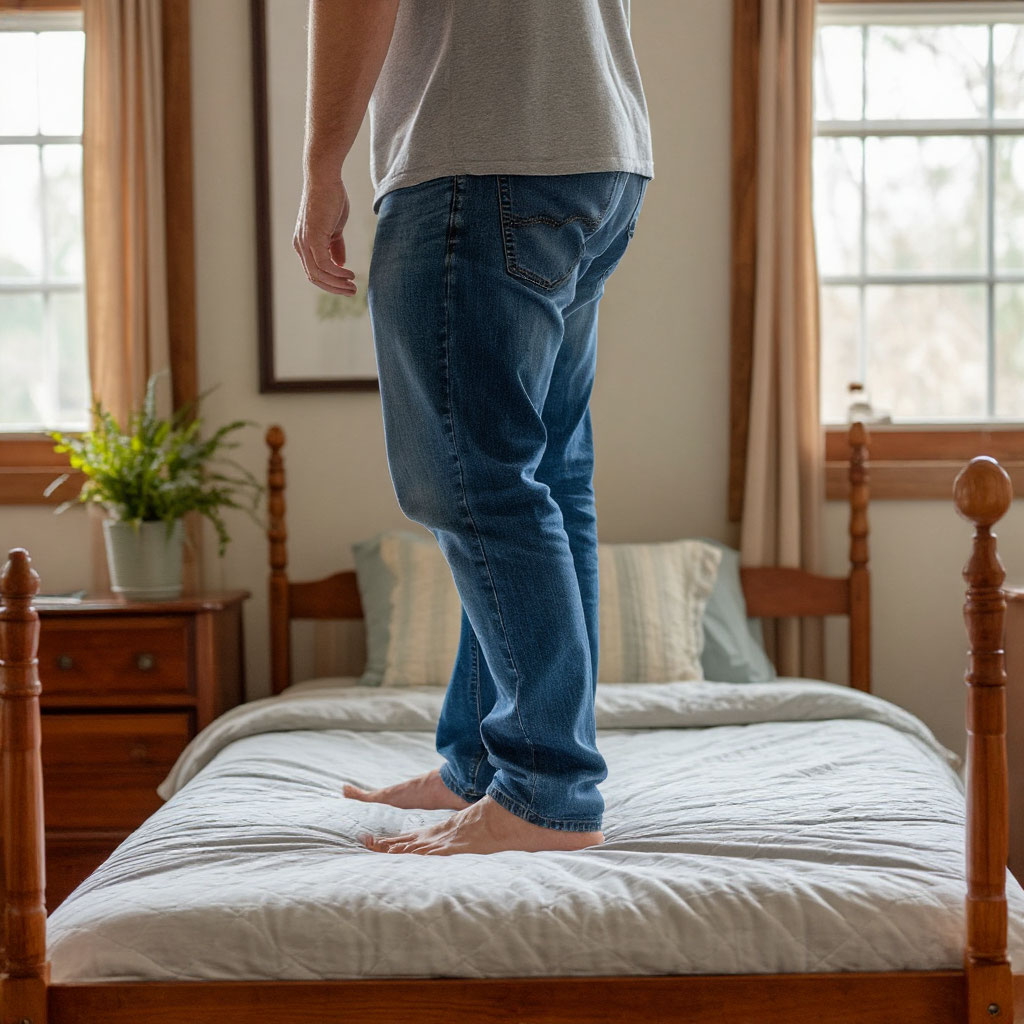
Final Safety Checks
Before declaring your how to build a bunk bed in a cabin project complete, conduct thorough final inspections. Tighten any hardware that may have worked loose during assembly. Test weight capacity gradually rather than all at once. Add non-slip pads under the legs if placing on hardwood or tile floors. Consider additional safety rails if children will be using the bed. Allow any wood glue to cure fully – typically 24 hours – before regular use.
Personalizing Your Creation
The beauty of custom small cabin loft ideas lies in their adaptability. Integrate storage by adding shelves between ladder rungs. Create privacy with under-bed curtains or fabric panels. Install low-voltage lighting along the rails for nighttime visibility. The underside offers potential for chalkboard or cork surfaces. These thoughtful additions elevate basic loft bed plans for tiny homes from purely functional to uniquely personal.
Safety Tips for Sturdy Construction
When building a DIY loft bed for cabin spaces, safety isn’t just an afterthought—it’s the foundation of your entire project. A well-built elevated sleeping area should feel rock-solid, not like a rickety accident waiting to happen. These practical tips will ensure your strong loft bed design stays secure for years while maximizing your space-saving cabin furniture solution.
Weight Capacity Matters More Than You Think
That cozy sleeping nook needs to handle more than just body weight. Factor in tossing and turning, extra blankets, maybe even a pet or two. Most loft bed plans for tiny homes suggest a minimum 200-pound capacity, but aiming higher never hurts. Reinforce joints with metal brackets and use thicker lumber than absolutely necessary—it’s cheap insurance against future problems.
Wall Anchoring Makes All the Difference
Free-standing designs work, but attaching your loft bed for cabin setups to wall studs adds incredible stability. Locate the studs first (a $5 stud finder saves headaches), then use heavy-duty lag bolts to secure the frame. This prevents any side-to-side swaying and distributes weight more evenly. In earthquake-prone areas, proper anchoring becomes non-negotiable.
The Right Angles Prevent Catastrophes
Those corner joints bear the brunt of the load. Simple butt joints won’t cut it for small cabin loft ideas meant for adult use. Upgrade to mortise-and-tenon or at least reinforced L-brackets. For extra credit, add triangular corner blocks—they’re invisible once installed but make joints nearly indestructible.
Guardrail Height Isn’t Optional
That beautiful open feeling you want shouldn’t come at the expense of safety. Rails need to extend at least 5 inches above the mattress surface—more if you’re using a thick mattress topper. Horizontal slats should have gaps no wider than 3.5 inches to prevent limbs (or curious pets) from slipping through.
Ladder Safety Is Often Overlooked
Most guides on how to build a playhouse bunk bed focus on the bed itself, neglecting proper access:
- Runs should be spaced 10 to 12 inches apart with textured surfaces for easy grip.
- A ladder angle of about 75 degrees feels most natural for climbing.
- Install removable safety rails if children will be using it regularly.
Regular Maintenance Checks
Wood settles and hardware can loosen over time. Schedule quick inspections every few months—tighten any loose bolts, check for new squeaks, and look for developing stress cracks. This takes five minutes but prevents most potential issues with your space-saving cabin furniture.

Material Choices Impact Safety
That gorgeous reclaimed wood might look perfect for your rustic retreat, but hidden rot or insect damage compromises integrity. Pressure-treated lumber resists moisture but contains chemicals you might not want near sleeping areas. Stick with kiln-dried pine or spruce for the best balance of safety and affordability in your loft bed plans for tiny homes.
Lighting Prevents Midnight Mishaps
A small LED strip under the rail or motion-activated path lighting makes those 2 AM bathroom trips much safer. Battery-powered options work great in cabins without extensive wiring. Just avoid anything that creates tripping hazards with cords.
When to Call a Professional
If your design includes cantilevers, unusual angles, or spans over 8 feet without center supports, consulting a carpenter might be wise. Similarly, if you notice unexpected flexing after assembly, don’t just add more screws—reassess the engineering.
Creative Storage Under the Loft
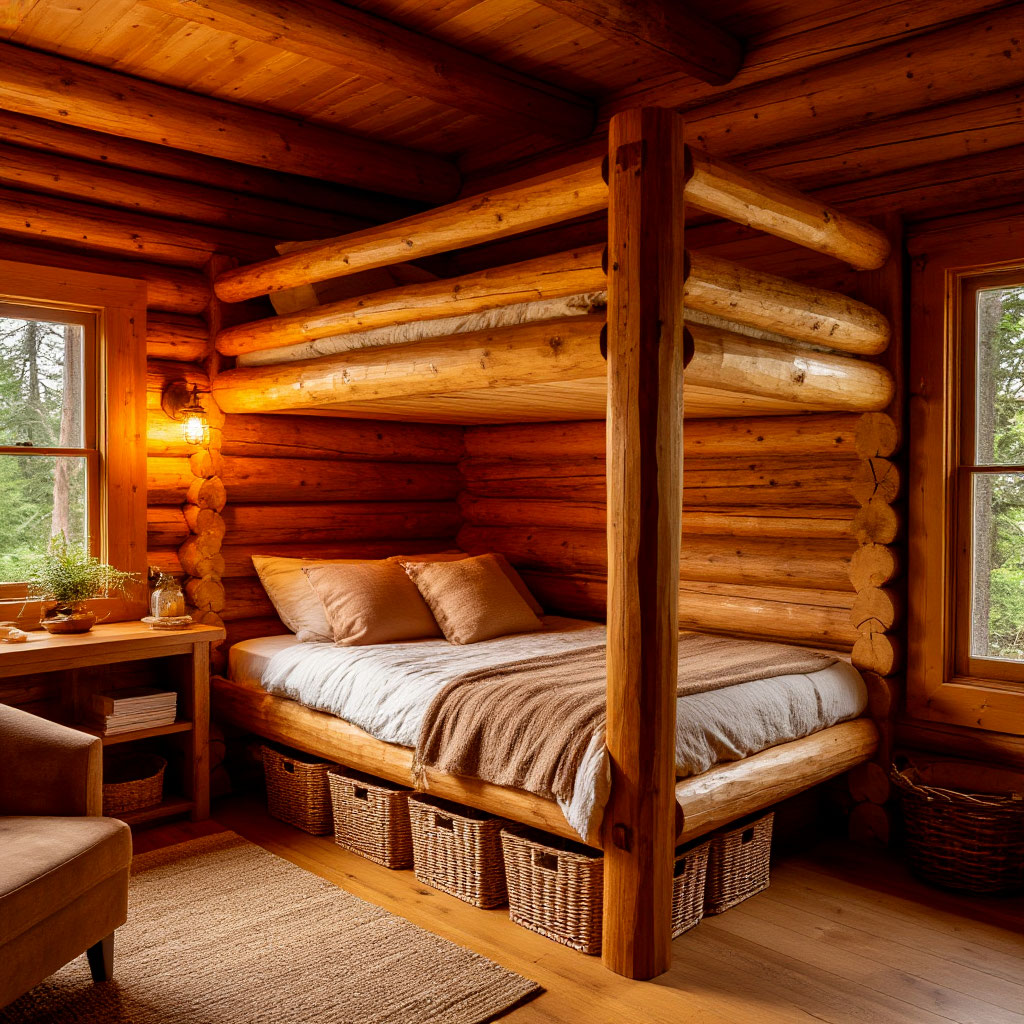
That empty space beneath your DIY loft bed for cabin setups isn’t just dead air – it’s prime real estate waiting to be transformed. With smart planning, you can turn the area under your sleeping nook into functional storage that complements your small cabin loft ideas while keeping essentials within easy reach.
Built-In Shelving Solutions
Custom shelving units maximize every inch of available space. Consider these options:
Floating shelves mounted directly to the bed frame.
- Bracket shelves for heavier items.
- Adjustable track shelving systems.
- Corner shelving units.
- Sliding barn door cabinets.
Floating shelves create display areas for books and decor without eating into floor space. For heavier items, install sturdy bracket shelves that can handle bins of gear or stacks of linens. Vary shelf depths – shallow ones near the top for smaller items, deeper ones below for bulkier storage.
Rolling Storage That Works Hard
Nothing beats wheeled bins or drawers for flexible organization under a loft bed for cabin arrangements. Look for low-profile containers that slide easily beneath the elevated platform. Clear plastic bins let you spot contents at a glance, while woven baskets add rustic charm. For frequently used items, install drawer glides to create smooth-pulling storage that feels built-in.
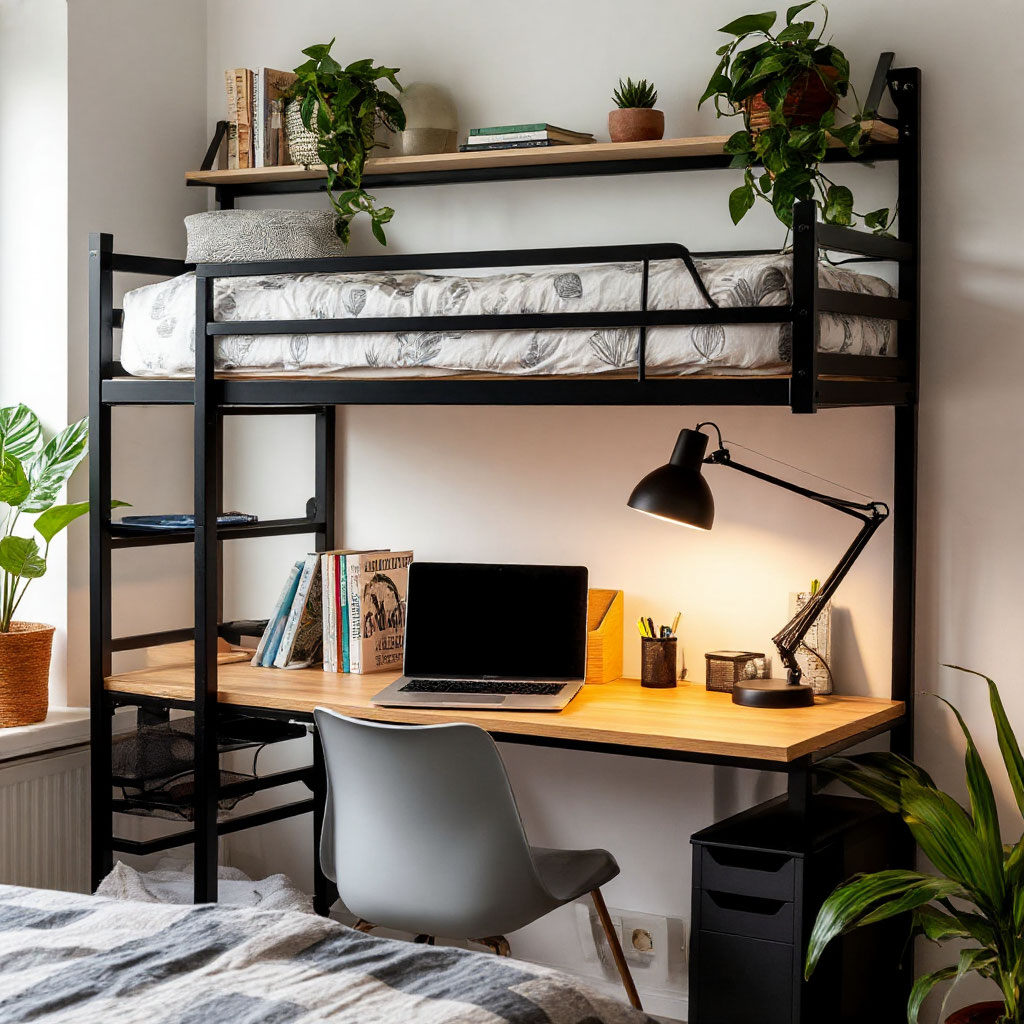
Compact Workspace Potential
That awkward corner under your bed could become a surprisingly efficient office nook. A slim desk surface mounted to the bed frame leaves room for a laptop and notepad. Add a wall-mounted fold-down table for temporary projects, or install a slide-out keyboard tray that tucks away when not in use. These space-saving cabin furniture solutions prove you don’t need much square footage to be productive.
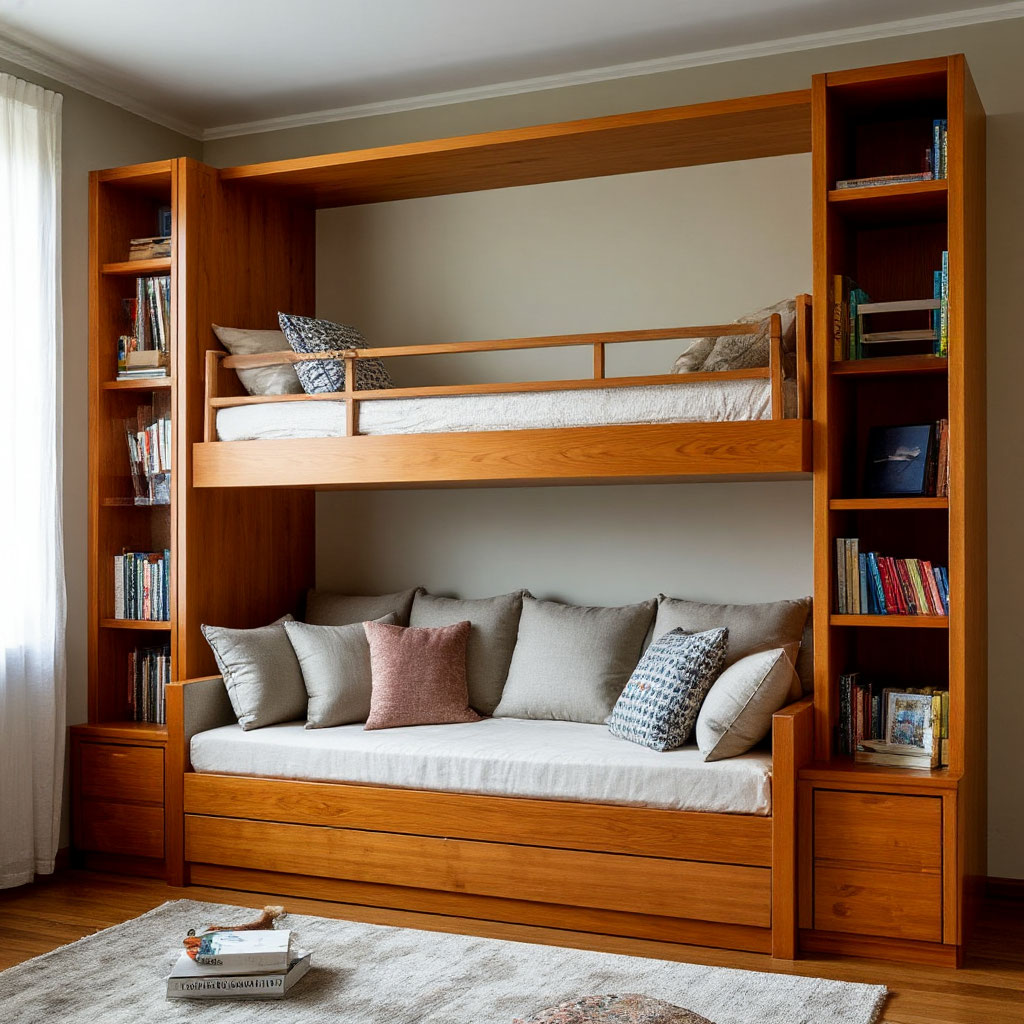
Cozy Seating With Hidden Storage
Turn the area beneath your strong loft bed design into a welcoming reading corner with multipurpose furniture. An upholstered bench with lift-up seats provides both seating and concealed storage. Floor cushions tossed over storage ottomans create flexible lounging spots. For cabins hosting guests, consider a daybed that pulls double duty as extra sleeping space when needed.
Vertical Storage Tricks
When floor space disappears, look upward with:
- Pegboard organization systems.
- Hanging shoe organizers.
- Magnetic strips for tools.
- Ceiling-mounted racks.
- Wall-mounted bike hooks.
Pegboards mounted to the underside of the bed frame organize tools and kitchen gear within easy reach. Magnetic strips keep metal objects neatly in place without consuming valuable surface area – perfect for how to build a bunk bed in a cabin storage solution.
The beauty of these tiny house loft ideas is their flexibility. Whether you’ve opted for simple under-platform storage solutions or created a multi-functional workspace, your loft bed should now serve as both a sleeping area and clever, space-saving cabin furniture. Remember to check for safety. These will ensure that your creation will remain sturdy for years of restful nights.
Looking back at these tiny house loft bed plans, it’s clear how much you can do with basic tools and materials. That empty space underneath your sleeping area? It can be transformed into functional storage or living space. That ladder or steps you built? They’re not just access points — they’re part of your cabin’s unique charm.
For anyone thinking about how to build a cabin bunk bed, your finished project is proof that with the right planning and attention to detail, even compact spaces can be incredibly functional. The techniques you’ve learned—from choosing the right wood to strengthening the joints—will be applicable to countless future projects.