Contents
- 1 Choosing the Right Wood Stove for Your Cabin
- 2 Prepping the Space: Clearances & Fireproofing
- 2.1 Understanding Clearances: Your First Line of Defense
- 2.2 Fire Safety Basics: When Drywall Isn’t Enough
- 2.3 Floor Protection: More Than Just Aesthetics
- 2.4 Air Supply: Don’t Suffocate Your Fire (or Yourself)
- 2.5 Special Considerations for Log Walls
- 2.6 Tool Time: What You’ll Really Need
- 2.7 Final Preparation: A 24-hour trial fit.
- 3 Installing the Stovepipe (Step-by-Step)
- 4 Building a Non-Combustible Hearth
- 5 Safety Checks & Common Mistakes to Avoid
- 6 FAQ
- 6.0.1 Do I need a permit to install a wood stove in my cabin if I’m doing DIY?
- 6.0.2 Will my homeowners insurance go up if I heat the cabin with a wood stove?
- 6.0.3 Is a small wood stove enough to heat a whole cabin in winter, or do I still need electric heat?
- 6.0.4 Why does my cabin wood stove make the whole place smell like smoke when I start a fire?
- 6.0.5 Do I really need a carbon monoxide detector and a heat shield if the wood stove already “feels fine”?
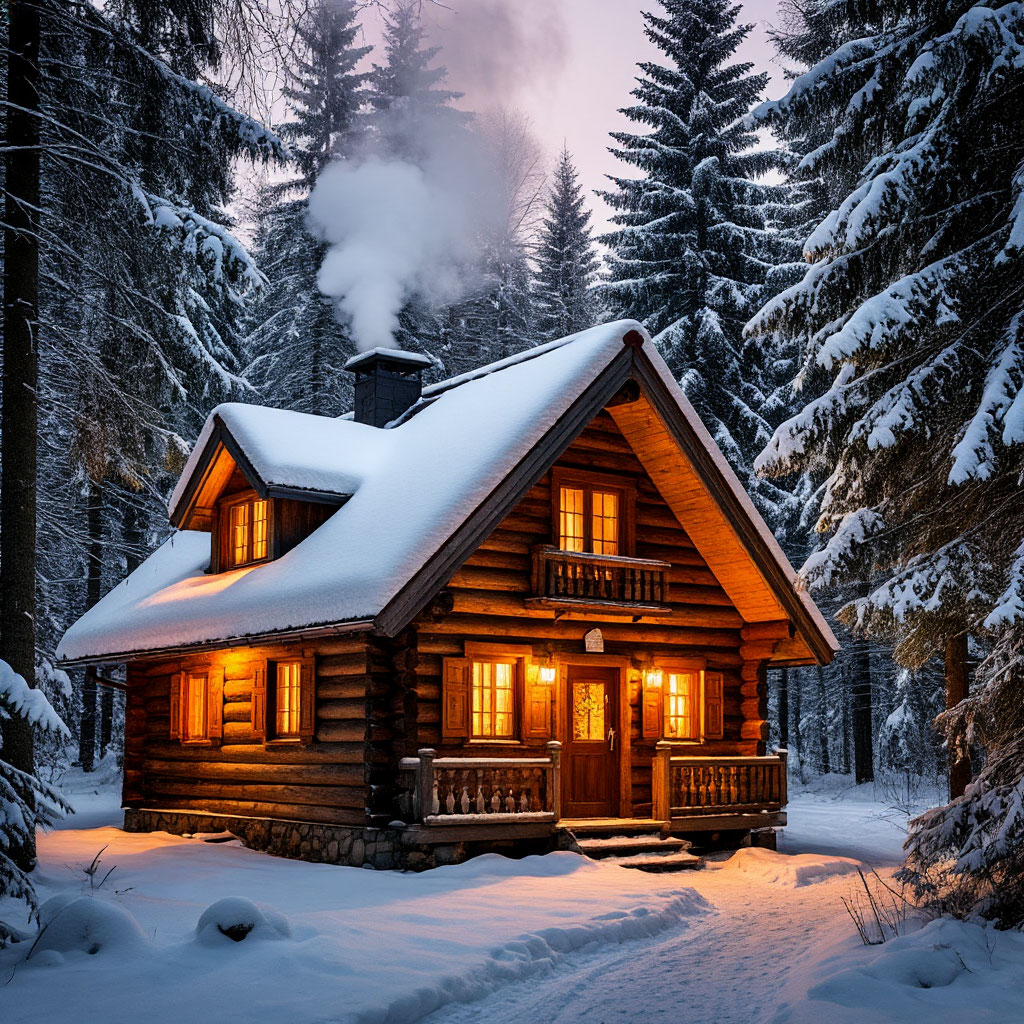
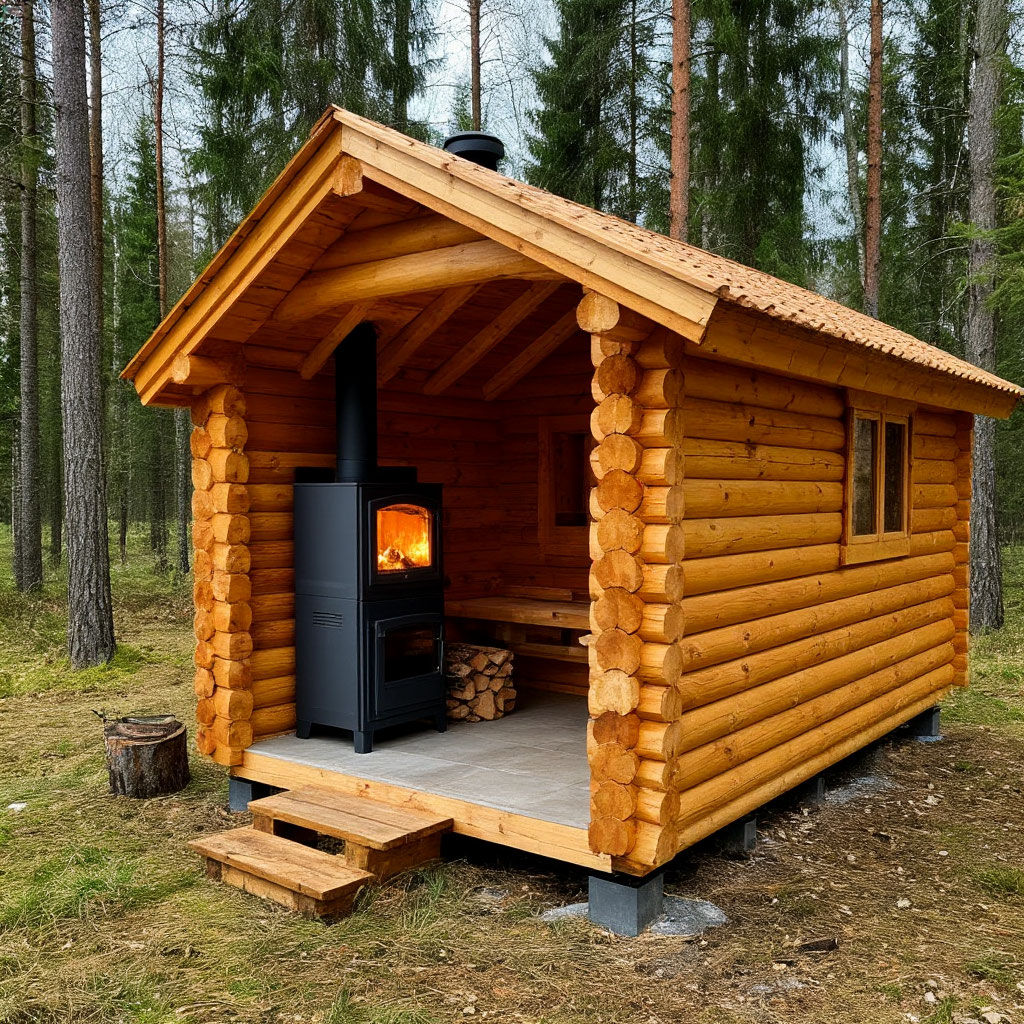
Thinking about adding a DIY wood stove installation project to your off-grid holiday home? Nothing beats the cozy warmth and rustic charm of a crackling fire on a cold night. But before you get started, knowing how to properly install a log home stove is crucial for safety and efficiency. Choosing one of the best wood stoves for small homes will ensure you get enough heat without wasting fuel. A safe stove venting guide will help prevent smoke buildup, while home heating solutions like proper insulation will add comfort. And don’t skip building a DIY stove hearth – it’s essential to protect your floors from the intense heat.
Choosing the Right Wood Stove for Your Cabin
When you’re tackling a DIY wood stove installation project, your stove choice can make or break the whole experience. Get it wrong, and you’ll either be freezing or turning your cozy sanctuary into a smoky sauna. Let’s focus on what really matters in your cabin heating decisions, because no one wants to waste time and money on the wrong gear.
Size Matters: Don’t Buy a Dragon for a Dog House
Here’s the golden rule of DIY cabin wood stove installation projects: Match the stove’s heat output to the actual space. That cute little potbelly stove might look perfect in your 200-square-foot hunting cabin, but it’ll laugh at you when the temperatures drop below freezing. On the other hand, cramming a huge Defiant into a tiny house will have you opening the windows in January just to breathe.
Most small cabins can handle a stove with a capacity of 20,000 to 40,000 BTUs. But here’s what most DIY wood stove installation guides won’t tell you:
- Insulation makes all the difference – a well-built cabin will retain heat better than a drafty one.
- Ceiling height matters – heat rises, so vaulted ceilings need more energy.
- Location, location, location – a stove in the center will heat better than one tucked into a corner.
Some of the best wood stoves for small cabins (like the Cubic Mini or Kimberly) are designed specifically for tight spaces. They pack serious heat into compact frames – perfect for your DIY wood stove installation project.
Efficiency: Where Your Money Really Goes
A good DIY wood stove installation is distinguished by excellent efficiency. Today’s EPA-certified wood stoves can extract nearly twice as much heat from the same amount of wood as older smoke dragons.
Here’s why this matters for your cottage heating solutions:
- Less chopping — more heat per log means fewer trips to the woodpile.
- Burns cleaner — less creosote buildup means safer operation.
- Longer burn — some catalytic models can burn for over 8 hours on a single load.
For this reason, DIY wood stove installation pros swear by brands like Blaze King and Vermont Castings. Yes, they cost more up front, but they’ll pay for themselves in wood savings over the course of several seasons.

The Material World: Steel vs. Iron vs. Talc
Every DIY wood stove enthusiast sooner or later faces a materials dilemma:
- Steel stoves (like most models made in the U.S.) heat up quickly and handle harsh conditions well.
- Cast iron (like European brands like Jøtul) radiates heat longer but doesn’t like sudden temperature changes.
- Soapstone is the luxury option: it heats up slowly but retains heat for hours after the fire goes out.
For most DIY wood stove projects, steel is the sweet spot between price and performance. But if you want the classic cabin look and don’t mind babysitting your stove, cast iron can’t beat it.
The Ventilation Equation: Plan Before You Buy
Here’s where many DIY wood stove projects go wrong—they buy the stove before they think about the chimney. Different stoves require different venting settings:
- Top-vent models are the easiest to install straight in.
- Back-vent stoves save space, but can require tricky pipe angles
- Pellet stove options complicate things even more (but that’s another topic)
Your guide to safely venting your stove starts with the heating unit itself. Check the manual for clearance requirements before you fall in love with a specific model. Some only need 6 inches from combustible materials; others require 36 inches or more.
Reality Check Your Budget
Let’s be honest — your DIY wood stove installation budget probably isn’t unlimited. Here’s how to spend your money wisely:
- 500–1200 gets you a decent basic steel stove.
- 1500–3000 gets you high-efficiency models.
- $3000+ is DIY territory (and probably overkill for most cabins).
Remember: The stove is just one part of the cost of installing a DIY wood stove. Factor in a chimney, hearth materials, and maybe professional help for the tricky bits.

Pro Tip: It’s All About the Wood
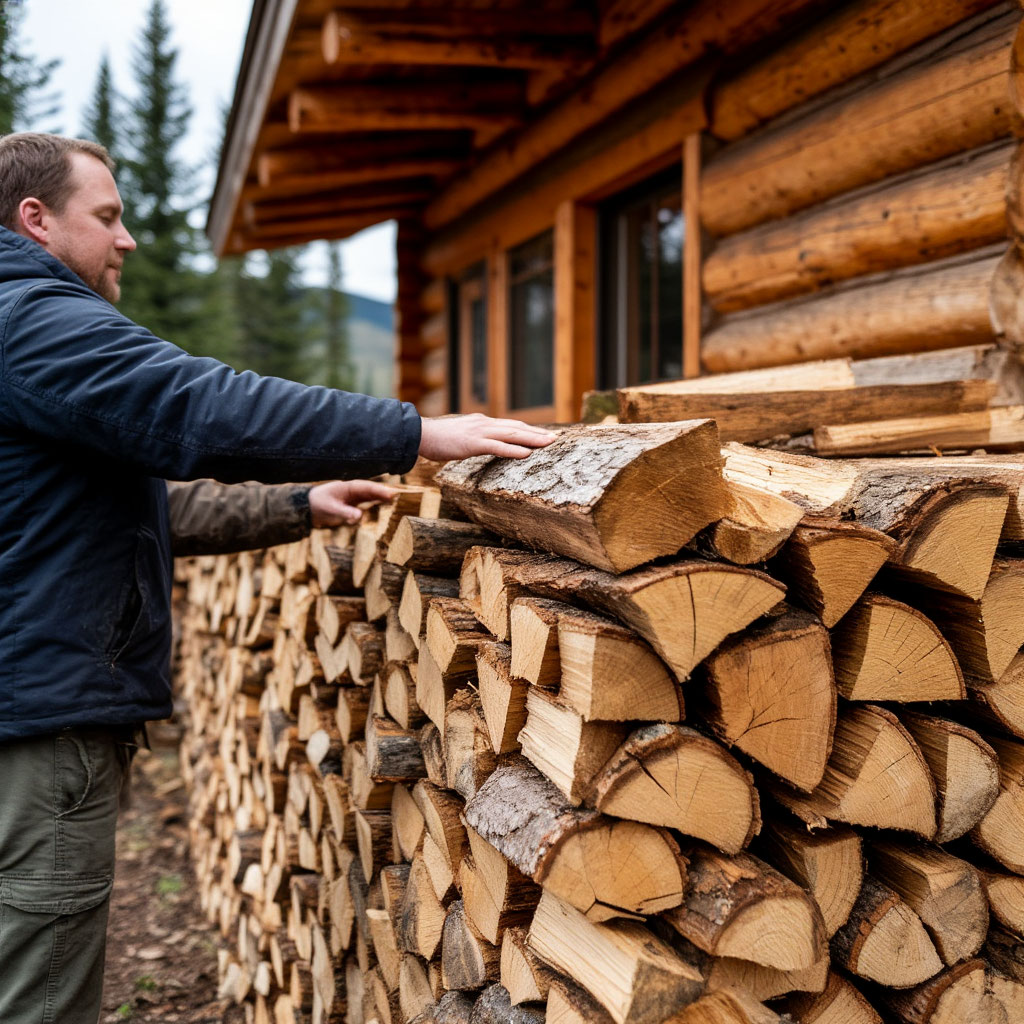
Even the best tiny house wood stoves turn into expensive paperweights if you feed them junk. Here’s what every DIY wood stove cabin owner should know:
- Seasoned hardwood only—no “it’s been sitting for months” nonsense.
- A moisture meter is a must—if it’s over 20%, keep splitting and stacking.
- Storage matters—top off, sides open for air circulation, off the ground.
Get it right, and your DIY wood stove cabin project will reward you with cozy winters for decades. Get it wrong, and you’ll be constantly battling creosote and drafty problems.
Choosing the right stove for your DIY wood stove cabin isn’t about finding the shiniest or cheapest option – it’s about matching your actual needs with the right tool for the job. Consider your space, fuel availability, and how you’ll be using the cabin.
Turn that empty corner into a suitable spot for your new stove with our DIY wood stove hearth guide. Because the best stove needs a safe and legal place, and that’s a whole other adventure.
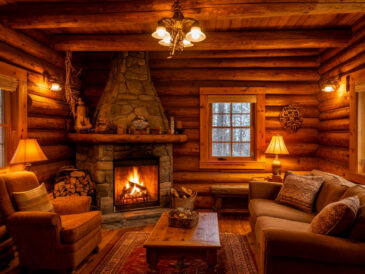
Prepping the Space: Clearances & Fireproofing
Before you get too excited and start firing up your new stove, you’ll need to do some prep work. Skipping this step in your DIY wood stove installation project is like building a house on sand—something is bound to go wrong. And when it comes to wood stoves, “go wrong” usually means smoke, fire, or worse. Let’s make sure your installation is safe from the start.
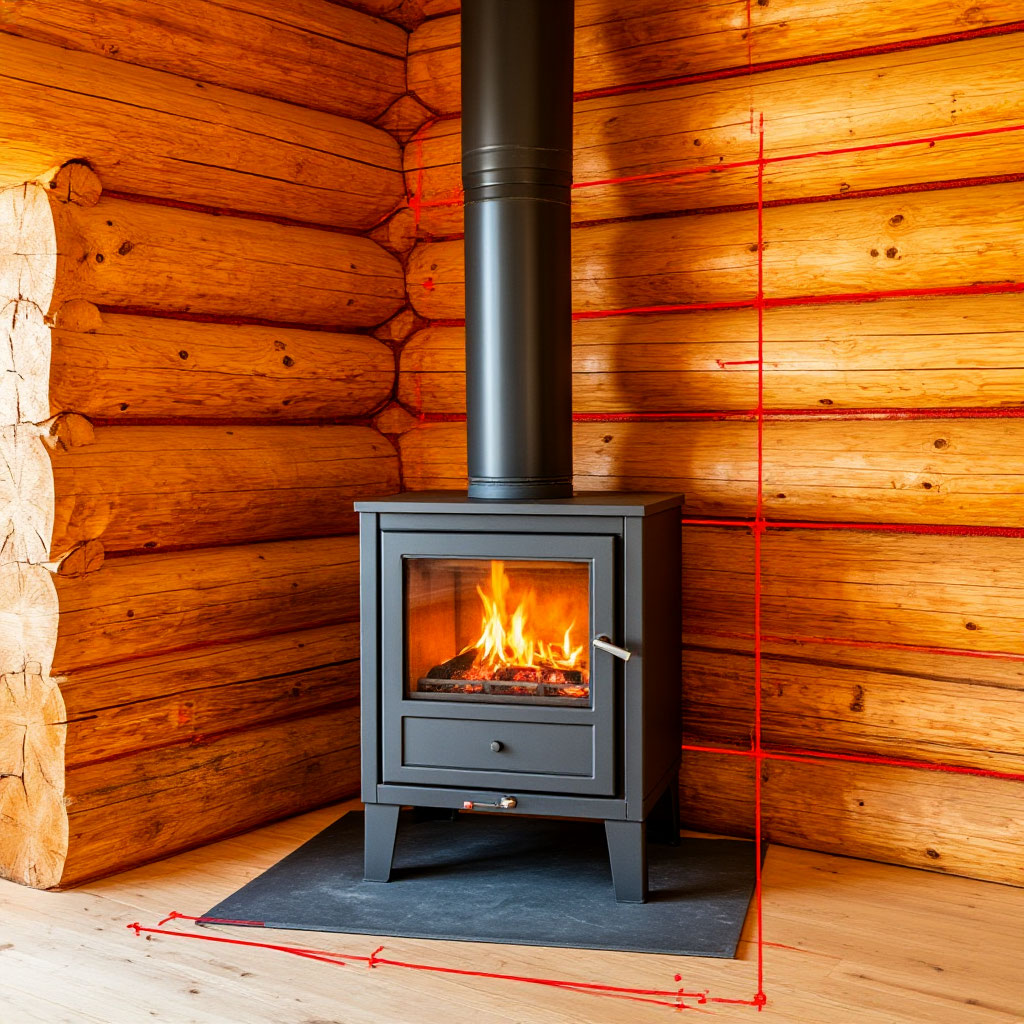
Understanding Clearances: Your First Line of Defense
Each stove model has specific clearance requirements—the minimum distances from the walls, floor, and ceiling. This determines how comfortable your home will be.
For most small homes, you’ll see numbers like these:
- 12–36 inches from combustible walls (drywall, wood paneling).
- 18 inches from furniture or other flammable materials.
- 16–48 inches of vertical rise in front of any horizontal pipes.
But here’s the thing: They vary depending on the type of furnace you have, the configuration of the pipes, and whether you use heat shields. The guide to safely venting a furnace starts with the manufacturer’s specifications — ignore them at your own risk.
Fire Safety Basics: When Drywall Isn’t Enough
Drywall may seem strong, but it’s essentially paper for the heat of a wood stove. That’s why proper cabin heating solutions involve creating fire-resistant barriers. There are methods to solve the problem.
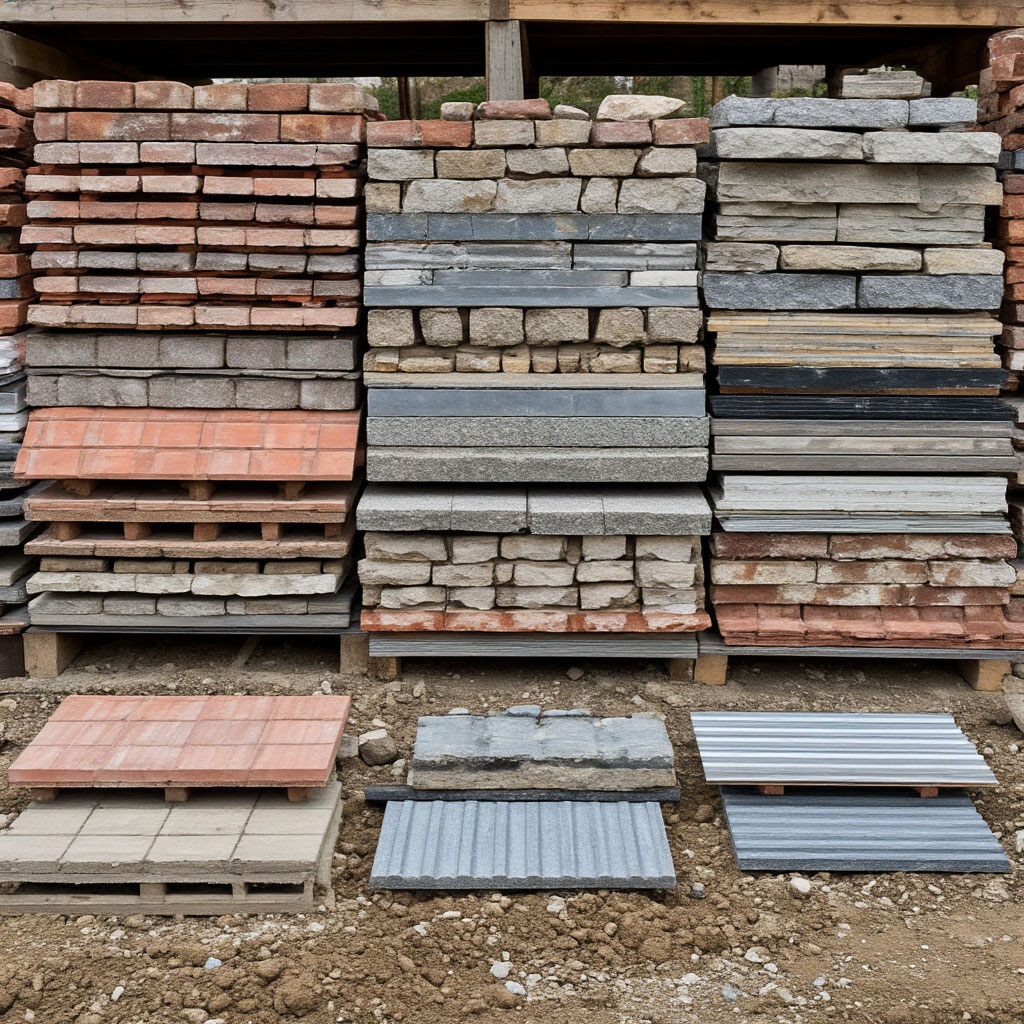
Option 1: Cement Board and Tile
- Attach 1/2-inch cement board to the studs, then add tile to complete the look.
- Maintains an aesthetically pleasing appearance while blocking heat transfer.
Option 2: Sheet Metal Studs
- Install 24-gauge steel panels with 1-inch air gaps behind them.
- Cheap and effective, if not exactly cozy-chic.
Option 3: Pre-fabricated Heat Shields
- UL-listed panels that cut the spacing between gaps in half.
- Expensive, but ideal for tight spaces.
Pro tip: Double-check your local codes — some areas require special materials to build a DIY stove hearth.
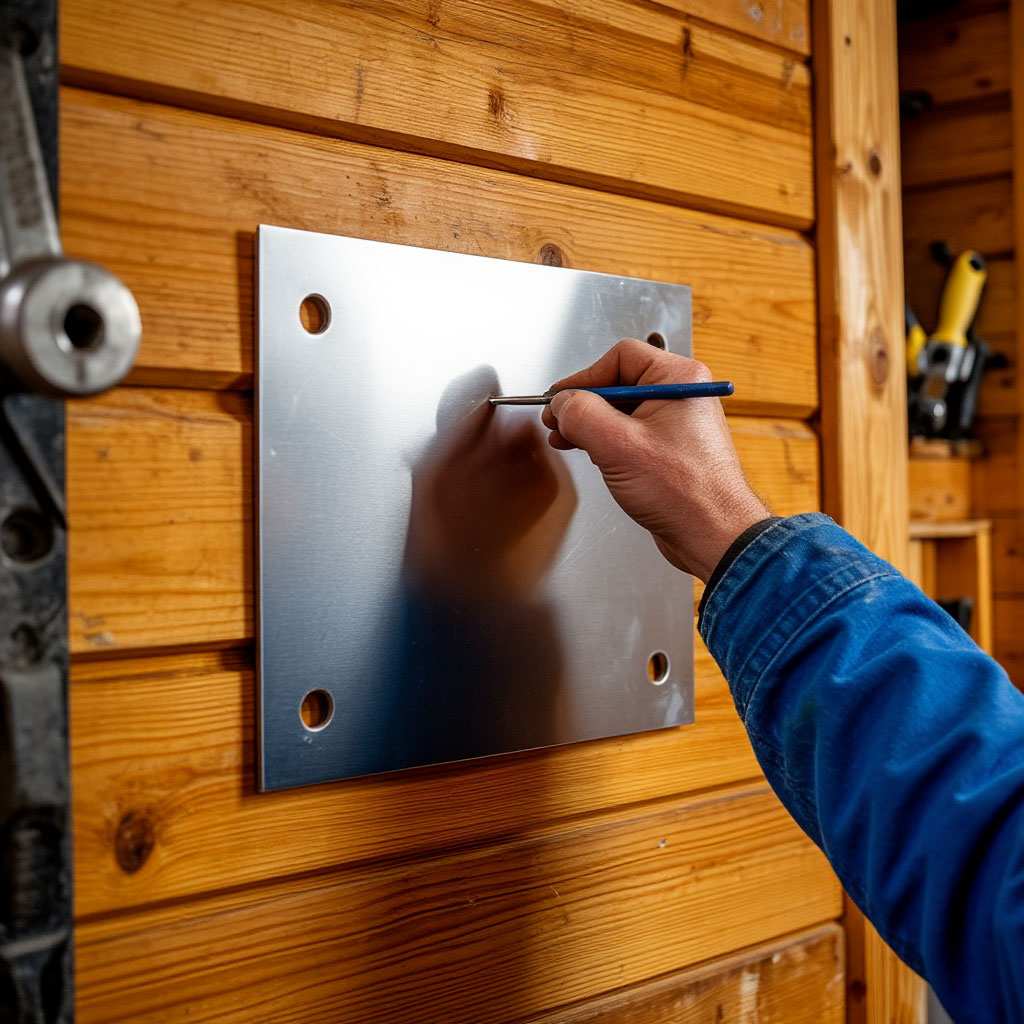
Floor Protection: More Than Just Aesthetics
Coals crackle. Floors burn. It’s physics. Your stove needs a real hearth, not just a few decorative tiles from the hardware store.
For most installations, you’ll need:
- Protection with an R-value (a measure of resistance to heat) that matches your stove’s specifications.
- Extended coverage — typically 16 to 20 inches beyond the sides of the stove and 8 to 18 inches in the front.
A concrete pad covered with flagstones works great for DIY cabin wood stove installations. Just make sure everything is level — a wobbly stove is a hazard.
Air Supply: Don’t Suffocate Your Fire (or Yourself)
Modern cabins are cramped. Sometimes too cramped. A roaring fire sucks up oxygen, and without make-up air, it leads to poor combustion and negative pressure, which pulls carbon monoxide into the living space.
Install an external air supply kit if your stove supports it, or at least crack a window when the stove is running. This is a small detail that most log cabin stove installation guides overlook until users start to get headaches.
Special Considerations for Log Walls
Log cabins come with unique challenges:
- Over time, settling can warp pipe joints.
- Those beautiful round walls make insulation difficult.
- Check for insect damage before installing anything.
Many of the best wood stoves for tiny houses work well in log structures, but you may need adjustable chimney supports and extra vigilance when adjusting clearances as the building settles.
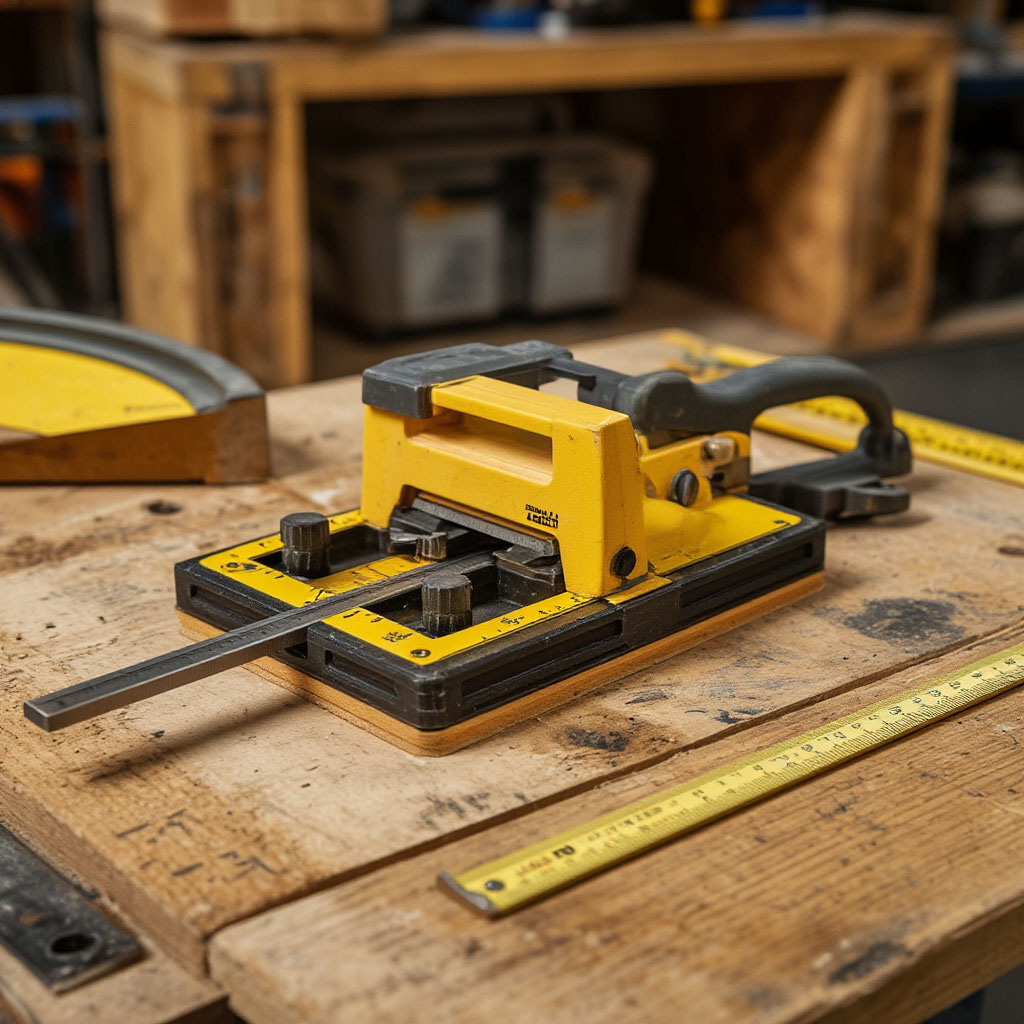
Tool Time: What You’ll Really Need
Don’t start this part of your DIY wood stove installation project without:
- A stud finder (to find safe mounting points).
- Fire-resistant sealant (to seal those gaps!).
- Quality masonry drill bits (concrete eats up the cheap ones).
- A laser level (because eyeballing the pipes will make them crooked).
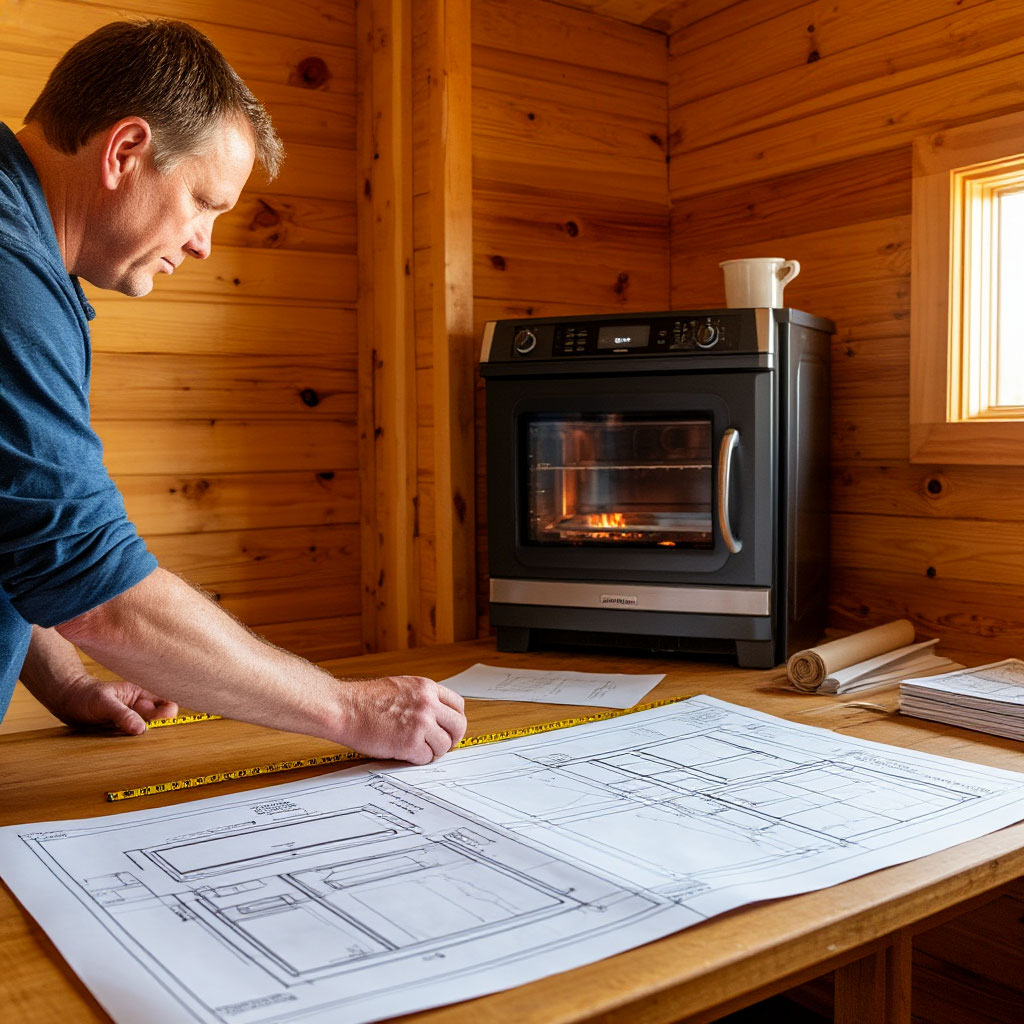
Final Preparation: A 24-hour trial fit.
Before you start planning:
- Place the stove (without the chimney) where you want it.
- Mark the clearance areas with masking tape.
- Live with it for a day – adjust if the traffic flow doesn’t feel right.
You’ll thank yourself later when you don’t have to walk around a hot stove all winter.
Installing the Stovepipe (Step-by-Step)
This is where your DIY wood stove installation project gets serious. A chimney isn’t just a metal pipe, it’s the lifeline that keeps smoke out of your living space and ensures proper draft. If you screw it up, you’ll be choking on backdrafts or worse.
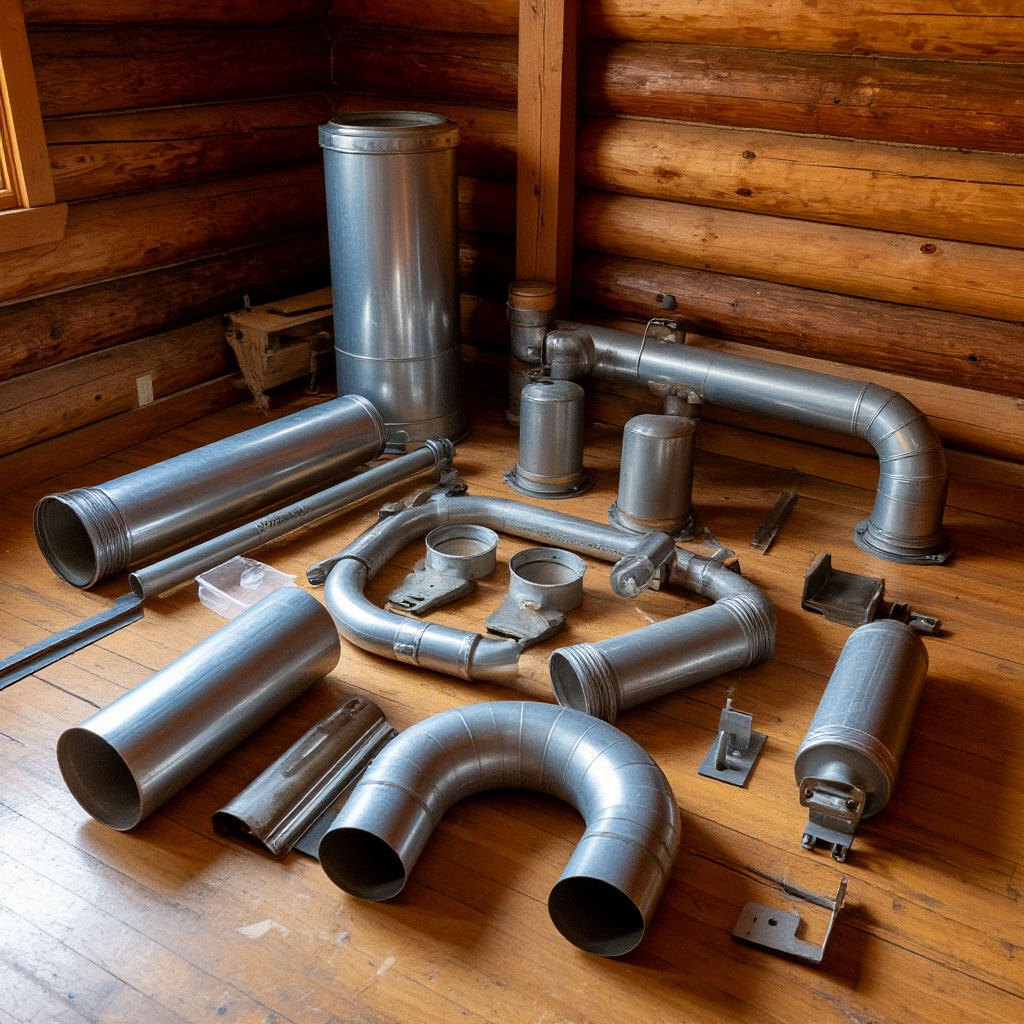
Choosing the Right Pipe for Your Installation
Not all chimneys are interchangeable. Single-wall pipe is less expensive, but requires much larger clearances from combustible materials — typically 18 inches or more. This is fine for short, simple runs, but if your cabin heating solutions involve tight spaces or longer sections of chimney, double-wall insulated pipe is worth the extra cost. The insulated design keeps flue gases hotter, improving draft and reducing creosote buildup.
Measure and Cut with Precision
Before making any cuts, check the size of your stove’s flue collar — typically 6 or 8 inches in diameter. Consider the slope of your roof, as steeper angles mean longer sections of pipe. A laser level ensures everything stays plumb, as even a slight tilt can hurt performance. Support brackets every 5 to 6 feet prevent sway, especially in windy areas.
The ceiling penetration is a critical component of any stove venting guide. Start by installing the ceiling support box, framing the opening with noncombustible materials, and maintaining proper clearances. Firestop insulation seals the gaps where the pipe meets the building materials, preventing heat transfer. Temporarily clean the surrounding insulation before cutting — fiberglass particles are no fun later.
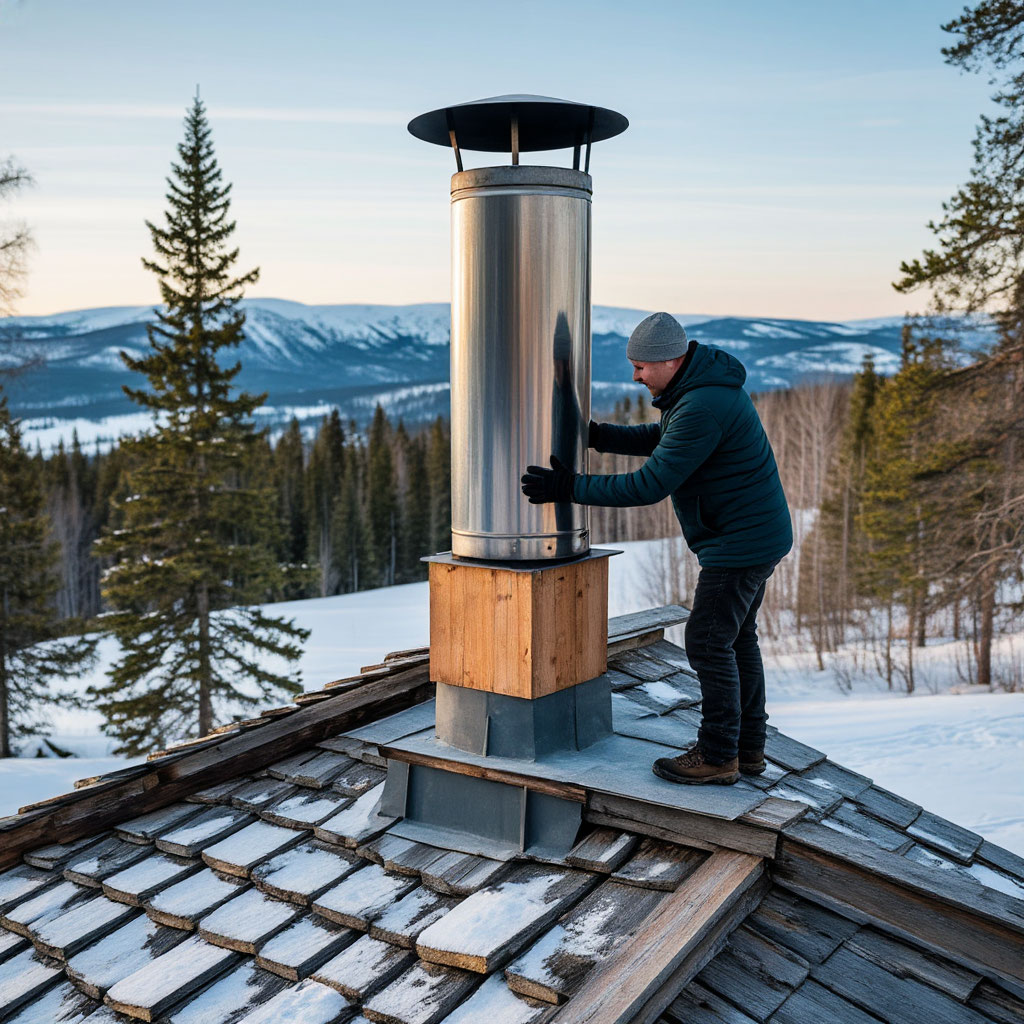
Waterproofing the Roof Penetration
A leaky roof penetration will ruin even the best small cabin wood stoves. The flashing should extend at least 2 inches beyond the chimney on all sides, and a storm collar should be installed above it. High-temperature silicone (not standard caulk) seals the edges. If your roof has a steep slope, consider hiring a professional—it’s not a move worth risking if you’re concerned about height.
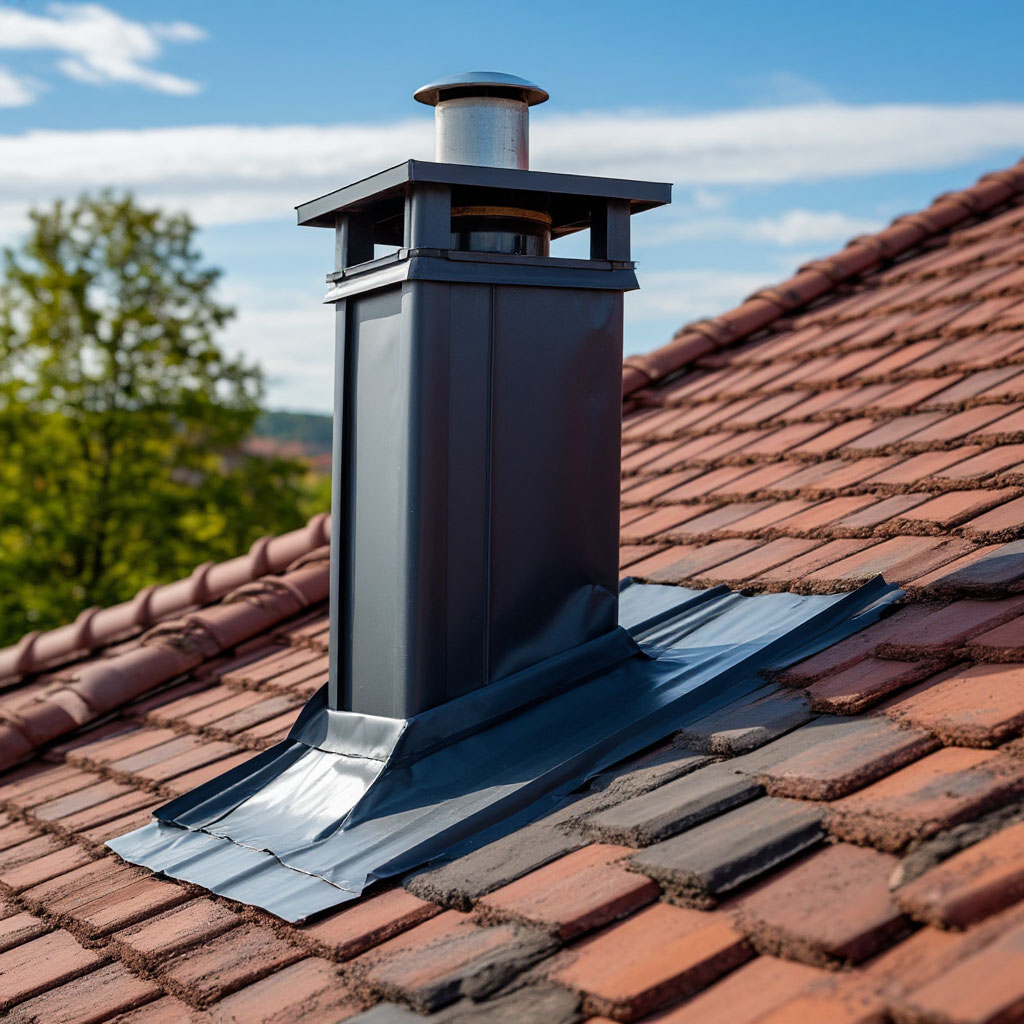
Optimizing the Draft for Reliable Performance
A good chimney draft extends at least 3 feet above the roof penetration and 2 feet above any structure within 10 feet. Horizontal runs should be less than 3 feet total—excessive sideways pipe runs kill airflow. Test the draft before completing the installation by burning some crumpled newspaper in the stove. If the smoke lingers instead of rushing up the chimney, something is wrong.
Secure connections and final checks
Assemble the chimney so that the corrugated ends point downwards toward the stove, so that condensation and creosote flow back into the firebox rather than leaking out at the joints. Three evenly spaced screws per joint prevent separation by allowing the metal to expand as it heats up.
Before lighting your first real fire, check that all connections are tight, that clearances are sufficient, and that the chimney cap is securely fastened. Keep a charged fire extinguisher nearby, just in case.
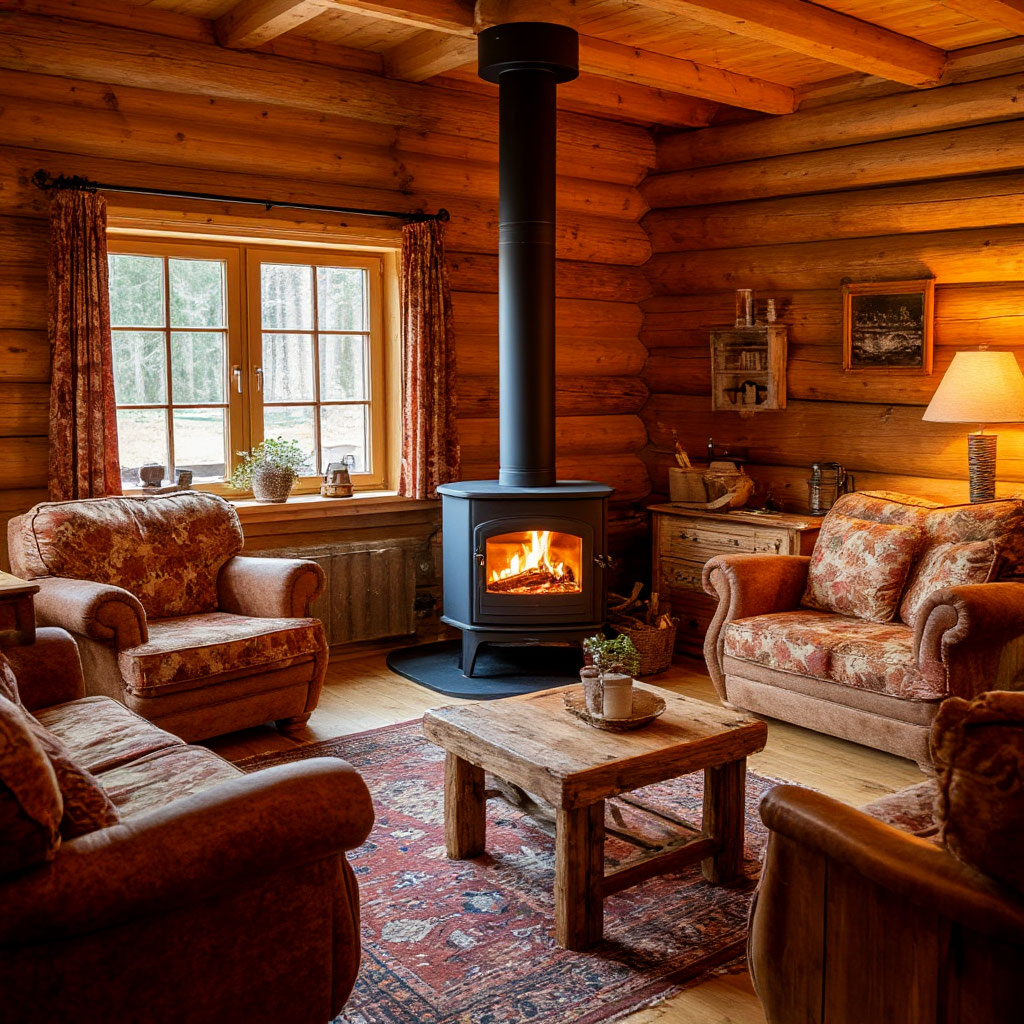
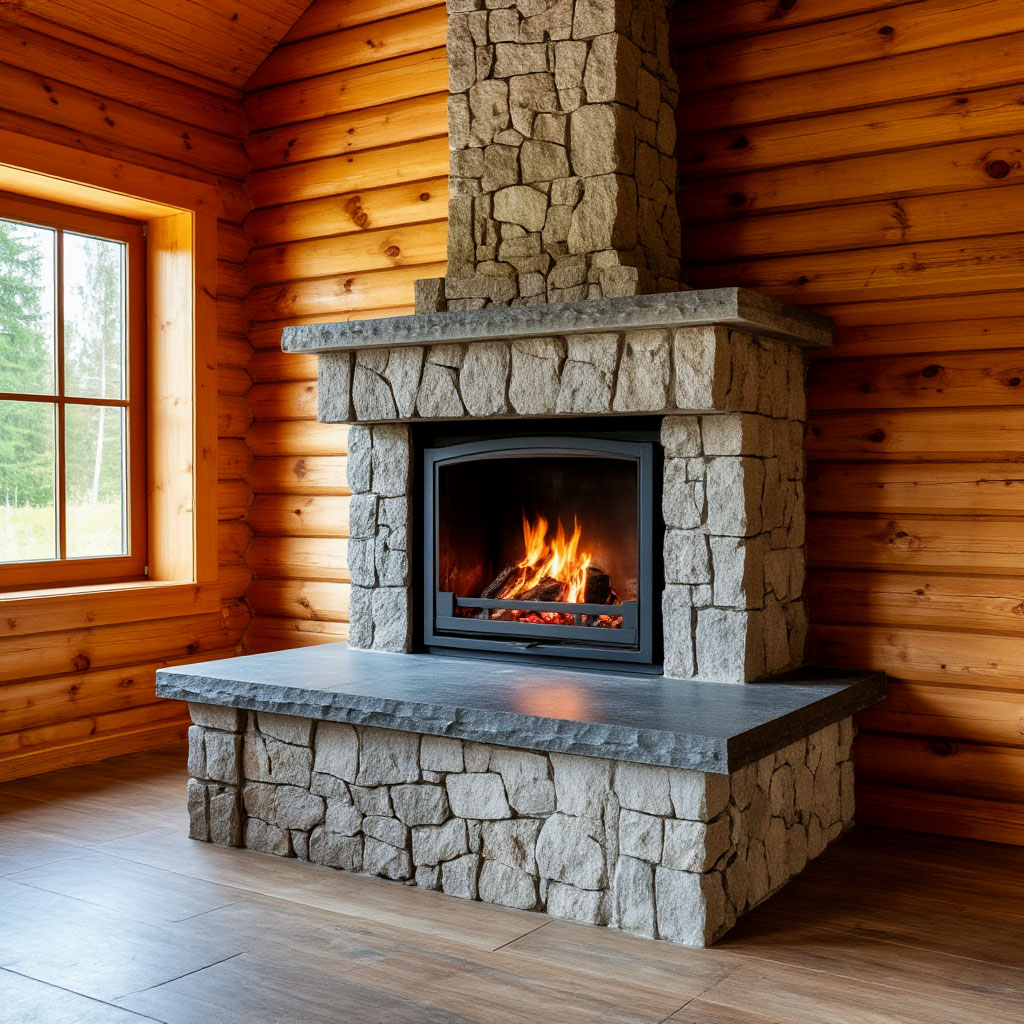
Building a Non-Combustible Hearth
That beautiful stove you just installed needs the right foundation — and we’re not talking about some throw rug or cheap tile from the home improvement store. Your DIY wood stove installation project wouldn’t be complete without a serious hearth that meets safety standards and complements your space.
Understanding Hearth Requirements
Building codes and stove manufacturers don’t joke around with hearth specifications. A proper foundation protects your floors from stray embers and radiant heat that can cause a fire. Most of the best wood stoves for tiny homes require an R-value of 1.0 to 2.0, which means about 2 to 4 inches of proper masonry materials.
The hearth should extend at least 16 to 20 inches beyond the walls of the stove and 8 to 18 inches in front of the door. These measurements aren’t arbitrary — they account for pop-up embers and the intense radiant heat that comes from loading wood. Your stove venting guide should include these hearth dimensions, which are just as important as flue clearances.
Choose Your Materials Wisely
A concrete pad laid with tiles on top is a great base for most cabin heating solutions. The pad provides the insulation needed, while the tiles add a finished look. For a rustic look, natural stone slabs are great, but they need to be leveled properly.
Some DIYers choose cast-in-place concrete hearths, which offer unmatched strength but require precision formwork. Pre-fabricated hearth pads are another option—they’re code-compliant and install in minutes, though they lack the custom charm of built-in solutions.
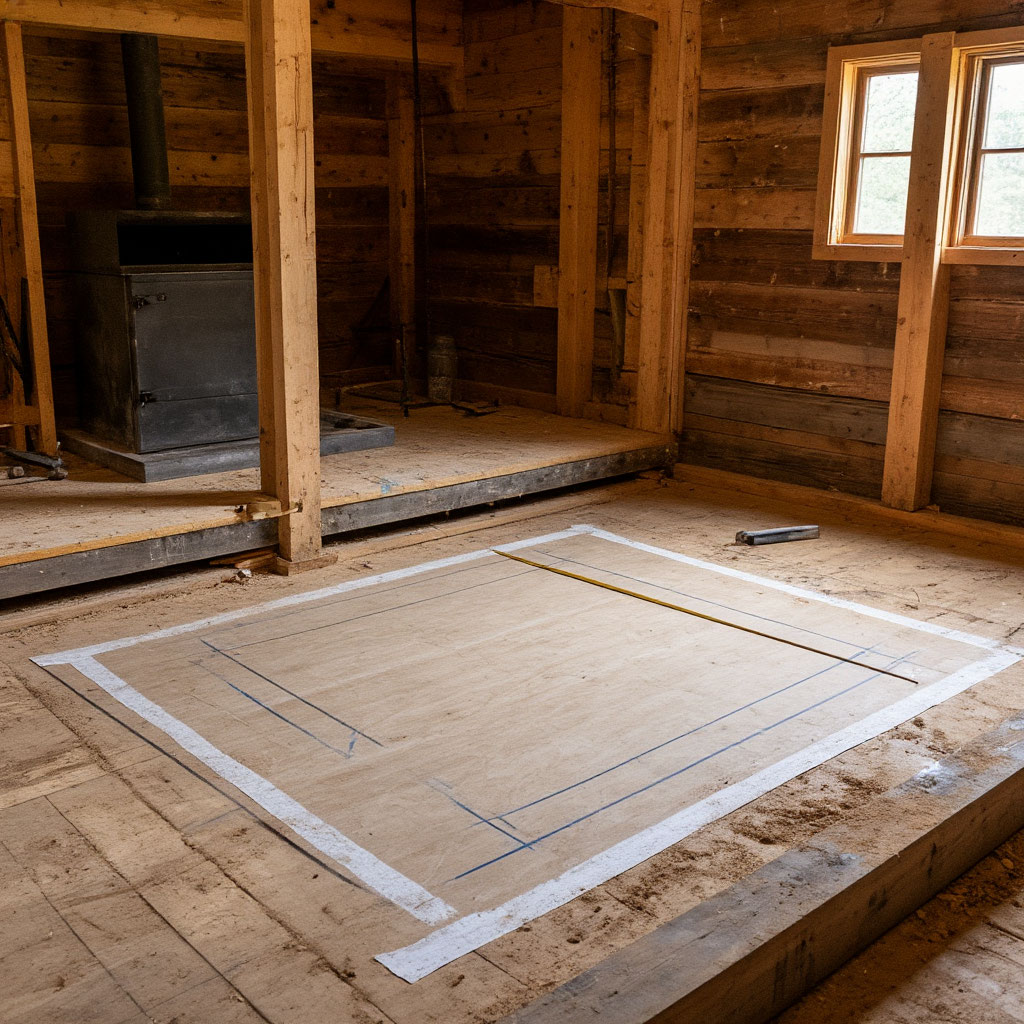
Unraveling the Installation Process
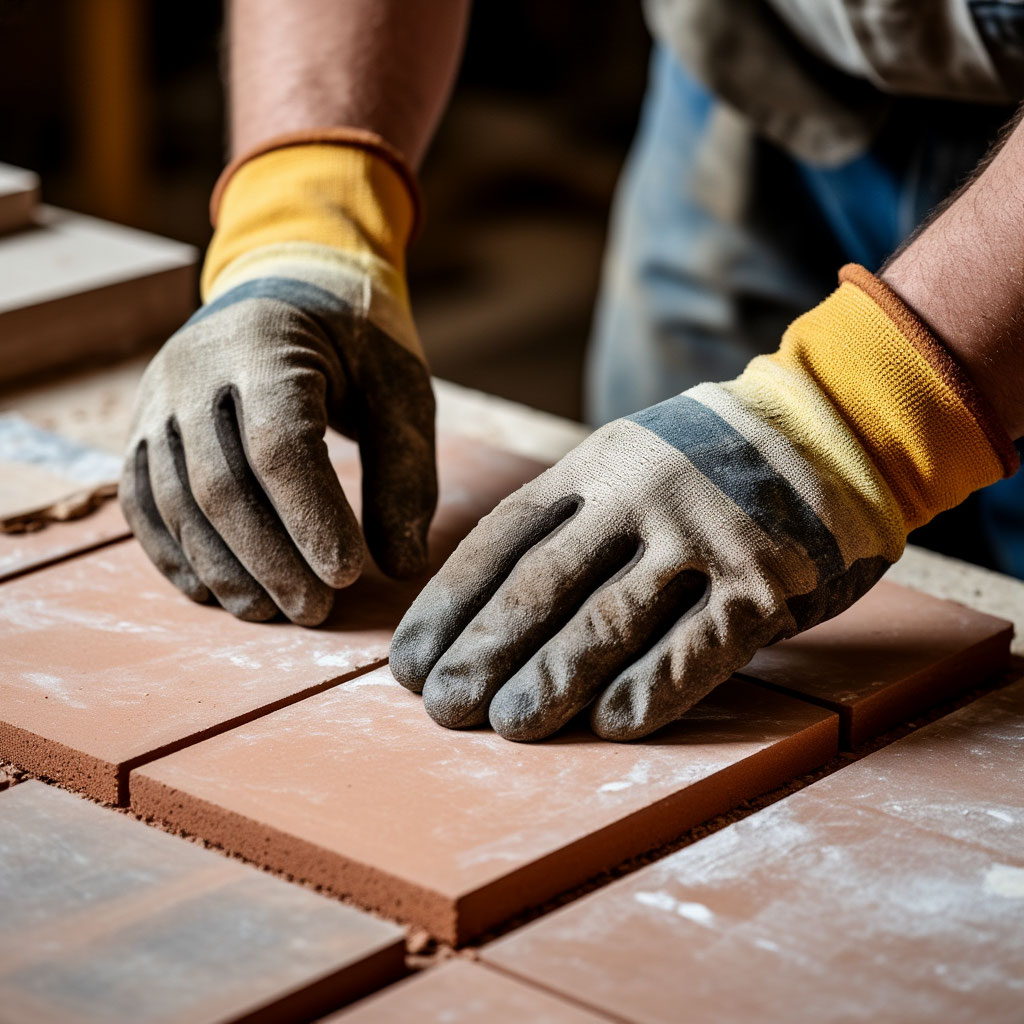
Start by marking out the planned hearth area with painter’s tape to visualize the space. Remove all flooring down to the subfloor, then install cement underlayment using thinset mortar and underlayment screws. Create a perfectly level surface—use a straightedge to check your work.
When tiling, apply heat-resistant thinset mortar in small sections, setting tiles with spacers to create even grout lines. Choose unglazed porcelain or natural stone tiles—they hold up to heat better than ceramic options. Once the mortar has cured, apply sanded grout and seal it once completely dry.
Special Considerations for Wood Floors
If your cabin has beautiful hardwood that you don’t want to completely cover, you have options. Create a raised fire pit using fire-resistant materials that will elevate the stove while still allowing the wood around it to show through. Just make sure the platform extends beyond any clearance requirements and has a lip to hold the ash.
Finishing Touches
Once your fireplace is installed, give it 48 hours to cure completely before installing the stove. This waiting period is critical — moving the stove too soon can cause the fresh mortar or grout to crack. Consider adding a decorative metal surround for protection and visual appeal.
Your finished fireplace should complement the aesthetics of both your stove and your cabin while providing peace of mind. After all, part of knowing how to properly install a log cabin stove involves creating a solid foundation that looks like it’s meant to be there.
Common Fireplace Mistakes to Avoid
Omitting a layer of insulation underneath the tile is often a mistake, as the tile itself does not provide enough protection. Another pitfall is making the fireplace too small to save space – these clearance requirements exist for a reason. Using regular construction adhesive instead of heat-resistant mortar will not work as the temperature rises.
Maintenance and care
Even the best fireplace requires periodic care. Seal the grout joints annually if using natural stone. Check for cracks before each heating season – hairline cracks can get worse with temperature changes. Keep the surface free of flammable materials such as newspapers or kindling.

Safety Checks & Common Mistakes to Avoid
You’ve made it this far in your DIY wood stove installation cabin project – don’t trip at the finish line. That first fire might feel like victory, but skipping these crucial safety checks could turn your cozy retreat into a cautionary tale. Let’s walk through what separates a professional-grade installation from a potential disaster.
The Pre-Fire Inspection Checklist
Before striking that first match, grab a flashlight and inspect every inch of your setup. Start with the stovepipe connections – each joint should have three evenly spaced screws with crimped ends facing downward. Run your hand along the pipe (when cold) feeling for any sharp edges or loose sections that might indicate improper assembly.
Check your hearth’s edges where it meets the flooring. Any gaps wider than 1/8 inch need filling with high-temperature silicone. Verify all clearances with a tape measure – no eyeballing allowed. That beautiful reclaimed wood wall might look fine now, but wait until it’s been baking at 400°F for hours.
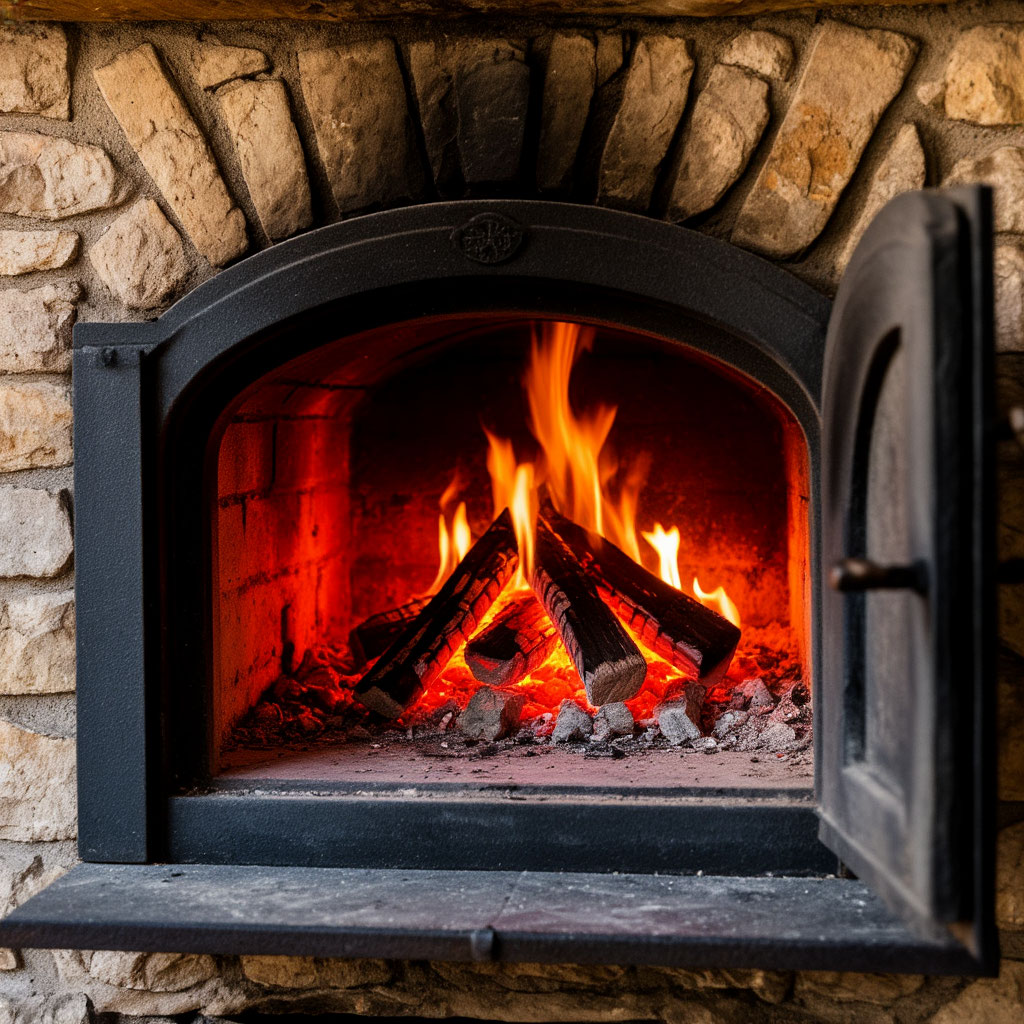
The First Fire Protocol
Your inaugural burn shouldn’t be a roaring bonfire. Start small with some kindling and a few small splits, gradually increasing the temperature over several hours. This “break-in” fire serves two purposes: it cures any heat-resistant paints or sealants, and lets you monitor your system’s performance at safe temperatures.
Watch for smoke leakage at pipe joints – a wisp here indicates a need for more screws or high-temperature sealant. Notice how the draft behaves when opening the door – proper airflow should pull smoke up immediately rather than letting it escape into the room.
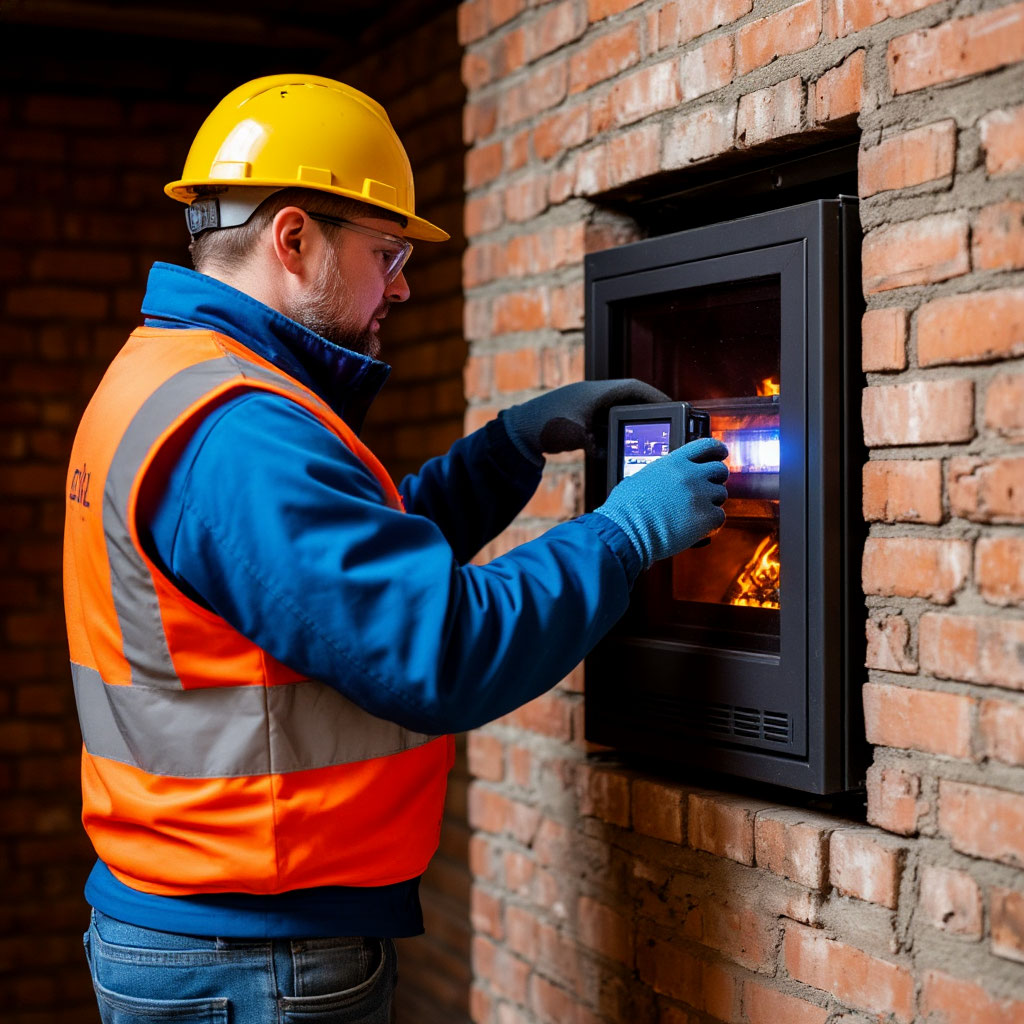
Carbon Monoxide: The Silent Threat
Even the best wood stoves for small cabins can produce this odorless killer if something’s amiss. Install CO detectors at sleeping level and near the stove – not just on the ceiling where they’re less effective. Test them monthly, and replace batteries annually even if they’re hardwired.
Watch for symptoms like persistent headaches or nausea when the stove’s running. These often appear before alarms trigger, giving you early warning that your cabin heating solutions need adjustment.
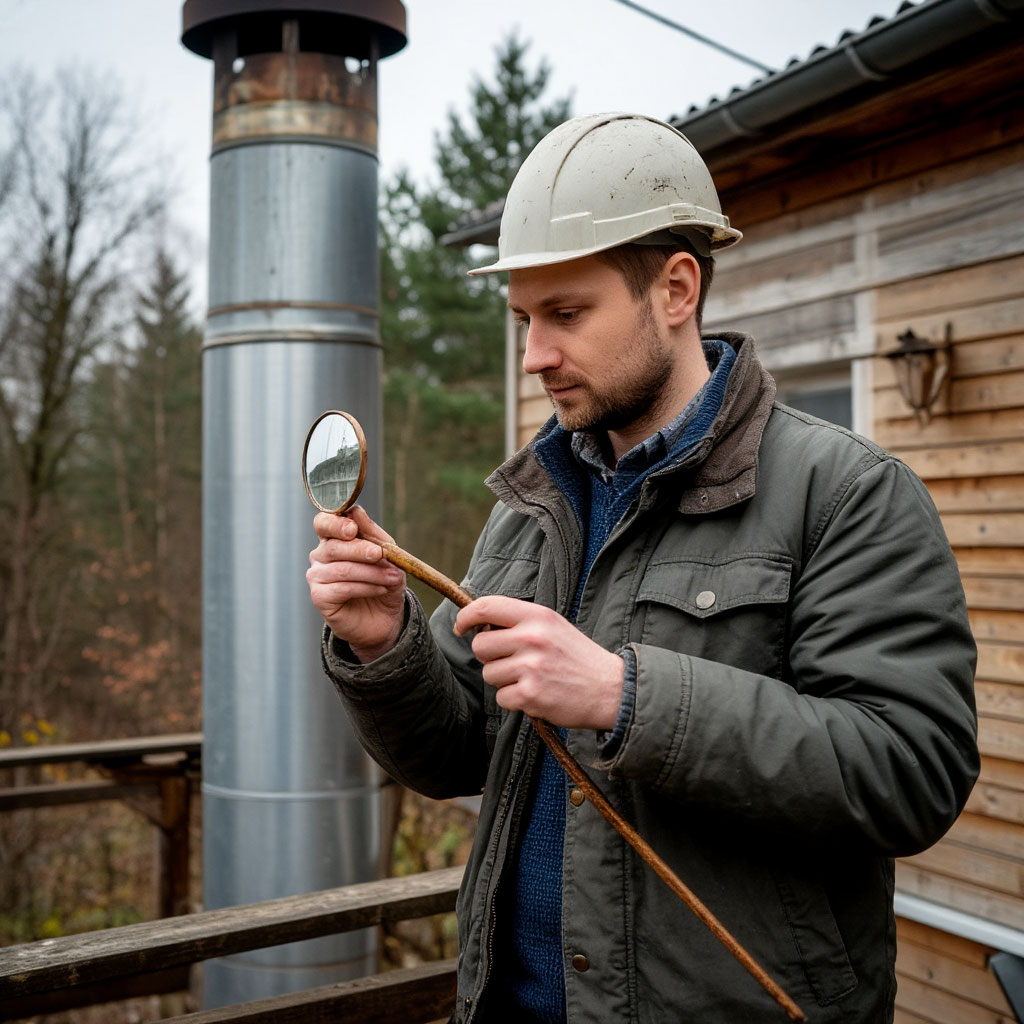
Creosote Management
That black, tarry buildup inside your chimney isn’t just dirty – it’s literally fuel for chimney fires. How quickly it forms depends on your burning habits and the safe stove venting guide you followed during installation.
Check accumulation monthly by shining a flashlight up the pipe or using an inspection mirror. If you see more than 1/8 inch buildup, it’s cleaning time. Schedule professional inspections annually, even if you’re diligent about DIY maintenance.

Common Installation Blunders
Through-the-roof installations often go wrong when the flashing isn’t properly sealed. Look for daylight around the chimney collar or water stains on ceilings after rains. These demand immediate attention before rot sets in.
Another frequent mistake involves horizontal pipe runs. More than three feet total horizontal length often causes drafting issues. If you’re already committed to this configuration, adding a heat-powered draft inducer might save the setup.
Seasonal Maintenance Musts
Before each burning season, remove the stovepipe completely for thorough cleaning. Inspect the interior for corrosion or warping – especially at joints that endure the most heat cycling. Check gaskets around doors and glass, replacing any that show cracks or compression.
Examine the exterior chimney for damaged caps, rusted sections, or critter nests. A mesh spark arrestor keeps out animals while allowing proper airflow – just clean it regularly to prevent blockage.
When to Call a Professional
Some situations demand expert intervention. If you notice:
- Persistent smoke rollout when opening the door.
- Unexplained draft issues after thorough cleaning.
- Visible cracks in the stove body or firebox.
- Structural concerns about your chimney support.
These indicate problems beyond typical DIY wood stove installation cabin troubleshooting. The money spent on professional help beats rebuilding after a fire.
The Emergency Preparedness Kit
Every wood stove owner needs:
- A class A fire extinguisher mounted nearby.
- Heat-resistant gloves within easy reach.
- A metal ash bucket with tight-fitting lid.
- A flashlight stored away from the stove’s heat.
Practice your response to different scenarios – from a chimney fire to a CO alarm going off at 2 AM. Muscle memory matters when adrenaline kicks in.
Final Thoughts
Completing your building a stove hearth DIY project is just the beginning. Safe operation requires ongoing vigilance – from daily ash removal to annual professional inspections. The payoff comes when you’re curled up with a book, watching snow fall outside while your efficient stove keeps the cabin perfectly warm.
Remember: every expert was once a beginner who refused to cut corners. Your attention to detail now ensures decades of safe, cozy winters ahead.
FAQ
Do I need a permit to install a wood stove in my cabin if I’m doing DIY?
Usually yes. Many U.S. counties treat a wood stove like a heating appliance and require a permit and inspection. They want proper chimney, clearances, and floor protection. Skipping the permit can void insurance if you ever file a fire claim.
Will my homeowners insurance go up if I heat the cabin with a wood stove?
Yes, sometimes. Some insurers add a surcharge or require proof that the stove is UL-listed and installed to code. Others just want photos and the inspection sign-off. If the install looks homemade or unvented, coverage can be denied completely.
Is a small wood stove enough to heat a whole cabin in winter, or do I still need electric heat?
Yes, a properly sized stove can heat most small cabins by itself, especially under 800–1,000 sq ft. The catch is temperature control. Rooms far from the stove can run cooler, and nights can get too hot near the firebox. Many owners keep cheap backup electric heat in bedrooms.
Why does my cabin wood stove make the whole place smell like smoke when I start a fire?
Cold chimney draft is usually the problem, not bad wood. The flue is full of cold air that pushes smoke back into the room. Pre-warm the flue with a small twist of burning newspaper or kindling held near the stove’s outlet before loading a full burn. Also crack a window an inch for 30 seconds to give it makeup air.
Do I really need a carbon monoxide detector and a heat shield if the wood stove already “feels fine”?
Yes, always. A wood stove can leak carbon monoxide without any smell at all, especially on low burns overnight. A battery CO alarm should be mounted at sleeping height. You also need a non-combustible heat shield and proper floor pad so nearby wood, paneling, or rugs can’t slowly overheat and ignite.
Your DIY wood stove installation cabin project isn’t just about saving money—it’s about creating a safe, efficient heating system that lasts for years. From choosing the best wood stoves for small cabins to following a safe stove venting guide, every step matters. A well-built hearth, proper clearances, and regular maintenance ensure your cabin heating solutions work flawlessly when temperatures drop.
Now, with the stove installed and safety checks done, you’re ready for cozy winters ahead. Whether it’s your first time learning how to install a stove in a log cabin or you’re refining your skills, this project proves that warmth, safety, and self-reliance go hand in hand. Stay warm out there!