Contents
- 1 Why Add a Loft to Your Cabin?
- 2 Materials & Tools Needed
- 3 Step 1: Planning Your Loft Dimensions
- 4 Step 2: Building the Support Structure
- 5 Step 3: Installing Flooring & Safety Rails
- 6 Creative Ways to Use Your New Loft Space
- 7 FAQ
- 7.0.1 Do I need a permit to build a DIY cabin loft or can I just frame it myself?
- 7.0.2 How much weight does a beginner DIY cabin loft actually need to hold to be considered safe?
- 7.0.3 Is a ladder to a DIY cabin loft legal as the only access, or do I need real stairs?
- 7.0.4 Do I need an egress window in the loft for fire safety, or is a smoke alarm enough?
- 7.0.5 How tall should the guardrail be on a cabin loft so nobody falls?
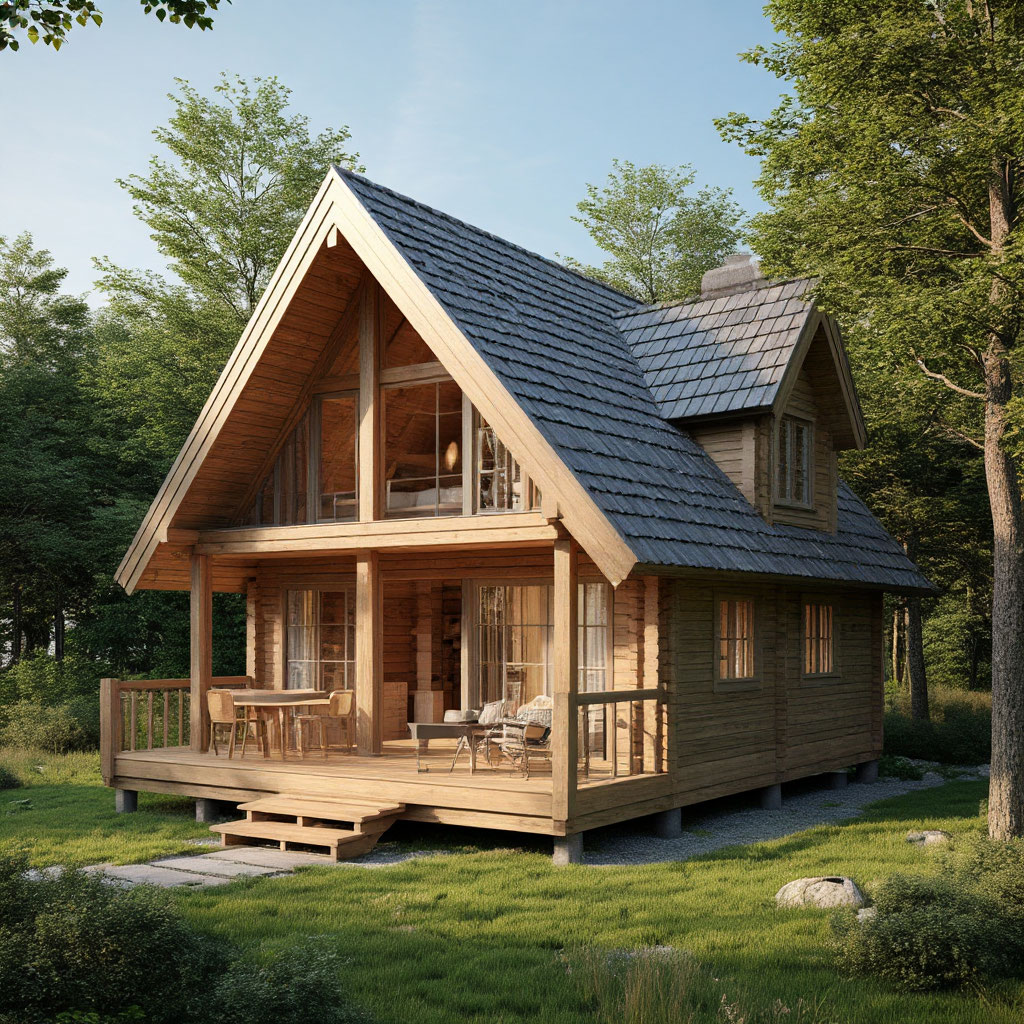
Thinking about adding extra space to your cabin without breaking the bank? Learning how to build a loft cabin is a game changer for small spaces. Whether you need a cozy sleeping nook, extra storage, or just a creative retreat, a DIY loft cabin can transform your cabin layout. With the right design, you’ll make the most of every square foot while maintaining the structural strength of the loft. This step-by-step guide covers everything from planning to loft bed safety tips, so you get a functional upgrade. If you’re looking for space-saving cabin ideas, a well-built loft cabin is the perfect solution.
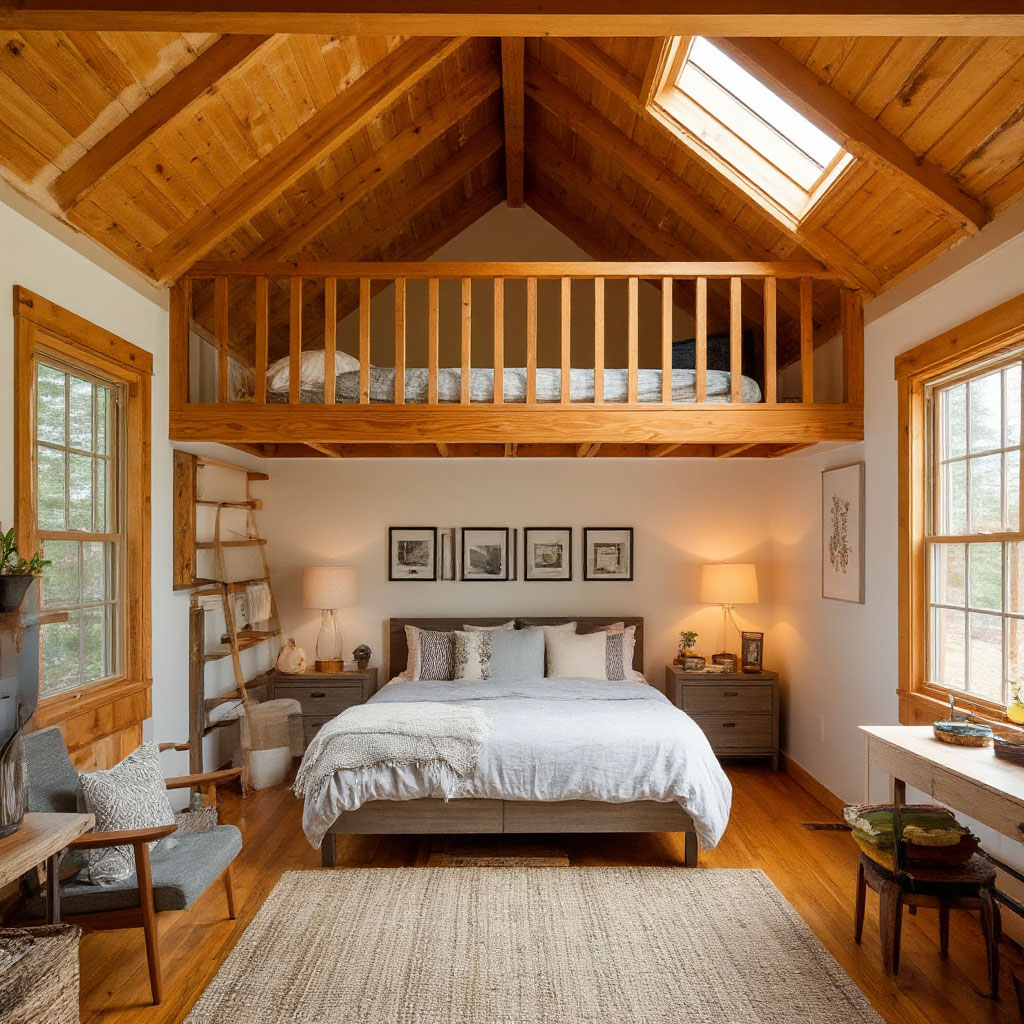
Why Add a Loft to Your Cabin?
If you’re looking to build a loft, you’re about to unlock the secret to doubling your living space without moving a single wall. Lofts aren’t just charming architectural features, they’re practical solutions that solve real problems in small homes. Whether you need extra sleeping space, clever storage, or just want to increase the functionality of your cabin (literally), learning how to build a loft the right way can transform your entire living experience.
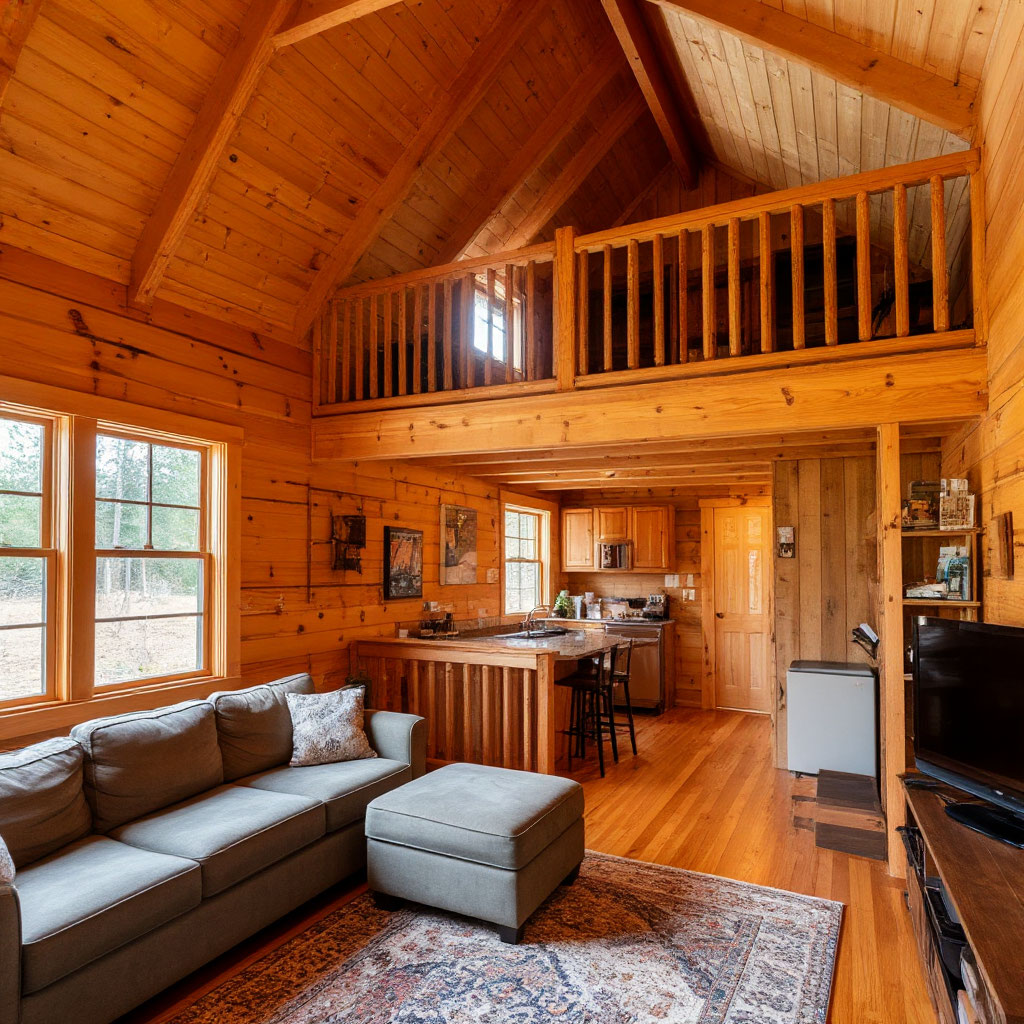
The Space-Multiplying Magic of Lofts
What makes the decision to build a loft so powerful? It’s all about working smarter with vertical space. While most cabins quickly fill up their square footage, that empty air above is prime real estate waiting to be developed. A well-planned loft creates what architects call “volumetric living” — using height to your advantage in ways that floor plans simply can’t match.
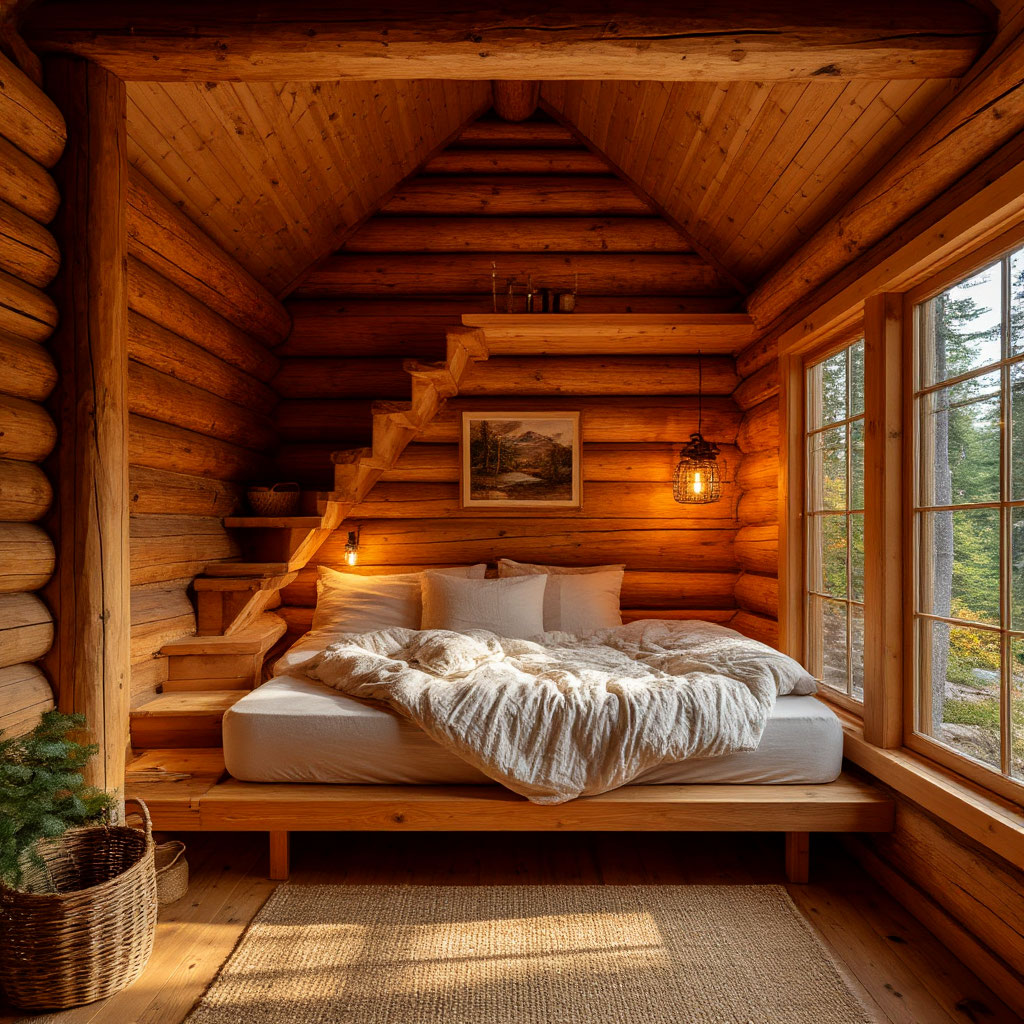
Sleeping in the Sky: A New Level of Comfort
When you build a loft cabin designed for sleeping, you’re not just adding a bed — you’re creating an experience. There’s something inherently cozy about being up high, with better air circulation and a view of the entire cabin. It’s why kids love bunk beds and why boutique hotels charge premium prices for loft suites. The psychological benefits of elevated sleeping are real, and when you build a loft cabin, you bring that vacation feeling home for good.
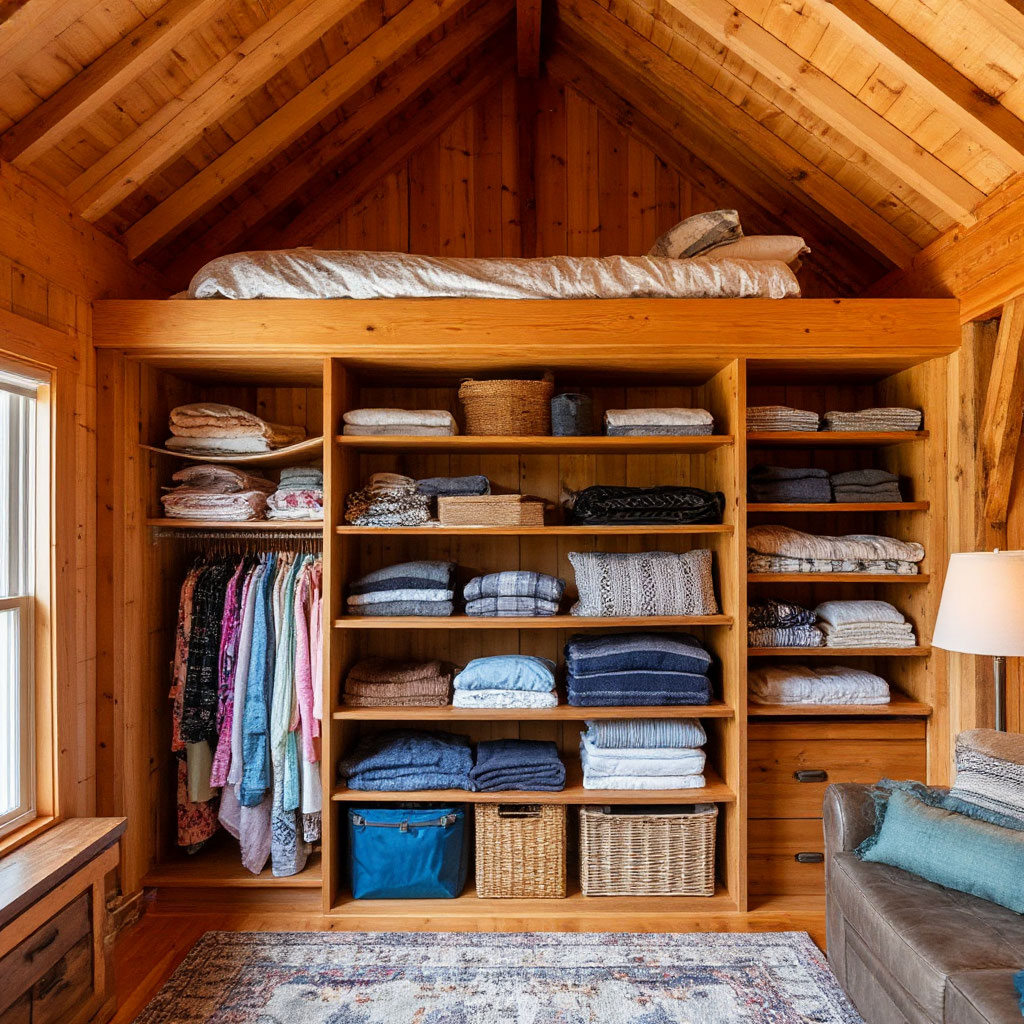
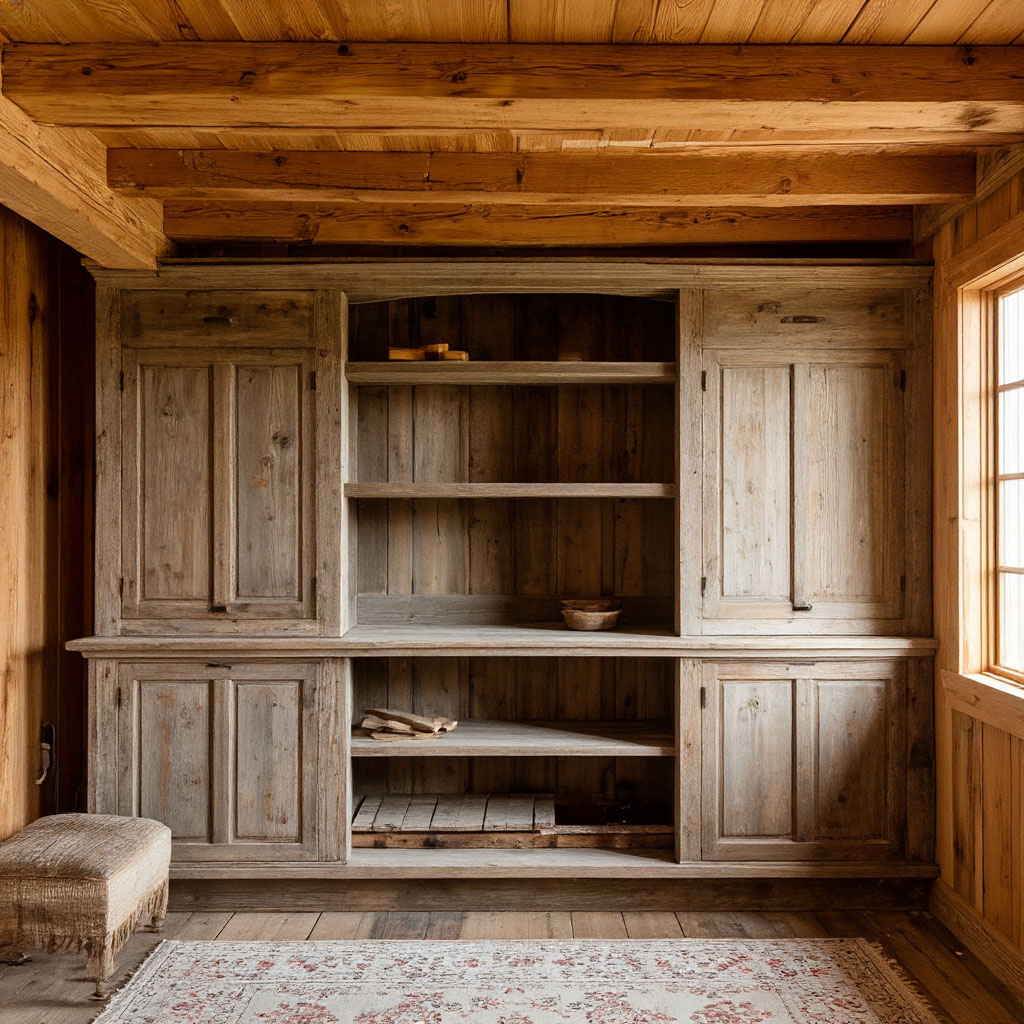
Storage Solutions That Disappear
One of the smartest reasons to build a loft cabin is the storage potential. Unlike bulky closets or dressers that take up a lot of space, a loft cabin keeps your belongings accessible but out of the way. Seasonal gear, extra bedding, or outdoor equipment suddenly have a place of their own that doesn’t compromise your living space. It’s storage that literally floats above your everyday life.
Safety and Style
Some people hesitate to build a loft because of safety concerns, but modern building technologies make it easier than ever to create safe, stable, elevated spaces. With proper planning and construction—which we’ll cover in detail later—your loft can be as safe as it is beautiful. The key is to understand load requirements, railing heights, and access points before you begin construction.
An Investment That Pays Off
When you build a loft, you’re adding value to the space. Future buyers will appreciate the smart use of square footage, and you’ll enjoy the benefits every day. Unlike expensive additions that require permits and contractors, a DIY loft is one of the most cost-effective ways to dramatically improve the functionality of your cabin.
The truth is simple: If your cabin feels cramped, the solution isn’t more land or more square footage—it’s learning how to build a loft the right way.
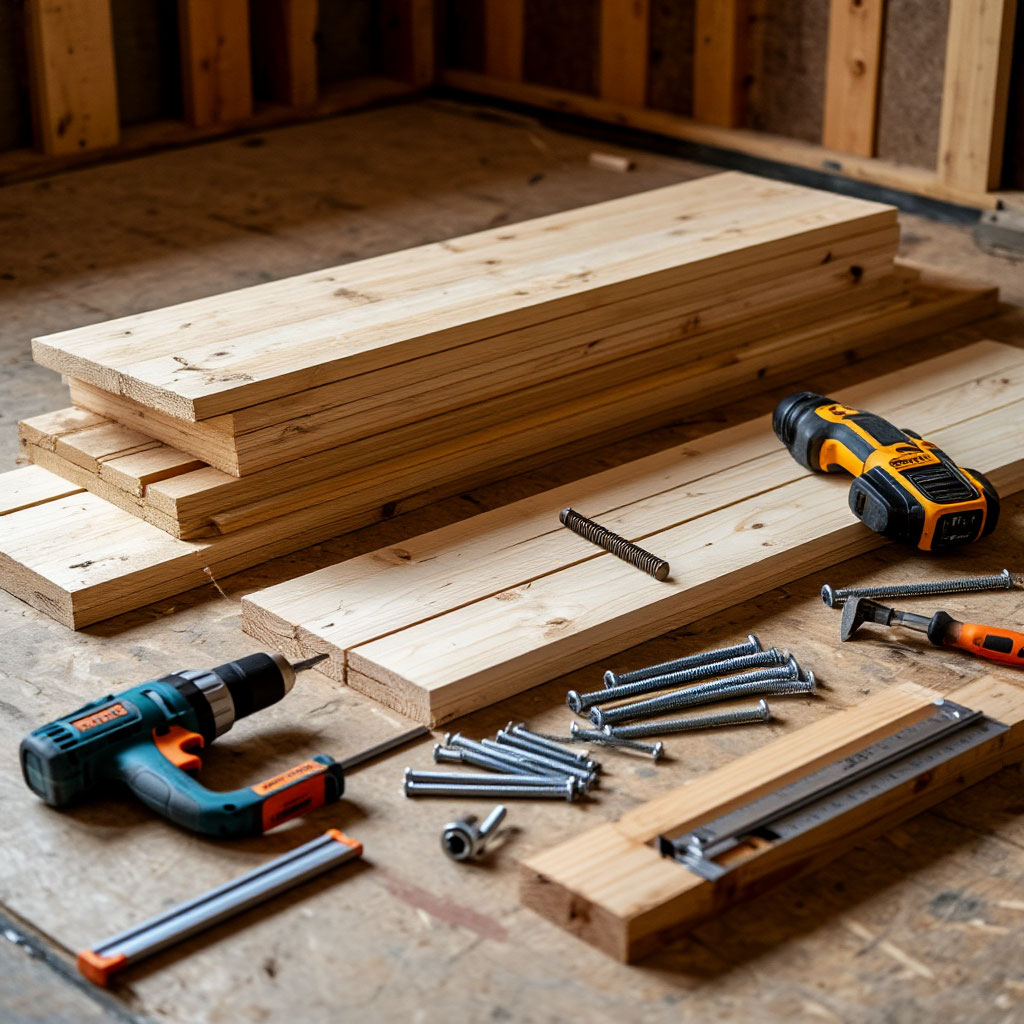
Materials & Tools Needed
Before you build your attic, you’ll need to gather the materials you need. Skipping this step is like trying to bake a cake without flour—it won’t work. You don’t need fancy equipment or expensive materials. With a solid DIY attic plan, basic tools, and quality lumber, you’ll be ready to build a sturdy attic structure that will last a long time.
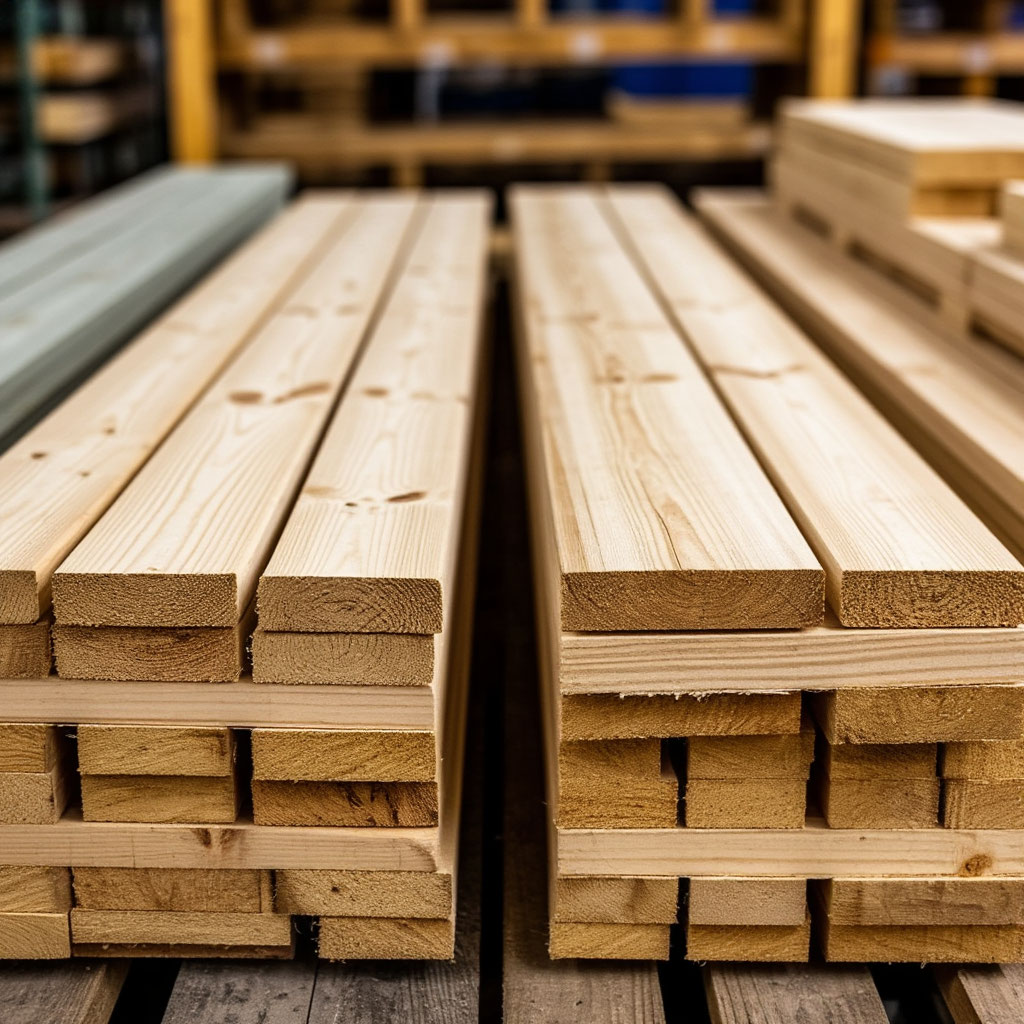
The Lumber Ins and Outs
The most important thing is the skeleton of your attic. For most small attic house plans, you’ll need:
- 2×6 or 2×8 beams for the main support structure (thicker for wider spans).
- 2x4s for the joists and railings.
- ¾-inch plywood or OSB for the flooring.
- Square-head studs (½-inch thick) to secure everything together.
- Deck screws (2½-3-inch) to assemble the framing.
Pressure-treated lumber is not necessary for indoor use, but if your home is prone to moisture, consider it for added protection.
Tools Needed
You probably already have most of these:
- Circular saw (for cutting lumber to size).
- Drill/driver (with drill bits).
- Tape measure and square (accuracy is key).
- Level (unless you want your attic to be crooked).
- Stud finder (for finding wall anchors).
- Clamps (for holding pieces in place).
- Safety gear (gloves, safety glasses, ear protection).
A miter saw helps make angled cuts, but a steady hand with a circular saw will do, too. If you’re working alone, an air-powered nail gun can speed up the process.
Additional Materials for Safety and Comfort
Since we’re talking loft bed safety tips, don’t skimp on:
- Railing materials (vertical balusters or plexiglass for kid’s lofts).
- Sandpaper (to smooth out rough edges).
- Non-slip treads (for stair treads).
- LED strip lights (to illuminate the space).
Budget-Friendly Ways
Building a loft doesn’t have to be a big deal. Browse local classifieds for bargain lumber or repurpose old beams from junkyards. If you’re going ultra-minimalist with a space-saving cabin idea, you can even use heavy-duty pipe fittings for an industrial look.
What NOT to Use
Avoid particle board (they sag over time), drywall screws (too flimsy), or anything labeled “for decorative use only.” Your loft needs to be able to handle real weight — people, furniture, and late-night dance parties (no judgment).
By getting everything together before you start, you’ll save yourself a lot of trips to the hardware store. Trust me, there’s nothing worse than finding out halfway through a project that you’re missing screws and your half-built loft is wobbly.
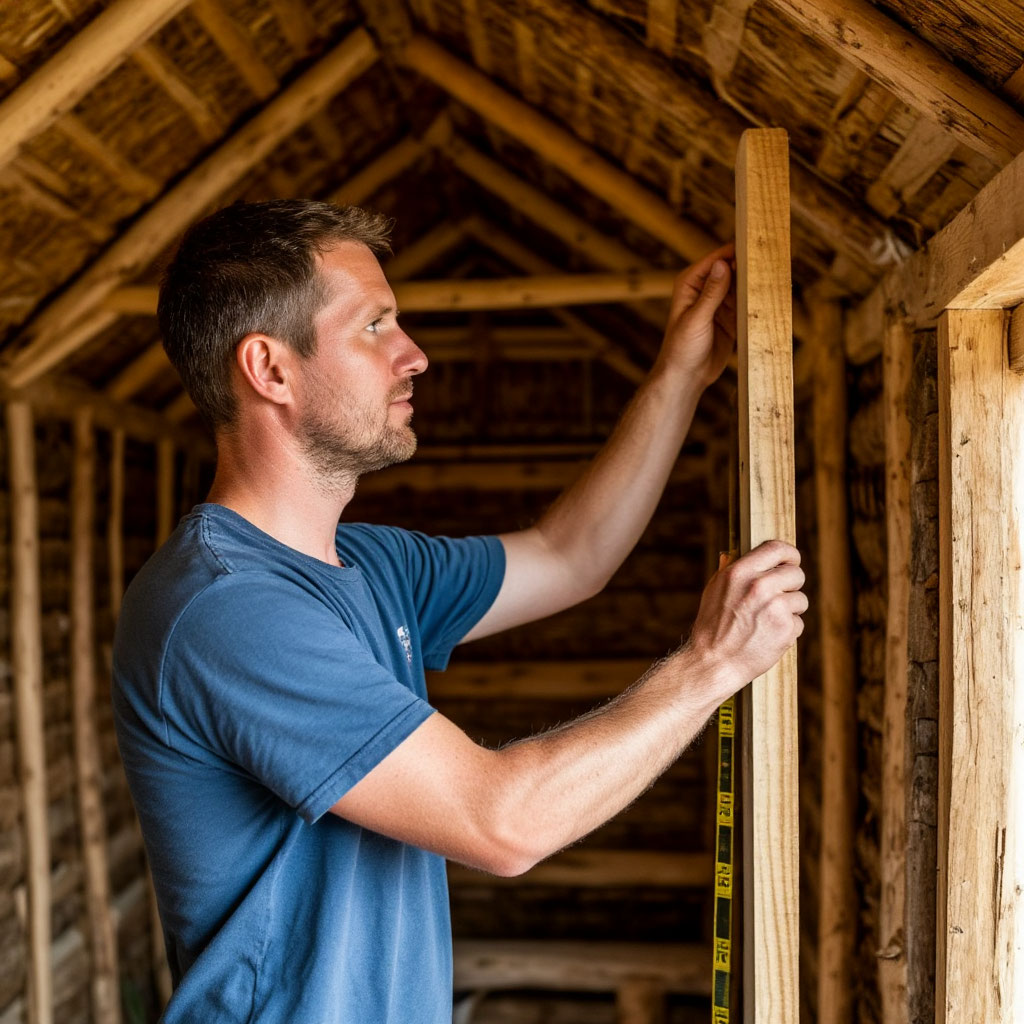
Step 1: Planning Your Loft Dimensions
Nailing the perfect dimensions before you build a cabin loft separates functional spaces from failed experiments. This stage determines whether you’ll enjoy cozy evenings or bump your head daily. Start by grabbing a tape measure – this isn’t the time for eyeballing measurements.
Finding Your Vertical Sweet Spot
Ceiling height dictates everything in small cabin loft design. Most comfortable sleeping lofts need about 4 feet of vertical space up top, leaving 3 feet clearance below for walking. Test this by marking your proposed height on the wall – can you move underneath without feeling like you’re in a mine shaft? Remember to account for mattress thickness when calculating sleeping lofts.
Floor Space Calculations Made Simple
Building a cabin loft that actually works requires understanding spatial relationships. A twin bed needs at least 38 inches by 75 inches, while storage spaces can work with just 24 inches depth. The smart approach involves mapping out existing furniture placement first – that gorgeous loft won’t impress anyone if it blocks the wood stove or creates a doorway obstacle course.
Engineering for Real Life
Sturdy loft construction begins with proper weight calculations. Factor in 200 pounds per adult, plus 50-100 pounds for the mattress, then add a 25% safety buffer. This means your standard 4×8 foot sleeping loft should support at least 500 pounds. These numbers matter more than aesthetics when you’re trusting the structure with your safety night after night.
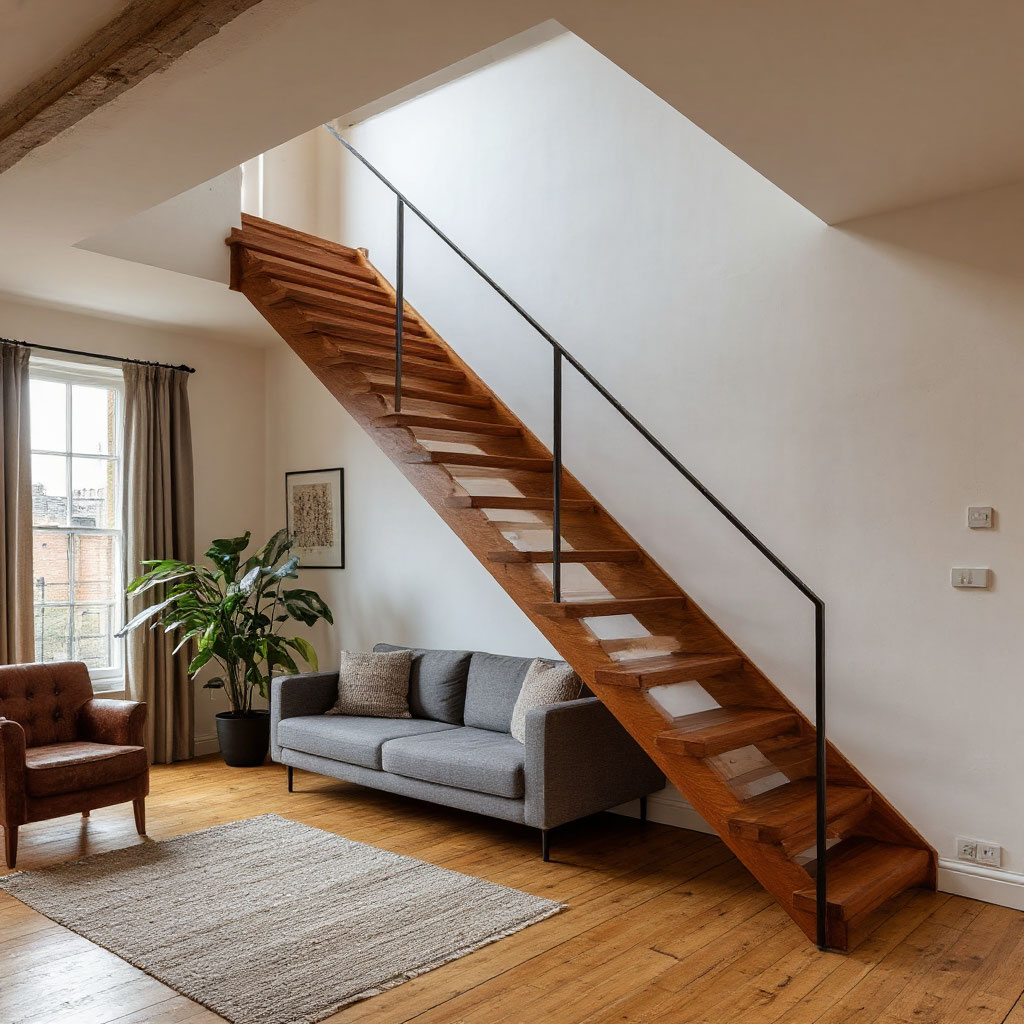
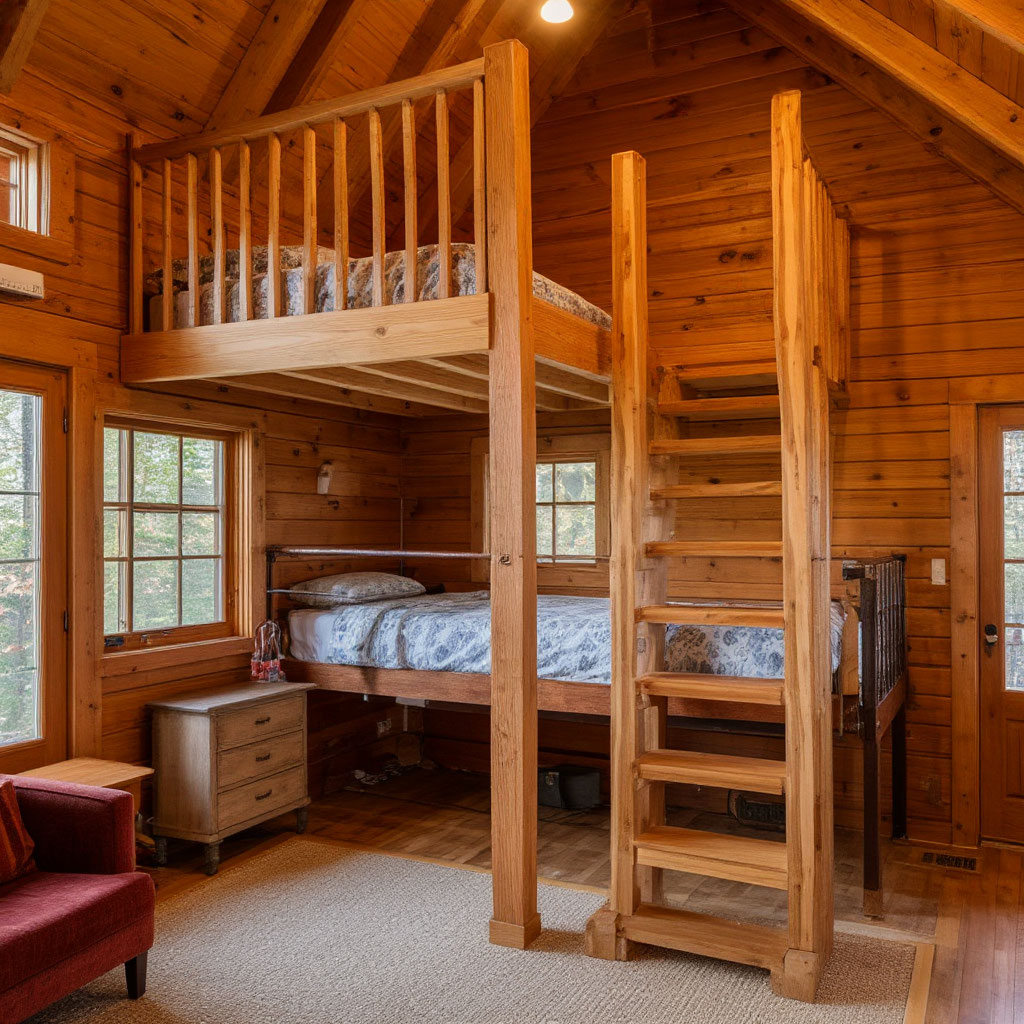
Access Solutions That Work
Your space-saving cabin idea lives or dies by its accessibility. Ladders function well for guest lofts but become tiresome for daily use. Traditional staircases offer comfort but consume precious square footage. The middle ground? Alternating tread stairs or compact spiral designs that provide safer access without dominating the room. Consider who’ll use the space most – children, elderly visitors, or just yourself – before finalizing plans.
Testing Before Building
Smart builders use simple tricks to visualize their DIY cabin loft plans. Mark proposed dimensions with painter’s tape on walls and floors. Drape sheets from the ceiling to create a full-scale mockup. Live with this temporary setup for a day – you’ll quickly discover if headroom feels cramped or if the position blocks windows. This low-effort test prevents expensive mistakes after construction begins.
When Professional Advice Pays Off
Certain situations demand expert consultation for loft bed safety. Spanning distances over 8 feet without support, modifying load-bearing walls, or working with historic structures all warrant professional input. Local building inspectors can clarify code requirements that might not appear in online guides. That quick consultation could mean the difference between a loft that lasts decades and one that needs emergency repairs.
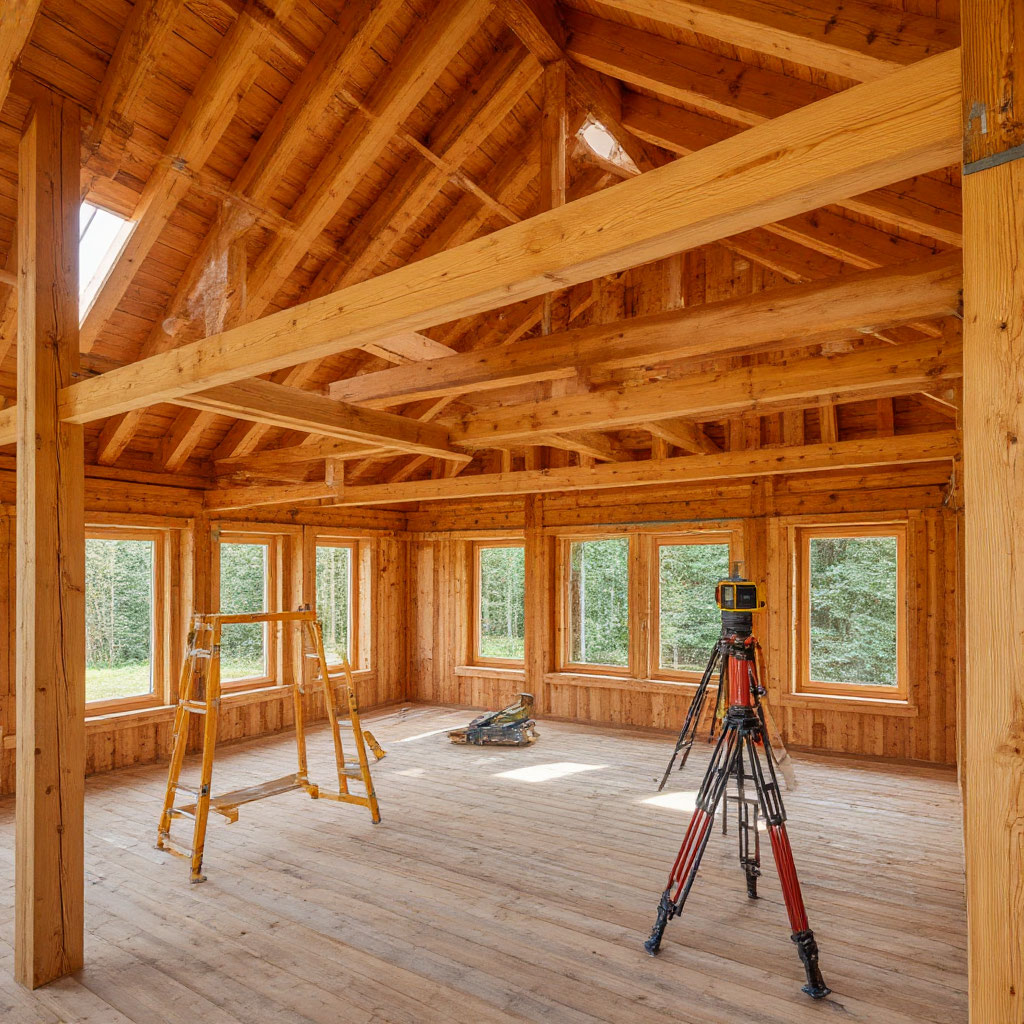
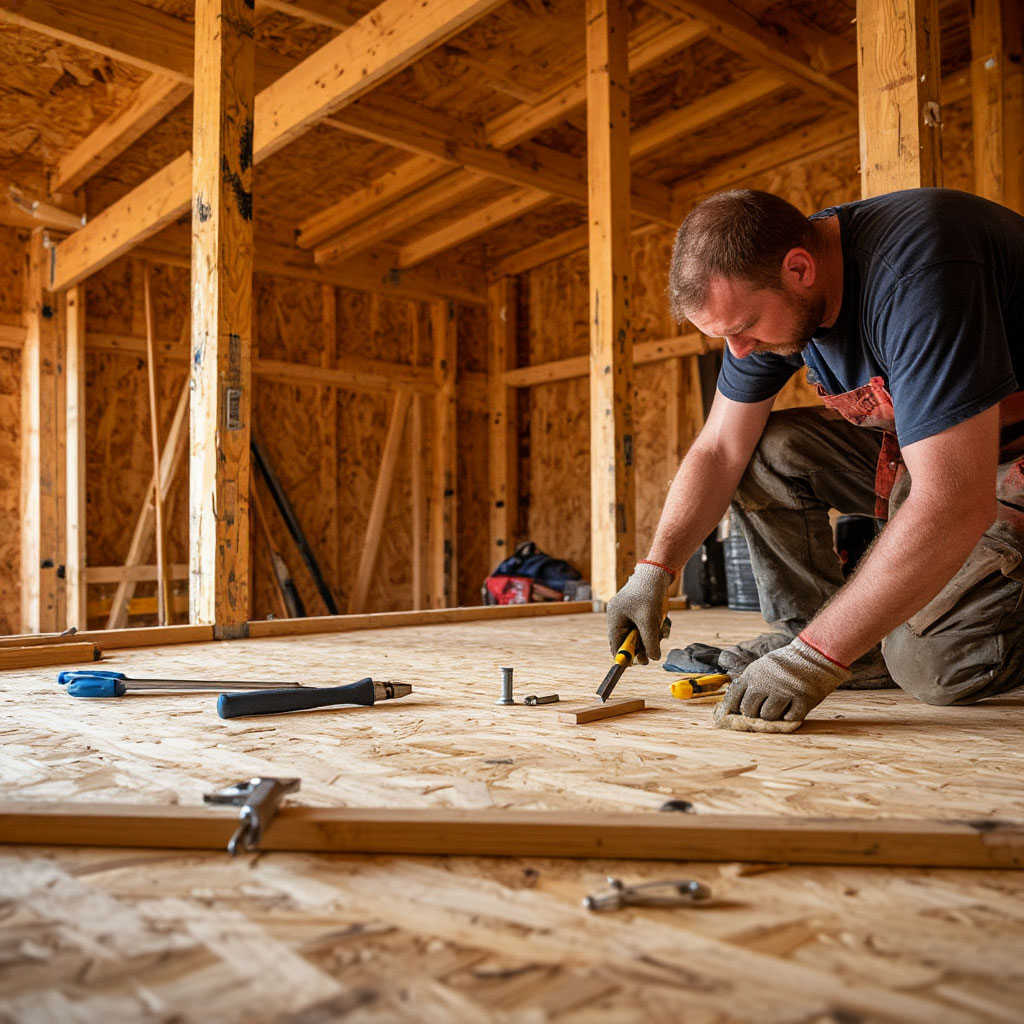
Step 2: Building the Support Structure
Now comes the fun part: turning those careful measurements into the actual bones of your attic. This is where your project starts to feel real, and where getting it right means the difference between a rock-solid platform and something that creaks ominously.
Finding Sweet Spots on Your Walls
The first rule of a solid attic structure is that support points are more important than you think. Use your stud finder to find the solid framing behind the walls of your hutch. Mark each stud clearly with a pencil—these babies will bear the weight of your entire structure. Those old hutch walls may not meet modern spacing standards, so check every potential support point.
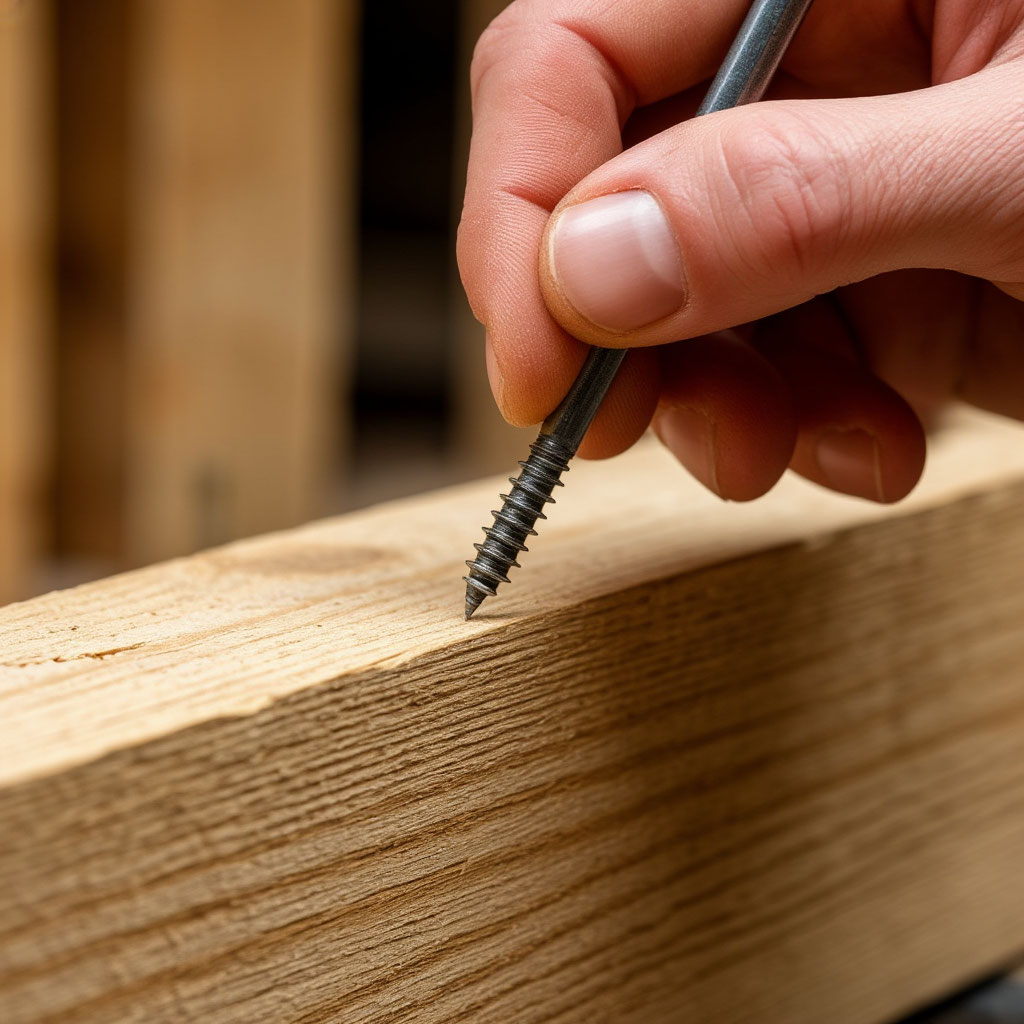
Stud Foundation
The foundation of your attic is made up of what builders call studs—horizontal beams that attach directly to the wall studs:
- Choose 2×8 lumber for maximum strength.
- Pre-drill pilot holes to prevent splitting.
- Secure them with ½” lag bolts every 16″.
Before drilling, keep an eye out for plumbing or electrical lines – hitting a pipe can turn a productive day into a costly disaster.
Joists That Won’t Let You Down
Now for the meat of your work – the floor joists. Space 2x6s every 16″ for standard attics, or leave them 12″ apart for extra strong support. Use joist hangers for professional connections that won’t sag over time. This is where your small attic design begins to take physical shape, so double-check every measurement before making cuts.
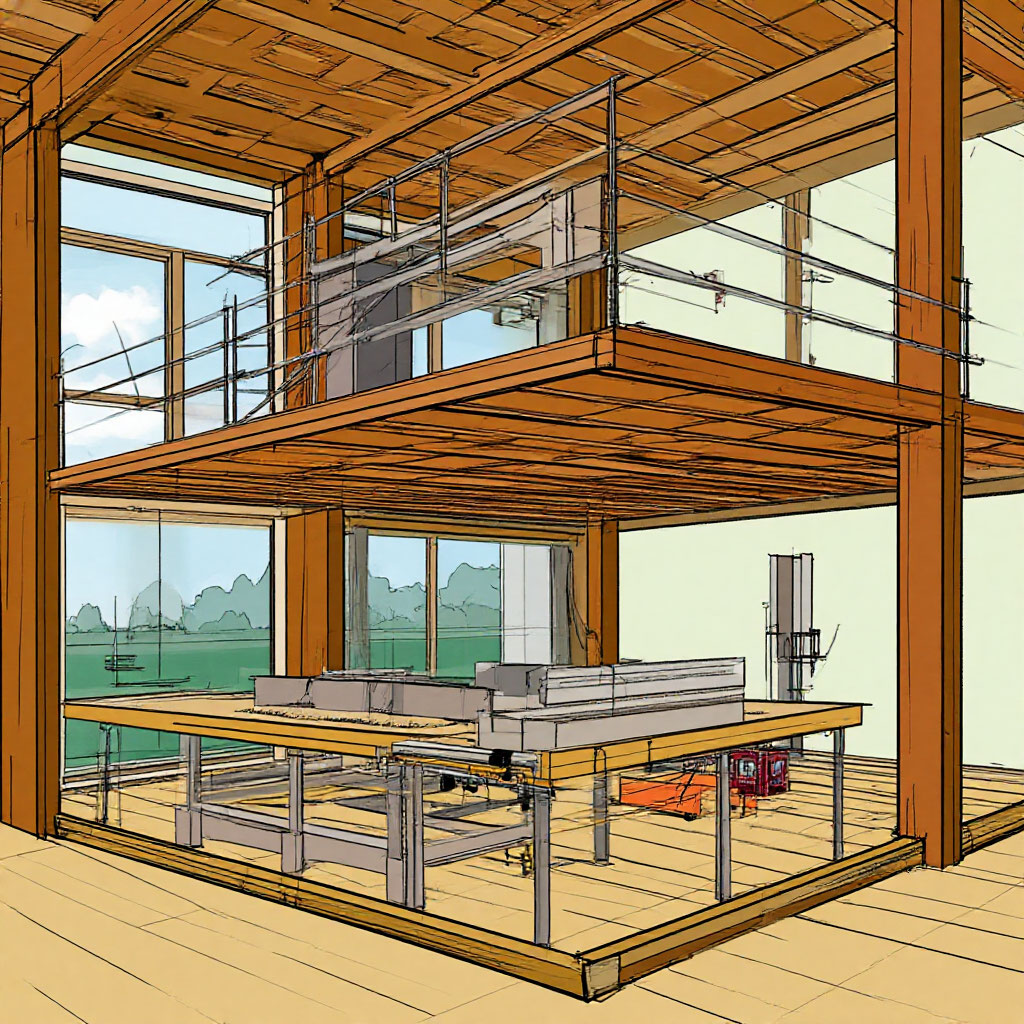
The Center Support Question
Wider attics (over 6 feet) often need a center support. Here, your options are a vertical post in the middle (great for rustic charm) or a cleverly placed bookshelf that will support double the load. For ultra-clean looking steel cables from the ceiling can provide nearly invisible support while maintaining an open feel.
Test before you trust
Before adding flooring, do a bounce test. Distribute the weight carefully across different areas of the frame — any noticeable flex means you need reinforcement. It’s better to add extra screws now than to discover weakness after the mattress is in place. This is the unglamorous but critical stage where your DIY loft plans prove their worth.
Pro Tips for Tricky Spaces
Working around existing features? Make a cardboard template for uneven walls. Working with a log home? Special log screws prevent splitting. Remember that every cabin has its quirks — what worked in your buddy’s prefab tiny house may need adjustments for your century-old hunting cabin.
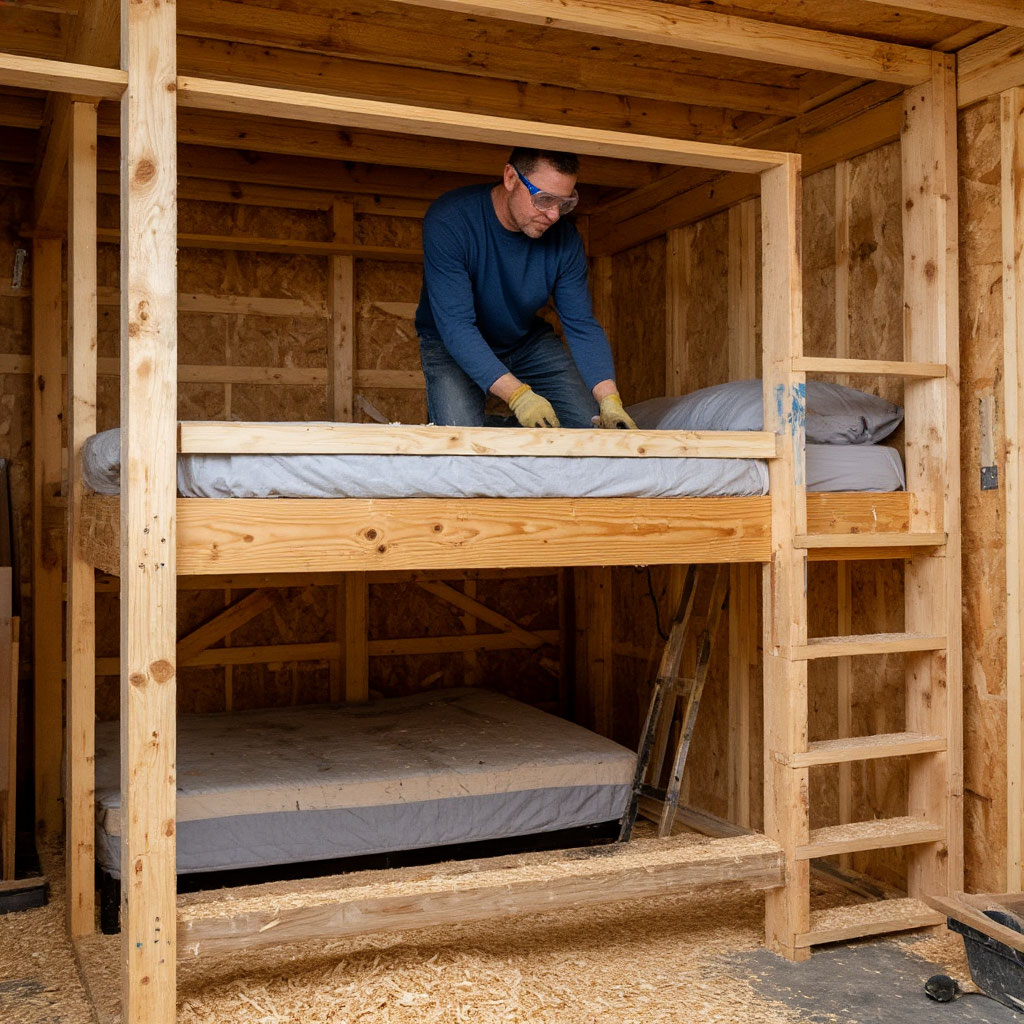
Safety Checkpoints
These safety tips for loft beds are now becoming a reality. Make sure all joints are strong enough that you can’t wiggle them by hand. Run a level along each joist—even small angles can become annoying over time. And always wear safety glasses when working overhead; falling sawdust has ruined many a builder’s day.
Step 3: Installing Flooring & Safety Rails
Now comes the moment of truth—transforming that bare frame into a functional space you can actually use. This step turns your skeletal structure into a proper attic, ensuring that no one falls in unexpectedly.
Choosing the Right Flooring
Plywood will be your best friend for small attic home projects:
- Opt for 3/4-inch thickness—anything thinner risks springing underfoot.
- Cut sheets to size before lifting them, leaving an 1/8-inch gap between panels for expansion.
- Screw every 6 inches along the joists with deck screws, countersunk slightly for a smooth finish.
That extra hour spent properly securing the flooring eliminates years of squeaks and creaks.
Sanding Without a Fight
Raw plywood edges can ruin socks and leather alike. Sand all surfaces with 80-grit sandpaper first, then 120-grit sandpaper to prevent the finish from splitting. Pay special attention to corners—rounded edges prevent painful bumps during nighttime bathroom breaks. For the smoothest finish, consider installing vinyl flooring over a plywood subfloor.
Railings That Do Double Duty
Safety meets style when designing a railing. Vertical balusters spaced no more than 4 inches apart prevent kids (and phones) from slipping through. Horizontal cables provide a modern look while maintaining visibility. For budget-friendly storage solutions, build shelves right into the railing—suddenly your railing will hold books and nightstand essentials.
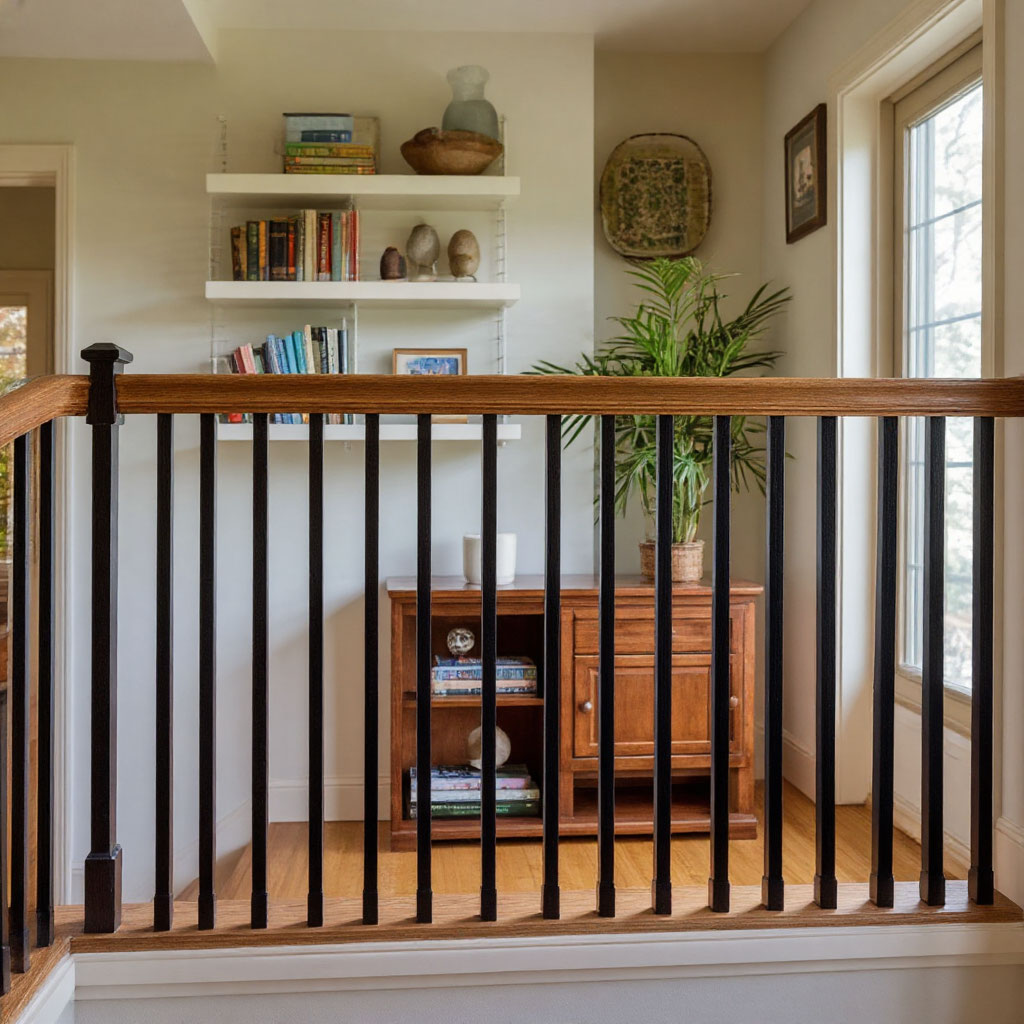
The 36-Inch Rule
Proper loft bed safety starts with height. The railing should extend at least 36 inches above the floor surface—high enough to avoid tipping over, but low enough to be able to see comfortably. Try different heights while sitting on the mattress; the top rail should touch the middle of your chest when you’re sitting.
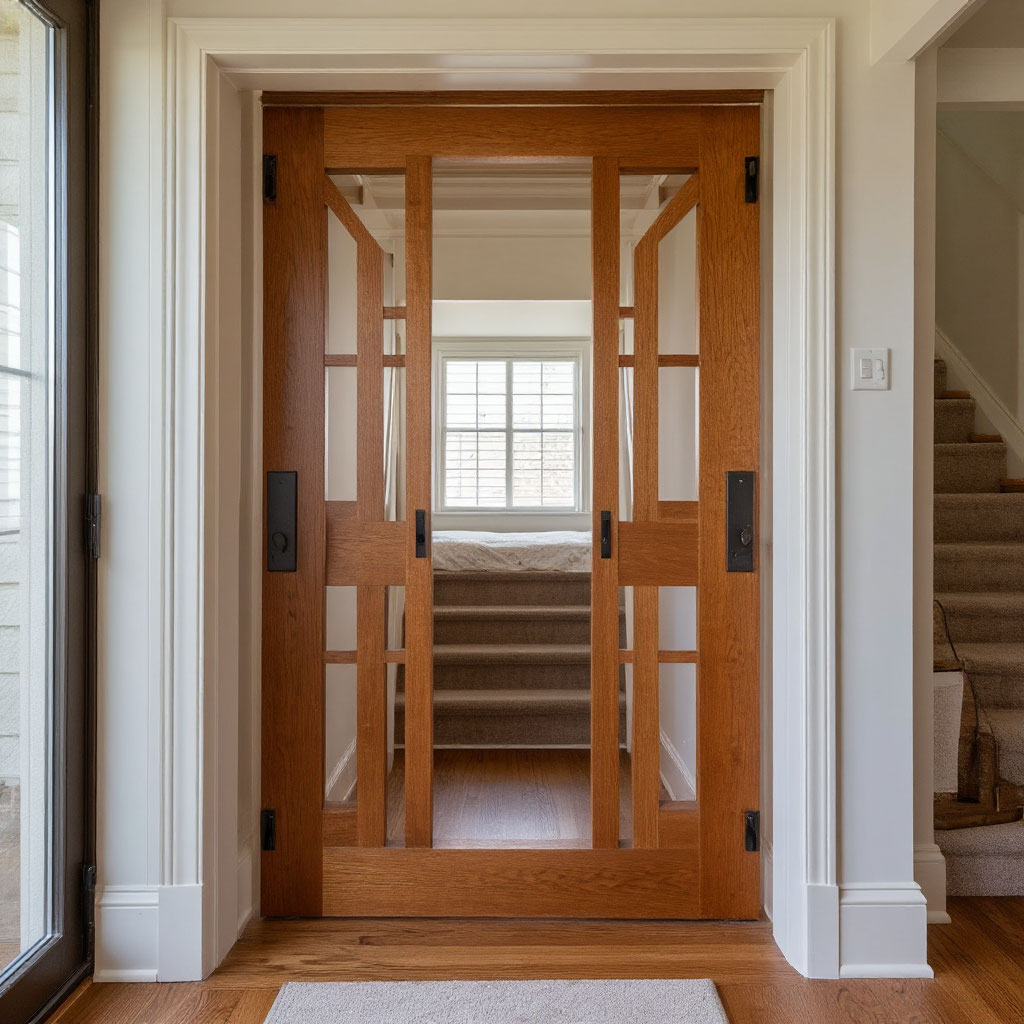
Gate Considerations
If your attic has an opening for a stairwell, consider designing a simple swing gate or removable panel. This temporary enclosure keeps out sleepy bugs while still allowing easy access when needed. Magnetic cabinet latches are great for quiet closing that won’t wake light sleepers.
Finishing Touches That Make a Difference
Before you push the furniture in, stain or paint it—it’s much easier without obstructions. Consider installing LED lighting under the tracks for subtle nighttime illumination. These final details transform a basic structure into a sophisticated living space worthy of your DIY loft plans.
The Ultimate Stress Test
Before you declare victory, perform a thorough safety check. Lean your weight against the railings at different angles. Jump lightly on different areas of the floor, listening for any alarming sounds. Wipe all surfaces with a damp cloth to catch any missed rough spots. Only after everything passes the test can you enjoy your solid loft structure.
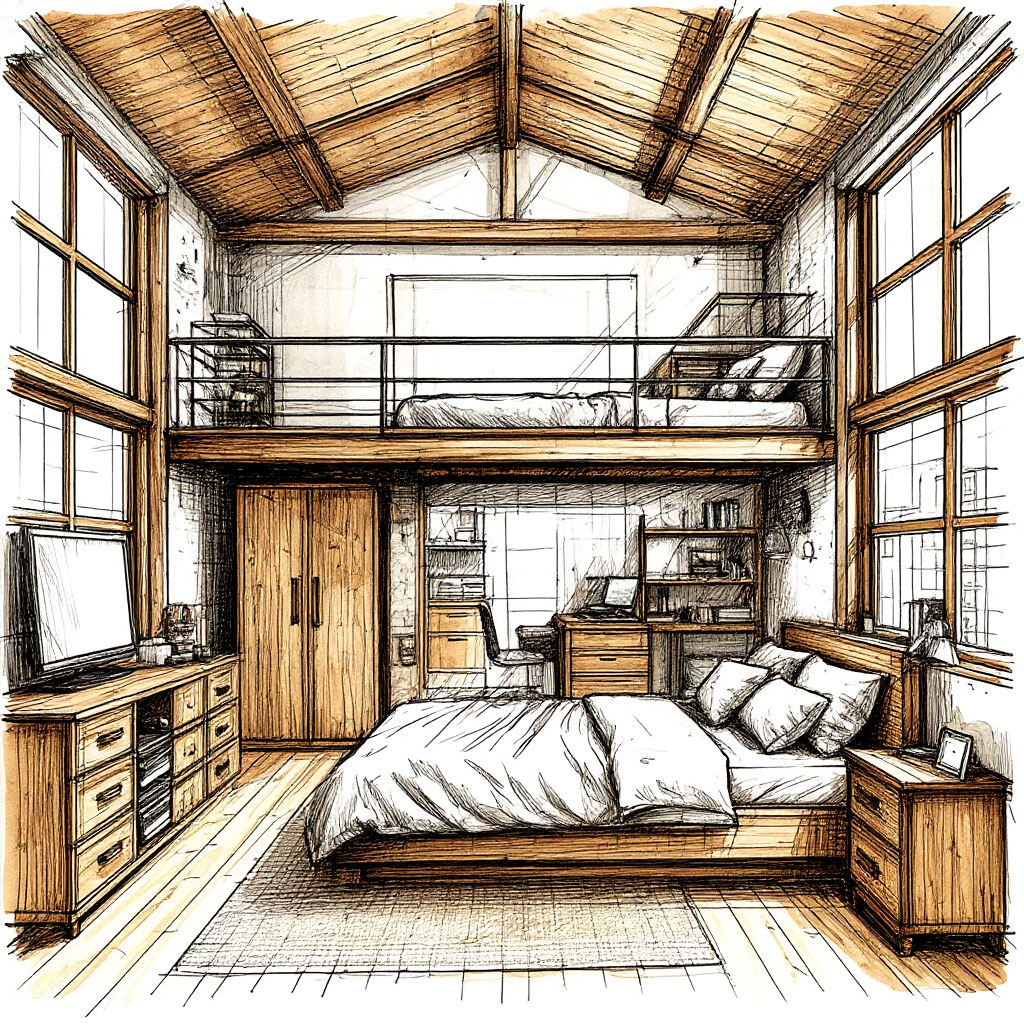
Creative Ways to Use Your New Loft Space
Now that you’ve mastered how to build a cabin loft, let’s explore how to make it truly yours. This elevated nook offers way more potential than just extra sleeping quarters – it’s a blank canvas waiting for your personal touch.
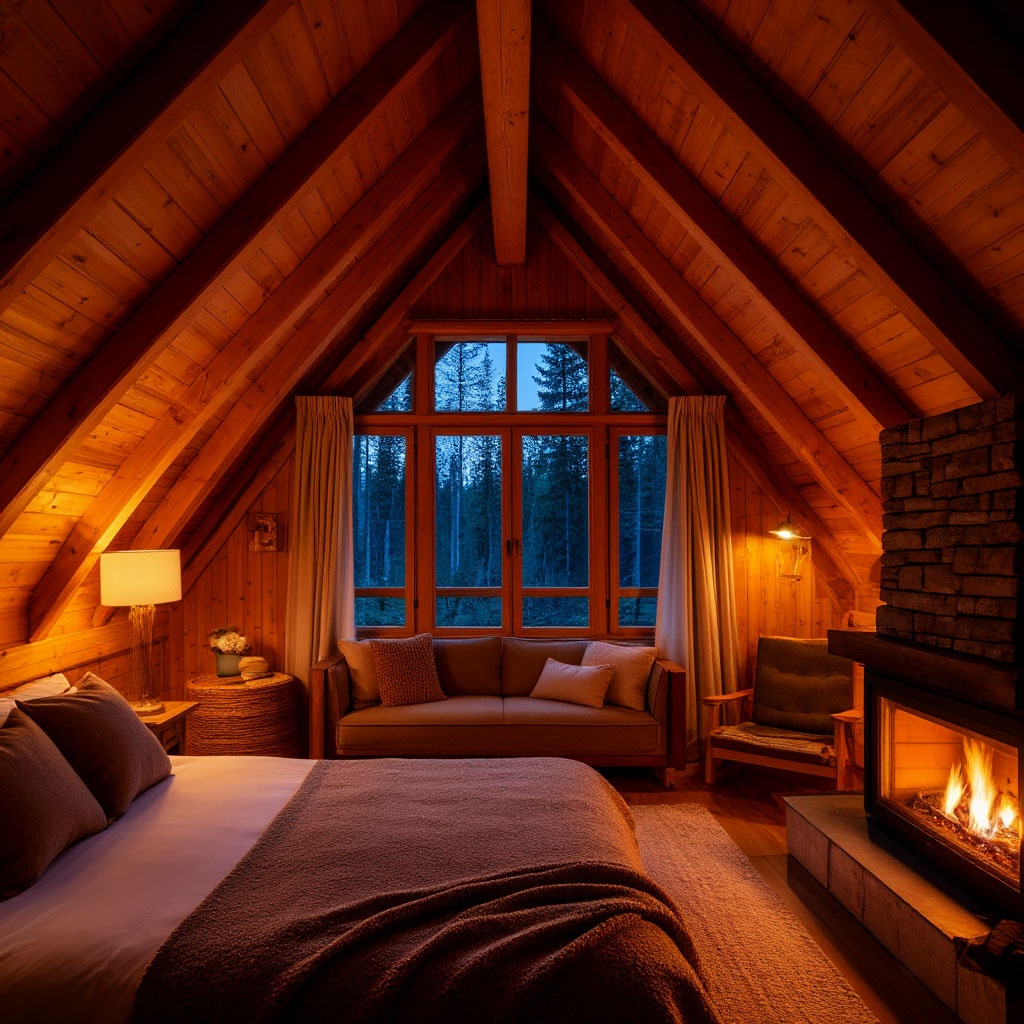
The Ultimate Guest Suite
Transform your sleeping loft into a boutique hotel experience. Layer plush bedding with plenty of throw pillows, add bedside charging stations, and install blackout curtains for privacy. A small folding desk turns the space into a temporary remote work station when friends visit. This approach works especially well in small cabin loft designs where every square foot needs to multitask.
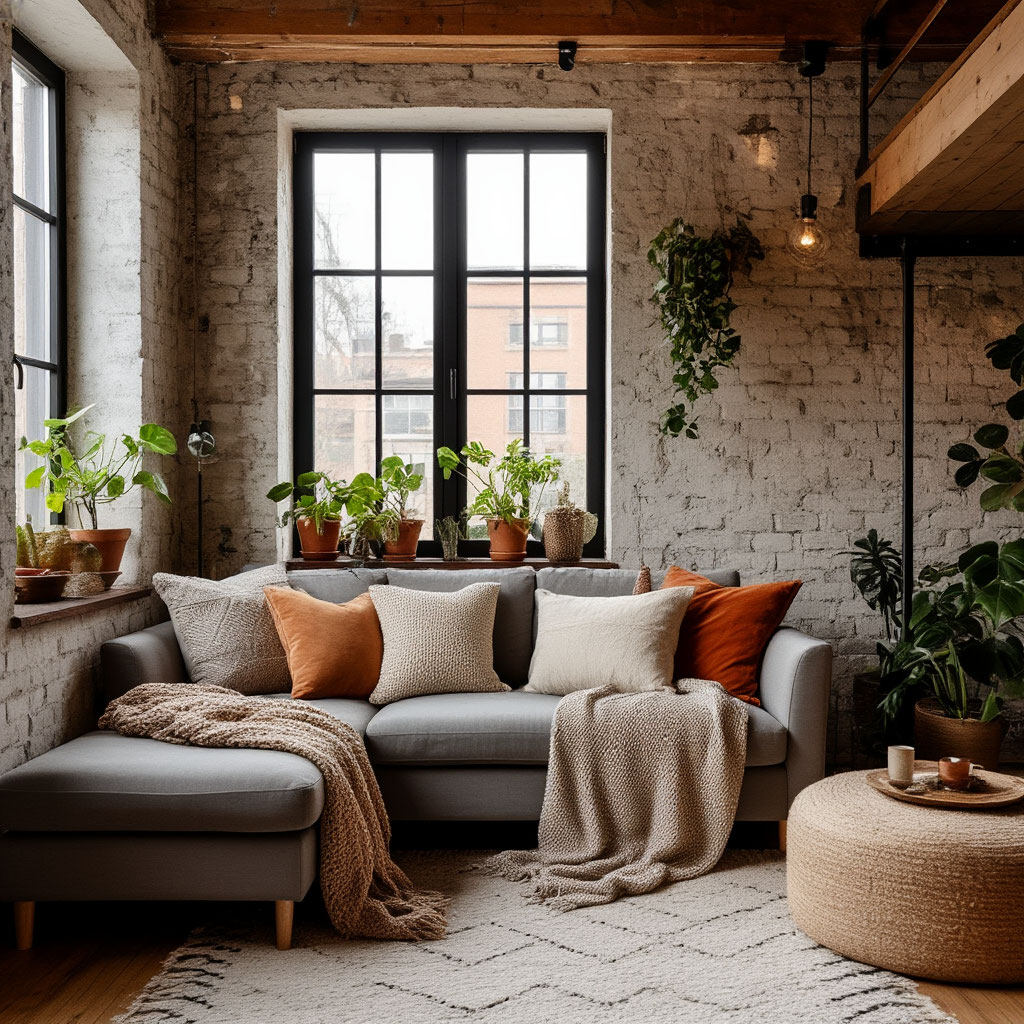
A Cozy Reading Retreat
Book lovers rejoice – your loft just became the perfect escape. Line one wall with floating shelves for your favorite titles, add a comfy reading chair with good back support, and incorporate adjustable lighting. For bonus points, build a window seat overlooking your cabin’s best view. The elevated position creates natural separation from household noise below.

Smart Storage Solutions
Maximize your space-saving cabin ideas with clever concealed organization. Install drawers beneath the mattress platform, use vacuum bags for seasonal clothing storage, or hang fabric bins along the walls. Sliding panels can hide bulky items while maintaining a clean aesthetic. This approach keeps your main living area clutter-free without sacrificing accessibility.
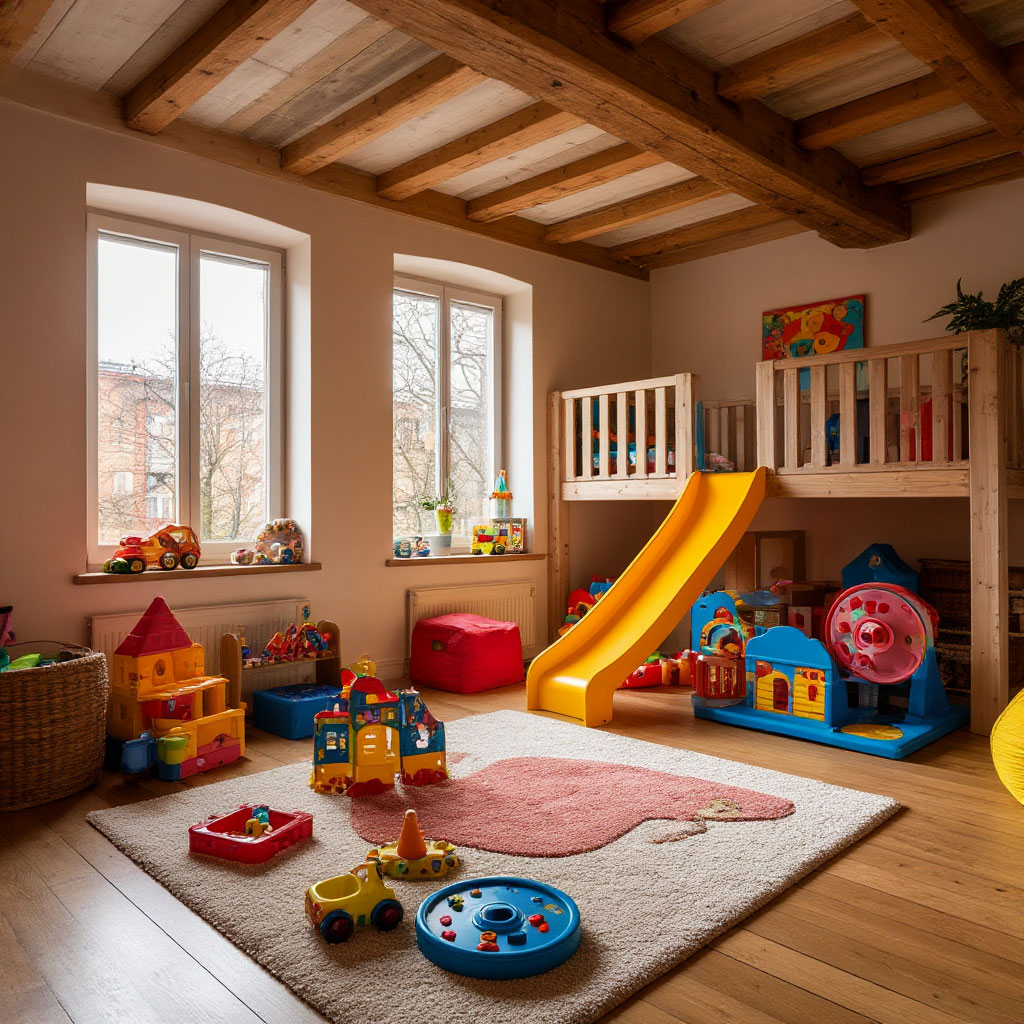
Kids’ Adventure Zone
Children adore loft spaces – they’re like permanent treehouses. Add playful elements like a slide instead of a ladder, chalkboard-painted walls, or glow-in-the-dark star ceilings. Just remember to reinforce all loft bed safety features for energetic little ones. The separation gives kids their own domain while keeping them nearby.
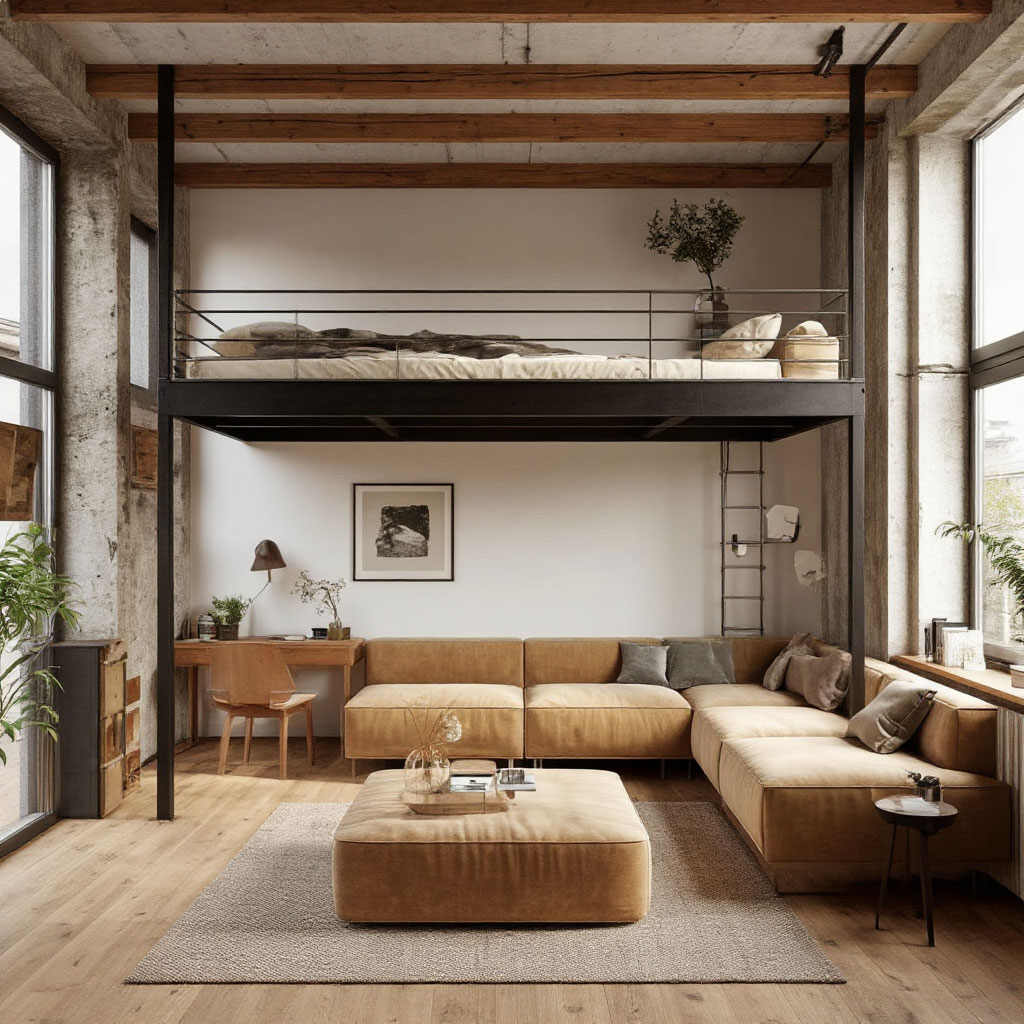
Home Office With a View
Ditch the cramped desk in the corner. Your DIY cabin loft plans can include a proper workspace with better light and privacy. Install a wall-mounted folding desk, run power strips for equipment, and use vertical organizers. The physical separation from living areas helps maintain work-life balance in small spaces.
Creative Studio Space
Artists and crafters will appreciate an organized creative perch. Pegboards hold supplies within reach, rolling bins tuck under work surfaces, and proper lighting ensures accurate color work. The bird’s-eye perspective might even inspire new ideas for your projects.
Multipurpose Flex Space
The smartest small cabin loft designs adapt to changing needs. Install modular furniture on casters, use room dividers that fold away, and choose neutral backdrops that work with any function. Today’s yoga studio becomes tomorrow’s guest room with minimal adjustments.
FAQ
Do I need a permit to build a DIY cabin loft or can I just frame it myself?
Usually yes. Most counties treat a loft with sleeping space as habitable square footage, not just storage. That means it needs permit review for load, access, railing, and egress. If you skip that and something happens, insurance can walk away from any injury claim. Call the building office before you start cutting joists.
How much weight does a beginner DIY cabin loft actually need to hold to be considered safe?
Aim for at least 40 pounds per square foot live load for a sleeping loft. For two adults plus mattress, plan closer to 60 pounds per square foot. Use real structural lumber (2×8, 2×10) spanning short distances and lock everything into solid bearing, not just screwed to paneling. If you can feel bounce when you walk up there, it’s underbuilt.
Is a ladder to a DIY cabin loft legal as the only access, or do I need real stairs?
Sometimes yes, sometimes no. Many places allow a fixed ladder or ship’s ladder for a loft under about 200 sq ft that’s used as a sleeping nook. But they expect consistent tread spacing, handholds, and safe angle so adults can come down facing forward. If the loft is large or called a “bedroom,” inspectors may require code stairs with rails.
Do I need an egress window in the loft for fire safety, or is a smoke alarm enough?
Yes, you need a real escape path. A sleeping loft should have either a safe way down (ladder or stairs you can use half-asleep) plus a second way out like an egress-size window. That window needs to open wide enough for an adult to crawl through fast. A smoke/CO alarm alone won’t help if flame blocks the ladder at 2 a.m.
How tall should the guardrail be on a cabin loft so nobody falls?
Plan at least 36 inches high from the loft floor to the top of the loft railing. Keep openings under 4–5 inches so kids can’t slip through. Use lag bolts or metal brackets, not just finish nails, because loft rail failure is a common injury point. If someone can lean on it hard and it doesn’t move, you’re in the safe zone.
Learning how to build a cabin loft unlocks endless possibilities for small-space living. Whether you’ve created a cozy sleeping nook, a functional home office, or clever storage, your DIY project adds both value and versatility to your cabin. By following sturdy loft construction principles and smart space-saving cabin ideas, you’ve transformed unused air into a practical retreat.
Now it’s time to enjoy the rewards—extra room, better organization, and a cabin that feels twice as spacious. Got creative with your design? Share it! Every loft tells a story, and yours is just beginning.