Contents
- 1 Metal vs Shingle Roofs: Pros & Cons
- 2 Tools & Materials You’ll Need
- 3 Step 1: Preparing the Roof Deck
- 4 Step 2: Installing Underlayment
- 5 Step 3: Installing Metal Roof Panels
- 6 Step 4: Alternative to Shingles
- 7 FAQ
- 7.0.1 Is a metal roof louder than asphalt shingles in rain and hail on a small cabin?
- 7.0.2 Will a metal roof lower my cabin insurance compared to shingles?
- 7.0.3 Can I install a metal cabin roof myself without a roofing permit?
- 7.0.4 Does a metal roof really last longer than asphalt shingles or is that marketing?
- 7.0.5 Which roof type handles heavy snow load better on a remote cabin: metal roof or shingle roof?
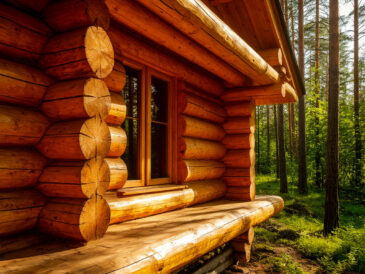
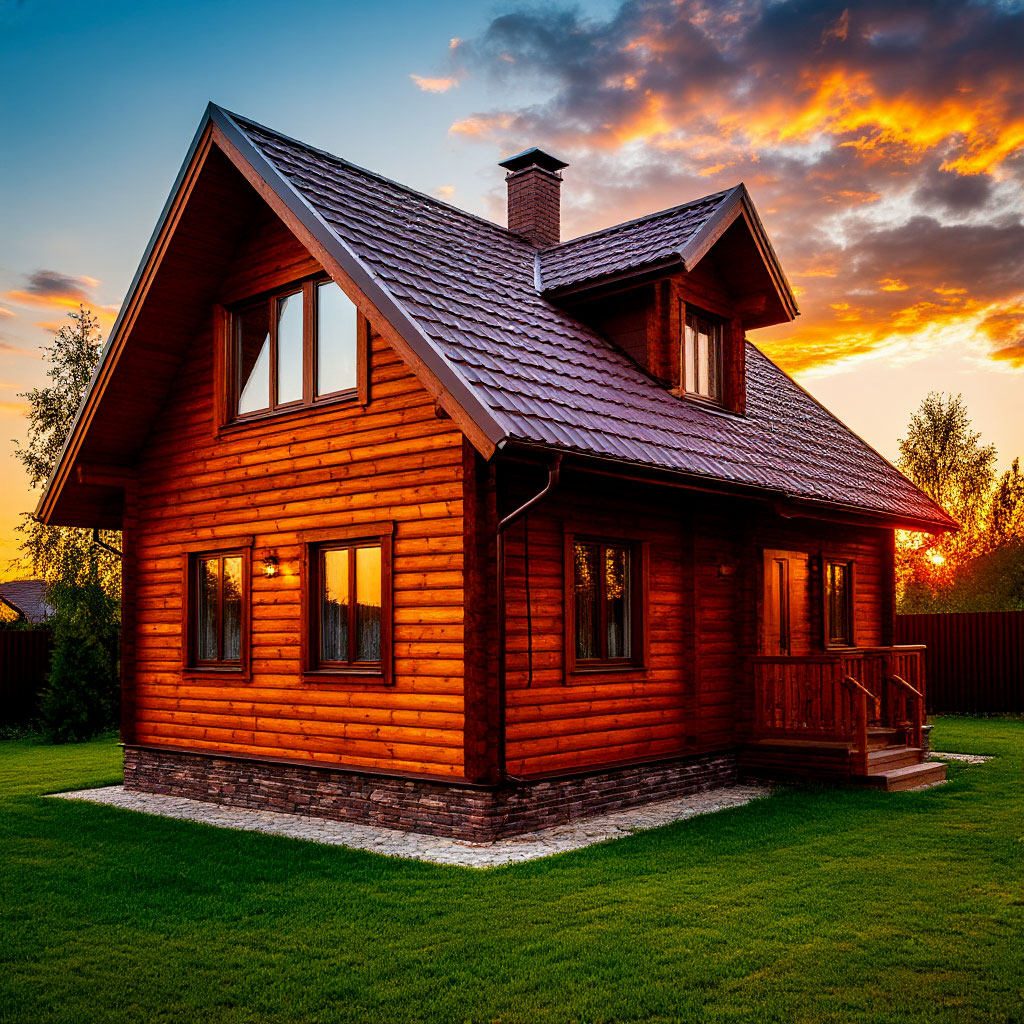
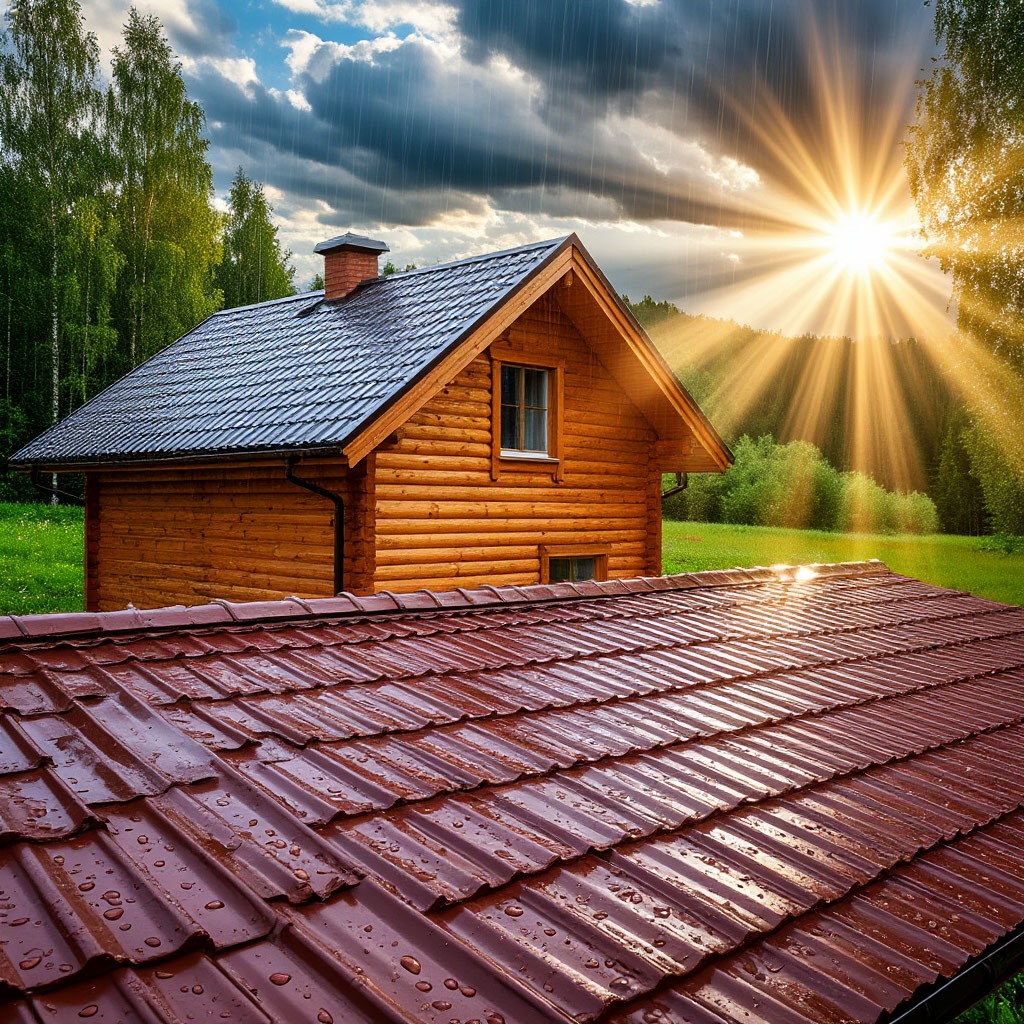
Planning your cabin roof installation? Choosing between metal roofing for cabins and asphalt shingles isn’t just about looks—it’s about budget, weather resistance, and how hands-on you want to be. A DIY cabin roof step-by-step approach cuts labor costs, but you’ll need the right materials. Wondering what’s the best roofing for log cabins? Metal lasts decades, while shingles win on affordability. And don’t forget the long-term cost to roof a cabin—cheaper now might mean more repairs later.
Metal vs Shingle Roofs: Pros & Cons
Choosing the right roofing material for your cabin roof is one of those decisions that will haunt you for decades if you get it wrong. Whether you’re considering metal cabin roofing or traditional asphalt shingles, each option comes with its own set of trade-offs. They affect everything from your wallet to how often you’ll be climbing up to make repairs. Let’s compare these two heavyweights so you can make the smartest choice for your step-by-step DIY cabin roofing project.
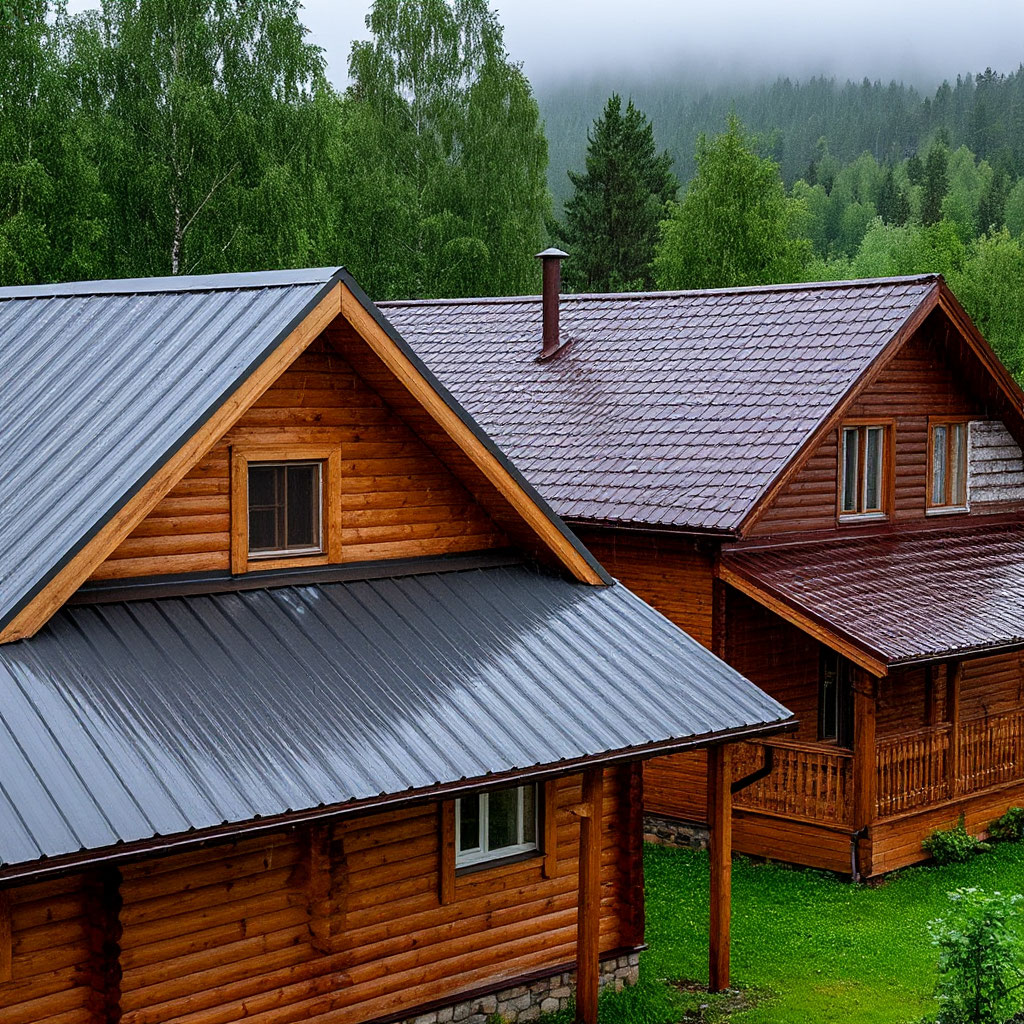
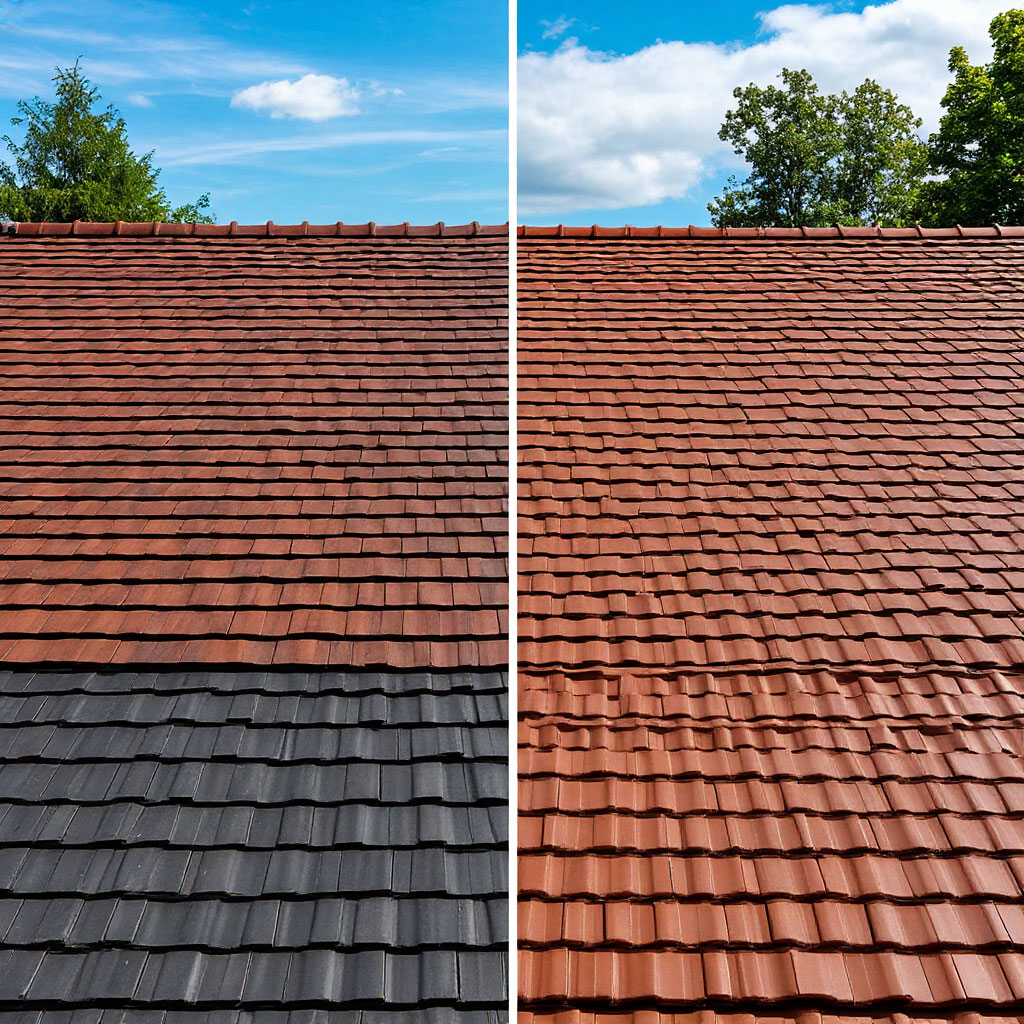
Metal Roofing: The Tough Guy of Cabin Protection
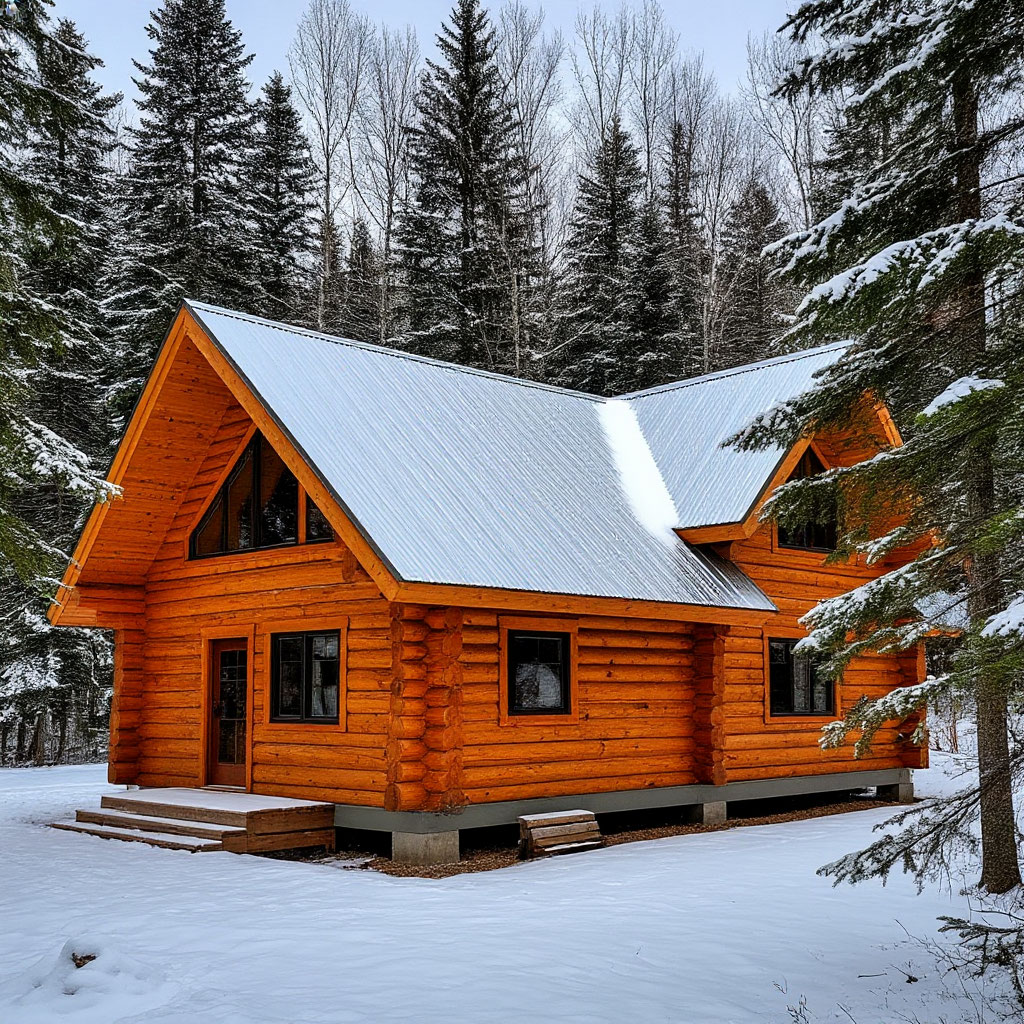
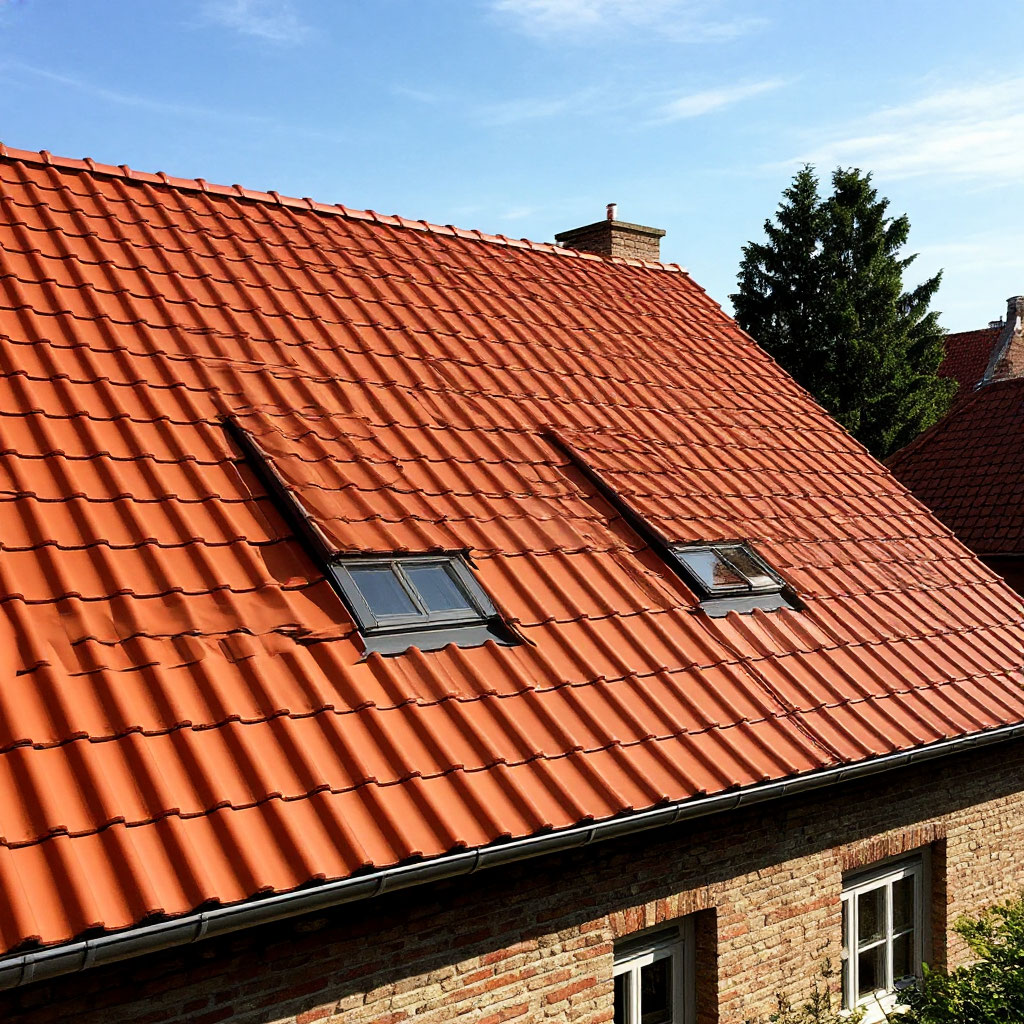
When it comes to pure durability, metal cabin roofing is basically the superhero of roofing materials. We’re talking a lifespan that can last 50 years or more with minimal maintenance — making it a strong contender for the best log cabin roofing in harsh climates.
The benefits don’t stop there:
- Sheds snow like a champ (no more worrying about your roof collapsing).
- Laughs at 120 mph winds that can tear shingles to shreds.
- Fire-resistant (important if you’re building in a wildfire zone).
- Energy-efficient (reflects sunlight, reducing cooling costs).
But before you rush out and buy those shiny metal panels, consider the downside. The cost of a metal roof can be 2-3 times more than the cost of the shingles in the first place. Then there’s the noise factor—some people love the sound of rain on a metal roof, while others feel like they’re sleeping inside a snare drum. And if you’re in an area with a lot of trees, falling branches can leave unsightly dents unless you buy thicker metal.
Asphalt Shingles: A Budget Classic
Now let’s talk about the workhorse of the roofing world, asphalt shingles. When considering how to roof a small house on a budget, shingles are often the obvious choice. They are significantly cheaper up front, with prices typically ranging from $1.50 to $5.50 per square foot once installed.
What makes shingles attractive for a small house roof:
- A huge variety of colors and styles to match the aesthetics of any house.
- Easy enough for most DIYers.
- Easier to repair or replace individual sections.
- Quieter rain sound compared to metal.
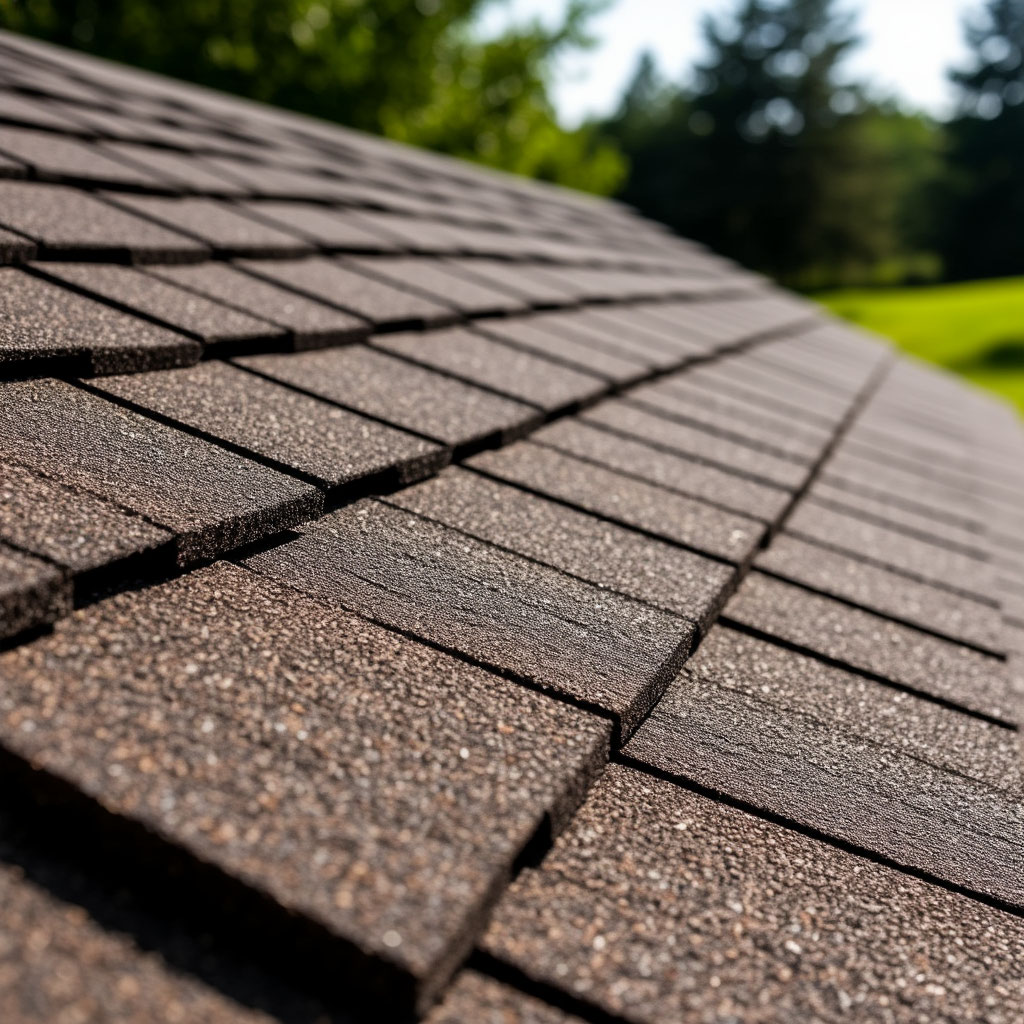
What are the tradeoffs? They just don’t last as long. High-quality architectural shingles wear out after about 30 years, and in extreme weather conditions, they can lose granules, curl, or even come off entirely. It is also more prone to moss and algae growth in shady, damp areas.
Durability: The Long Game
If longevity is your top priority, metal wins this round hands down. A quality metal roof can easily last 50+ years, while even the best shingles will need replacement in 25-30 years. But here’s the catch – metal isn’t indestructible. Hail can dent it (though thicker gauges resist better), and improper installation can lead to leaks at seams.
Shingles may not last as long, but they’re more forgiving when damage does occur. Replacing a few damaged shingles is a relatively simple weekend project, while fixing a dented metal panel often requires professional help.

Installation: DIY Difficulty Level
For those planning a DIY cabin roof step-by-step project, shingles are generally more beginner-friendly. The basic tools (hammer, utility knife, roofing nails) are things most homeowners already own, and the installation process is straightforward once you get the hang of the pattern.
Metal roofing requires more specialized tools (like metal snips and a drill with the right screw bit) and precision cutting. One wrong measurement and you’ve got expensive waste or ill-fitting panels. That said, metal installs faster once you’re in the groove because each panel covers more area than individual shingles.
Cost Comparison: Short-Term vs Long-Term
The cost to roof a cabin is where many people get stuck. Here’s the breakdown:
- Asphalt shingles: 1.50−5.50/sq.ft installed.
- Metal roofing: 5−12+/sq.ft installed.
Yes, that’s a big difference upfront. But consider that metal lasts nearly twice as long, requires less maintenance, and can lower energy bills. Over 30 years, you might replace shingles twice while the metal roof keeps going strong.
Climate Considerations
Your local weather plays a huge role in determining the best roofing for log cabins:
- Snow country: Metal’s slippery surface prevents dangerous snow buildup.
- Hurricane zones: Metal’s wind resistance outperforms shingles.
- Fire-prone areas: Metal’s non-combustible nature provides extra safety.
- Hail regions: Thicker metal (24-26 gauge) resists dents better than shingles.
Making Your Decision
Which is right for your cabin roof installation? Ask yourself:
- Budget: Can you handle the higher upfront cost to roof a cabin with metal for long-term savings?
- DIY skills: Are you comfortable with the precision required for metal, or would shingles be more manageable?
- Climate: Does your area demand metal’s durability, or can shingles handle your weather patterns?
- Aesthetics: Do you prefer metal’s modern look or shingles’ traditional appearance?
There’s no one-size-fits-all answer, but understanding these trade-offs will help you make an informed choice that you won’t regret years down the road.
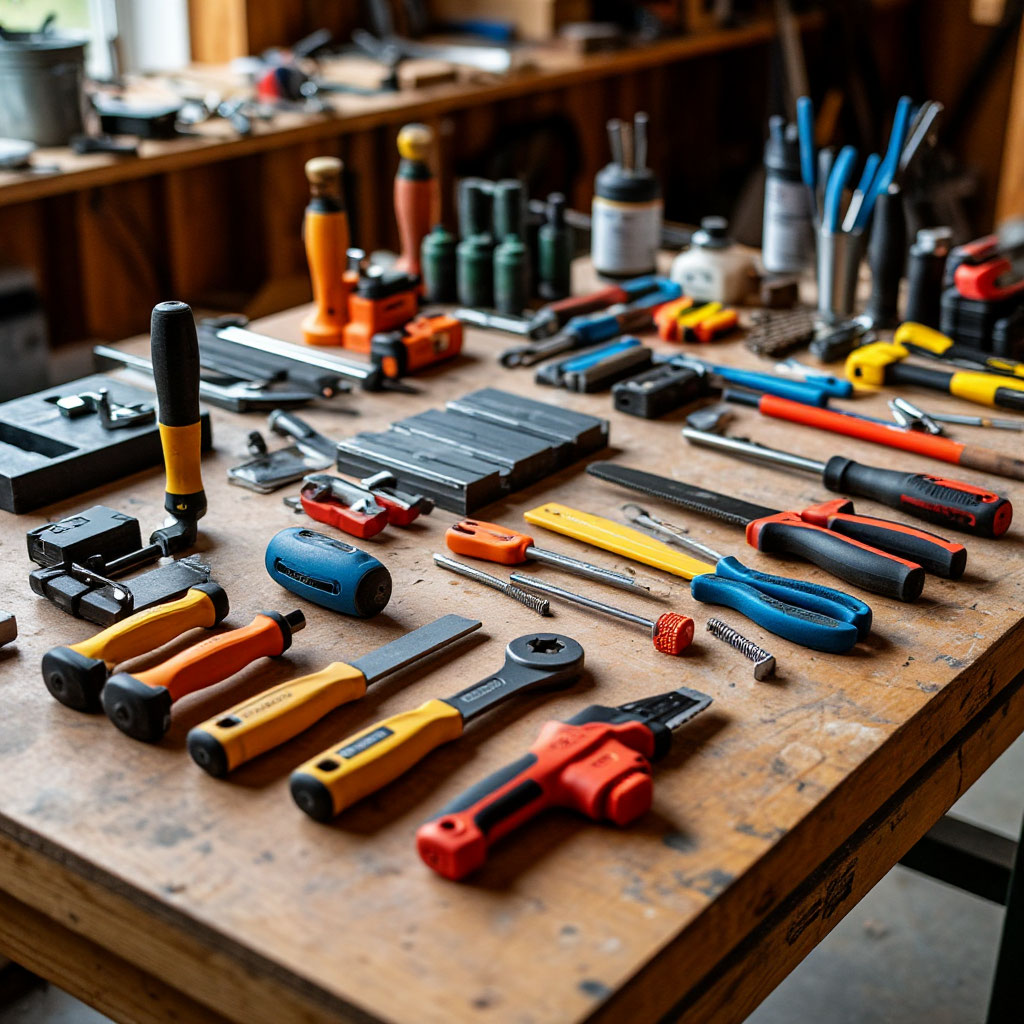
Tools & Materials You’ll Need
Installing your cabin roof correctly starts with having the right equipment. Whether you’re tackling metal cabin roofing or going the traditional shingle route, missing just one essential tool can turn your project into a nightmare. Let’s break down exactly what you’ll need to tackle this step-by-step DIY roof installation project like a pro, while keeping an eye on cabin roofing costs without skimping.
Important Prerequisites for Any Roof Job
Before we get into the specifics of materials, there are some basic equipment needed to install any cabin roof. Your first purchase should be a sturdy extension ladder with stabilizers—trying to keep your balance on shaky equipment is how accidents happen. You’ll need:
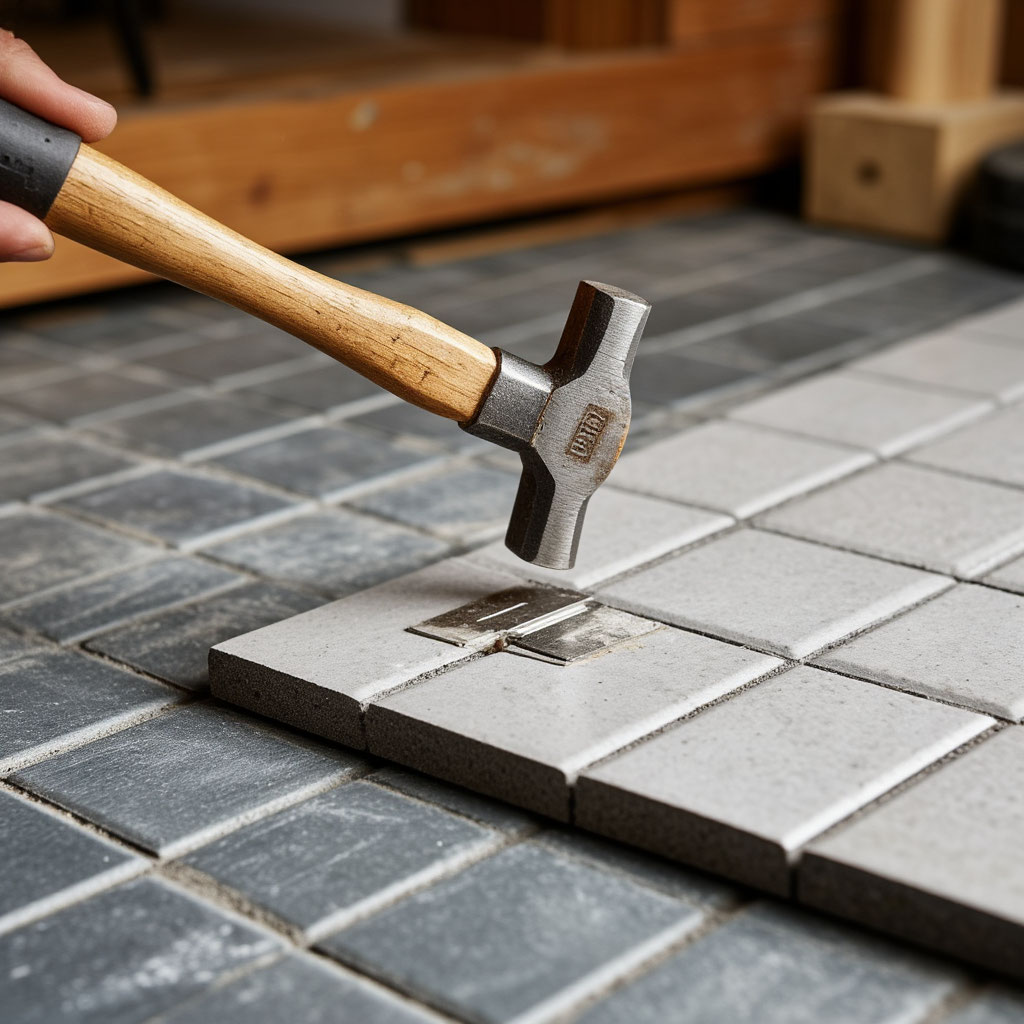
- A roofing hammer (with a waffle head for shingles, or a magnetic nail guide for metal)
- A sharp utility knife with plenty of spare blades
- A reel of chalk for keeping the lines straight across the roof deck.
Safety gear is not something to skimp on. The right roofing harness, grippy work gloves, and padded knee pads will keep you protected during long days of installation. For steep slopes, roofing brackets and foot pads are worth every penny – that extra stability means you can focus on the job rather than clinging on for dear life.
Specialized Gear for Metal Roofs
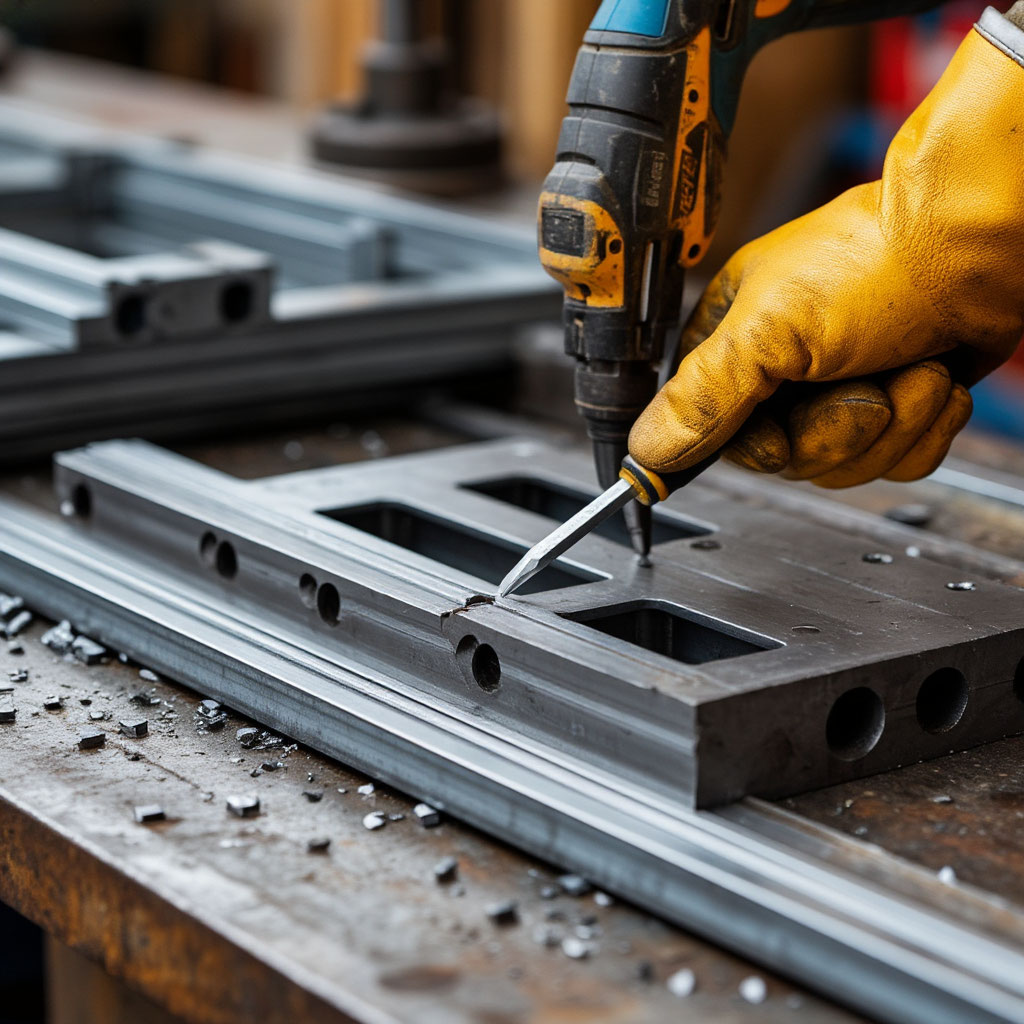
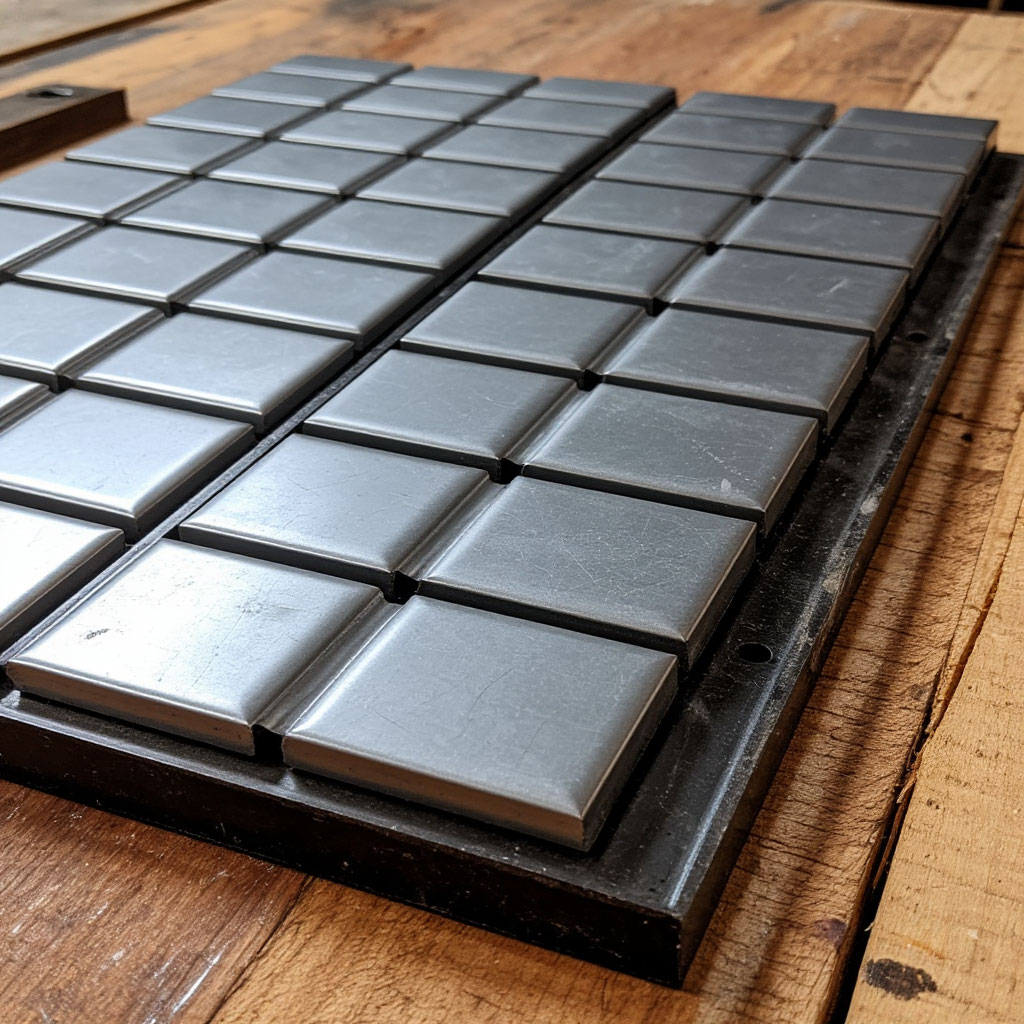
If you’ve chosen a metal roof for a cabin, you’re dealing with something different than standard shingles. You’ll want corrosion-resistant screws with neoprene washers (never nails) to prevent leaks at penetration points. A good pair of tin snips or electric tin snips will be your best friend for clean cuts, while a tin file will handle the razor-sharp edges that will cut through gloves.
Underlayment selection is even more important for metal. Skip the simple felt paper — you’ll need synthetic underlayment or self-adhesive ice protection, especially along eaves and valleys. Proper ventilation is also critical, so consider ridge vents or standing seam caps to prevent moisture buildup. And don’t forget about flashing — Z-caps for walls, pipe caps for penetrations, and butyl tape to seal seams.
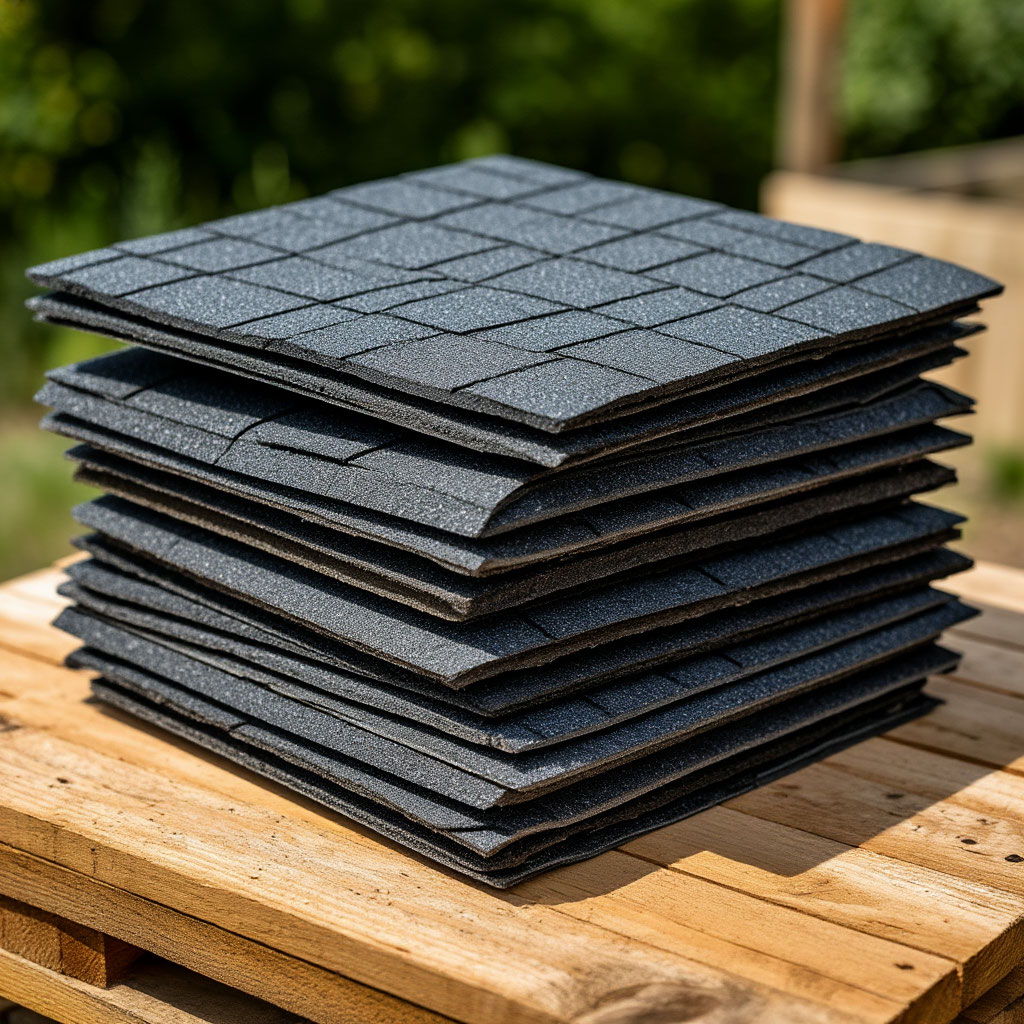
Roofing Shingle Essentials
For those shopping for the best log home roofing in the traditional sense, your shopping list will change. Architectural shingles (thicker and stronger than basic 3-tab) should be your minimum standard. You’ll need roofing nails (galvanized with 1¼-inch ring shank) and, ideally, a roll roofing nailer to speed up installation exponentially.
Underlayment is simpler here — 30-gauge felt or synthetic underlayment works great in most climates. Flashing the drip edge along the eaves is a must, not an option. Add ridge cap shingles to finish the peak, and grab a roofing shovel if you’re removing old layers first. A pry bar and roofing axe will help you pry and place the material accurately.

Game-Changing Tools Worth the Investment
Some tools transform a grueling cabin roof installation into a manageable project. A pneumatic nailer cuts shingle installation time in half. For metal roofs, a panel lifter lets you maneuver heavy sheets without bending them. A laser level ensures your starter courses are perfectly straight, while a digital angle finder takes the guesswork out of complex cuts.
If you’re working solo, temporary panel holders or a material hoist system can mean the difference between frustration and smooth sailing. And don’t overlook a good roofing cart or wheelbarrow for moving materials around the job site efficiently.
Material Calculations Done Right
Nothing blows your cost to roof a cabin faster than miscalculating quantities. For shingles:
- Calculate roof area (length x width).
- Add 10% waste factor for cuts.
- Add 5% extra for starter courses and caps.
Metal requires more precision:
- Panel lengths must account for overhang plus ½” for thermal expansion.
- Order 15% extra for complex roofs with multiple valleys.
- Count fasteners (about 300 screws per 100 sq. ft.).
Don’t forget:
- Underlayment (add 15% over roof area).
- Flashing (measure all penetrations and transitions).
- Sealants (butyl tape for metal, roofing cement for shingles).
Smart Spending: Where to Invest and Save
Budgeting your cabin roof installation means knowing where to splurge and where to economize. Never cheap out on:
- Underlayment (your last defense against leaks).
- Fasteners (rusty nails mean loose shingles).
- Flashing (90% of leaks start here).
With metal roofs, 26-gauge panels are the minimum for durability—but you can save with exposed-fastener systems if appearance isn’t critical. For shingles, mid-range architectural styles offer the best value, avoiding both flimsy basics and overpriced “premium” options.
Job Site Setup for Success
Proper preparation separates smooth DIY cabin roof step-by-step projects from disasters:
- Rent a dumpster for old roofing removal.
- Lay plywood sheets to protect new materials.
- Set up a rooftop tool tray to keep essentials handy.
- Cover materials if rain threatens (wet shingles are unusable).
- Pre-sort fasteners and flashing for easy access.
Always keep spare blades, bits, and fasteners within reach—running out of screws halfway through a metal panel installation will test your patience.
Final Prep Checklist
Before making your first cut or driving your first nail:
- Verify local permit requirements (some areas restrict metal roofs).
- Check 3-day weather forecast (no rain in sight).
- Practice handling full panels/bundles at ground level.
- Recruit help for heavy lifting days.
- Review manufacturer instructions for your specific materials.
Missing something? Pause until you’re fully ready. A proper cabin roof installation demands patience—rushing leads to expensive mistakes that’ll haunt you for years.
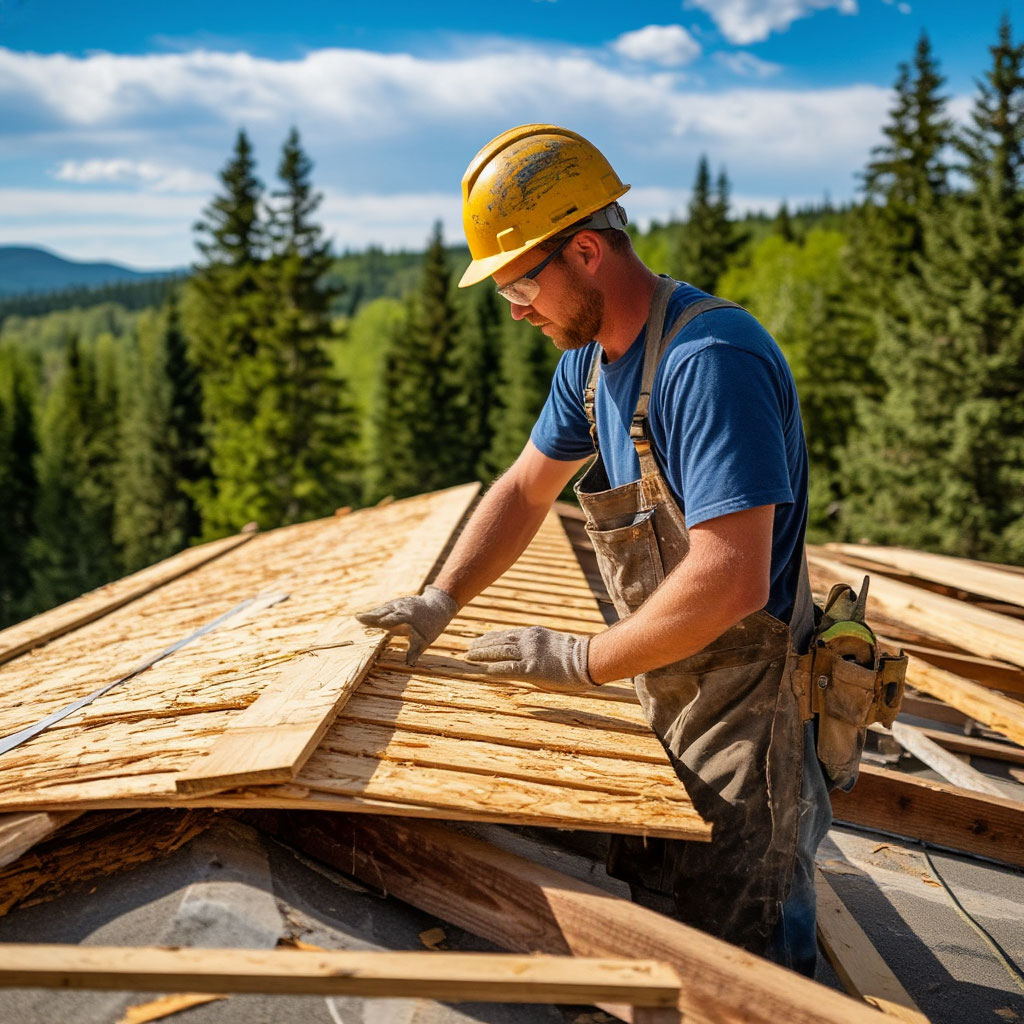
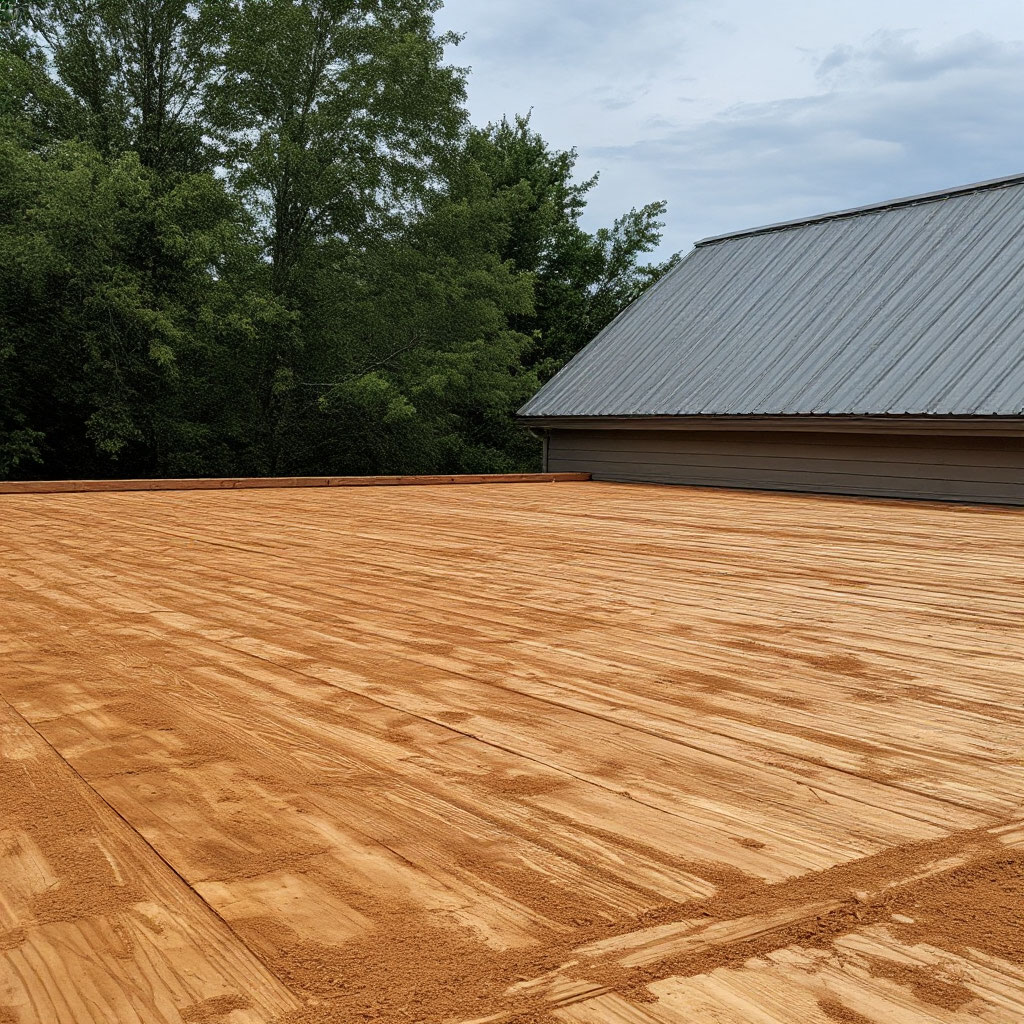
Step 1: Preparing the Roof Deck
Getting your roof deck ready is where a proper cabin roof installation begins—skip this step, and you’re setting yourself up for leaks and headaches down the road. Whether you’re working with metal roofing for cabins or asphalt shingles, the prep work doesn’t change much, but doing it right ensures your materials perform as they should.
Before the roof goes on, seal log joints to cut heat loss from gaps. Here’s a practical guide to chinking a log cabin.
Inspecting and Repairing the Structure
Before laying a single sheet of underlayment, you need to assess what’s underneath. Rotten or warped decking? Weak spots around chimneys or vents? Now’s the time to fix them. Pound down any protruding nails, replace soft or damaged plywood, and reinforce areas where the deck feels spongy underfoot.
For log cabins, pay extra attention to settling—gaps between logs can shift over time, so check for proper flashing integration. A solid deck means your DIY cabin roof step-by-step project won’t fail prematurely due to structural issues you should’ve caught early.
Clearing the Surface
If you’re replacing an old roof, strip it down completely. Lingering shingle debris or rusted metal fragments create uneven surfaces that cause new materials to wear faster. Sweep off all dust and nails—magnetic rollers help catch strays—and give the deck a quick inspection for lingering moisture damage.
For new construction, make sure the sheathing is nailed securely (6-inch spacing along edges, 12 inches in the field). Gaps wider than 1/8″? Fill them with compatible filler strips so panels or shingles don’t dip over time.
Ventilation Prep Work
Roofs don’t just keep rain out—they need to breathe. Before sealing things up, plan your airflow:
- Ridge vents for continuous airflow along the peak.
- Soffit vents to allow cool air intake.
- Drip-edge vents if you’re in a humid climate.
Poor ventilation leads to condensation under metal roofing for cabins or premature rot under shingles. Measure twice, cut once—once the underlayment’s on, adjusting vent placement gets messy.
Ice and Water Shield: Where It’s Needed
Not every cabin roof installation requires full waterproof underlayment, but critical areas do. Apply self-adhesive ice-and-water shield along:
- Eaves (at least 24 inches past the interior wall line).
- Valleys (where two roof planes meet).
- Around protrusions (vents, chimneys, skylights).
In snowy climates, extend this further up the roof—ice dams wreak havoc otherwise. For arid regions, synthetic underlayment may suffice, but don’t skip it entirely.
Starter Course Setup
Shingle roofs need a solid foundation. Install starter shingles (or cut-down full shingles) along the eaves, ensuring they overhang the drip edge by ¼–½ inch. This prevents wind uplift and gives your first full row something to seal against.
Metal roofs skip this but require precise measurements for panel overhangs—typically 1–1.5 inches past the drip edge. Mark guidelines with chalk to keep everything aligned as you work upward.
Final Checks Before Moving Forward
With the deck prepped, pause and verify:
- All old roofing material is removed.
- Deck is solid, dry, and nail-free.
- Ventilation pathways are clear.
- Critical zones have ice-and-water shield.
- Starter courses or panel guides are set.
Rushing into the next phase without these basics risks compromising the entire cabin roof installation. A few hours of meticulous prep saves days of repairs later.
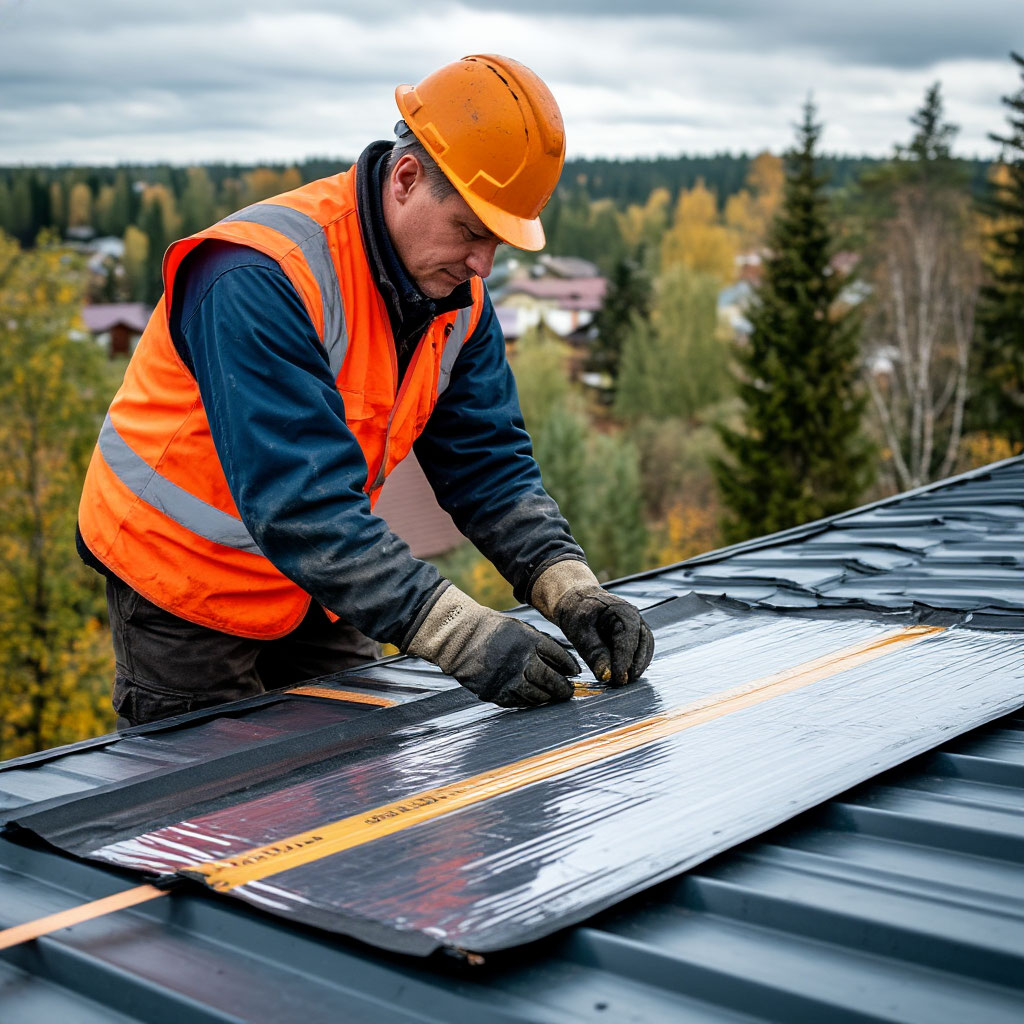
Step 2: Installing Underlayment
The underlayment is your cabin’s first line of defense against leaks, and skipping this step is like building a house on sand. Whether you’re working with metal roofing for cabins or traditional asphalt shingles, this waterproof barrier makes all the difference in your cabin roof installation. Get this layer wrong, and you’ll be chasing water stains for years.
Choosing the Right Underlayment
Not all underlayments are created equal. For most DIY cabin roof step-by-step projects, you’ve got three main options:
- Felt paper (15# or 30#): The old-school choice that’s budget-friendly but tears easily during installation.
- Synthetic underlayment: Tougher than felt, with better slip resistance when you’re walking on the roof.
- Peel-and-stick membrane: The gold standard for leak protection, especially in ice-prone areas.
Metal roofs demand special attention—the slick surface means you’ll want a high-traction synthetic underlayment to prevent workers from sliding off. Shingle roofs are more forgiving, but investing in quality underlayment still pays off when storms hit.
Rolling Out the Underlayment
Start at the eaves and work your way up. Keep rolls straight—any wrinkles or bubbles create water traps. Overlap horizontal seams by at least 2 inches, and vertical seams by 6 inches. Use cap nails or staples every 12-18 inches to secure it, but don’t overdo the fasteners—puncturing it too much defeats the purpose.
For metal roofing for cabins, pay extra attention to the overlap direction. Install sheets so upper layers always overlap lower ones, mimicking how water flows off the roof. This prevents moisture from sneaking underneath during driving rains.
Special Considerations for Valleys
Roof valleys are where water concentrates, making them prime leak locations. Here’s how to bulletproof them:
- Install peel-and-stick membrane at least 36 inches wide in the valley
- Don’t nail through the center—keep fasteners at least 6 inches from the midline
- For metal roofs, use pre-formed valley metal over the underlayment
These extra steps add to your cost to roof a cabin, but repairing water damage costs far more.
Drip Edge Installation
That metal flashing along the roof edges isn’t just for looks—it controls water runoff and protects vulnerable wood. Install drip edge:
- Along eaves before underlayment.
- Along rakes after underlayment.
This sandwich method prevents wind-driven rain from getting underneath. Match the drip edge color to your final roofing for a clean look.
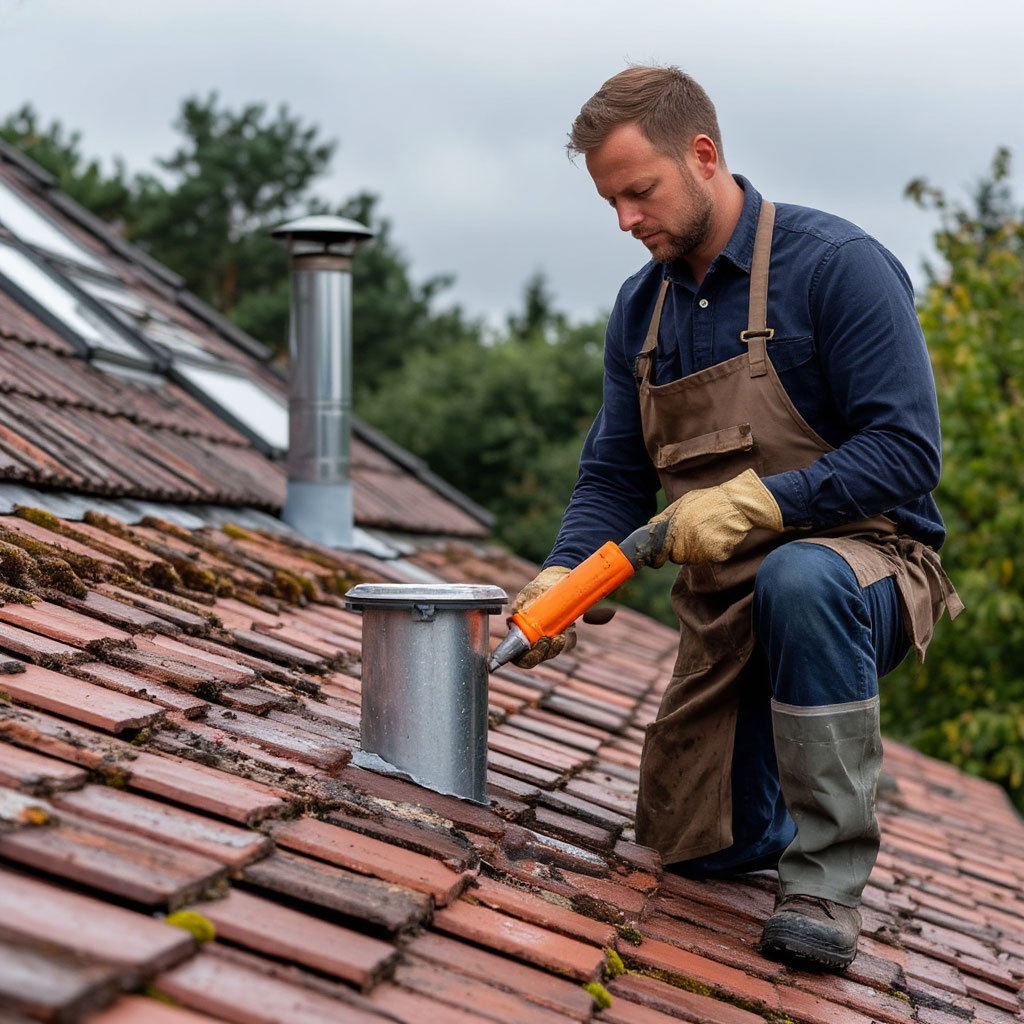
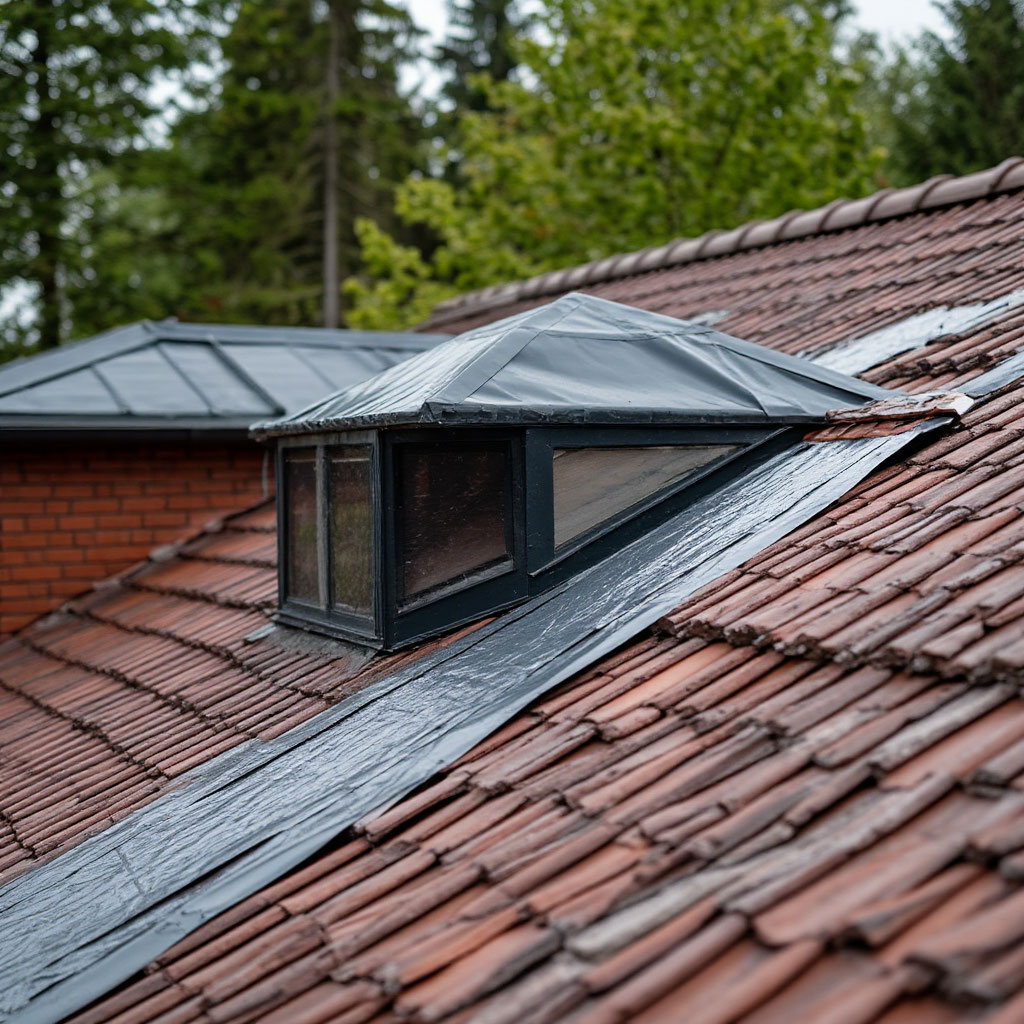
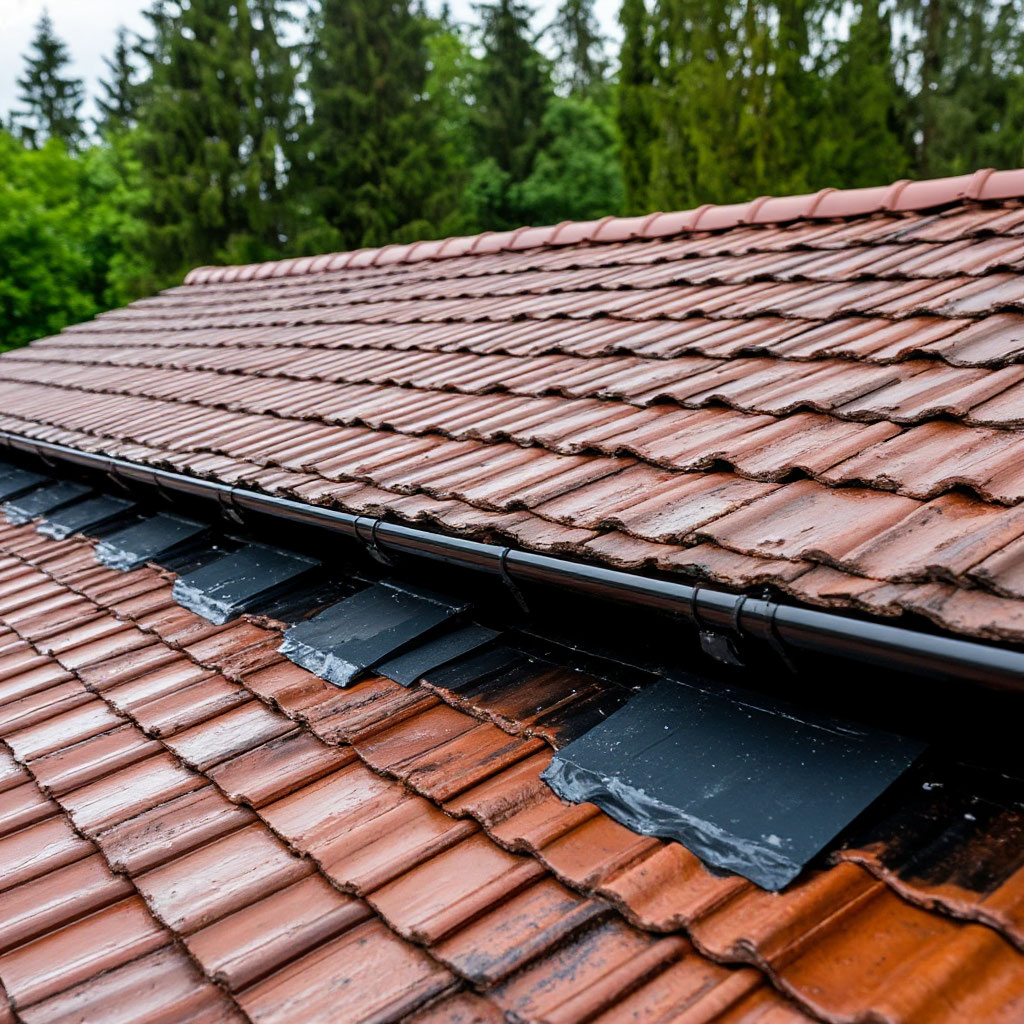
Around Roof Penetrations
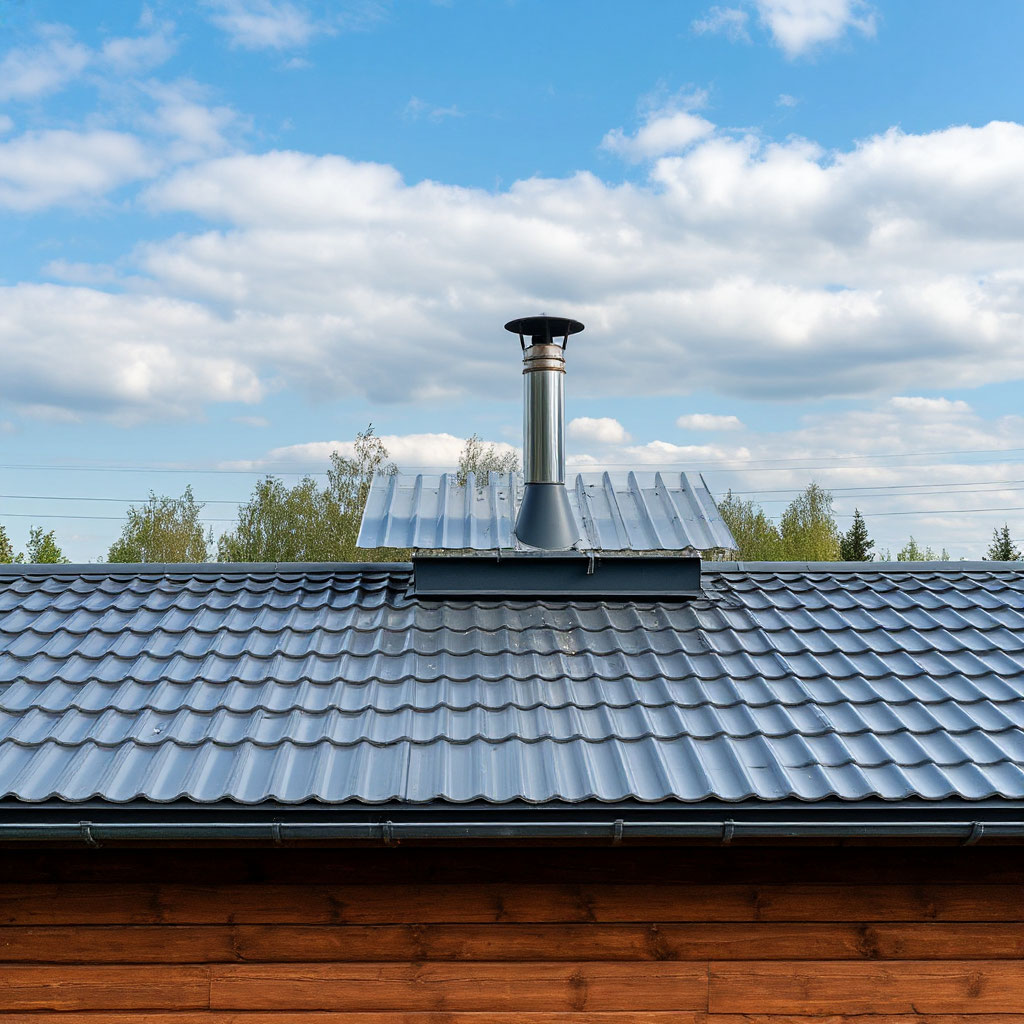
Chimneys, vents, and skylights need special attention. Cut underlayment to fit snugly around protrusions, then seal the edges with roofing cement. For metal roofs, install flashing boots before the underlayment for a watertight seal.
Final Inspection Before Roofing
Before moving forward with your cabin roof installation, do a thorough check:
- All seams properly overlapped.
- No wrinkles or loose areas.
- Drip edge securely fastened.
- Valleys and penetrations fully protected.
- Entire deck covered with no gaps.
Quality underlayment work might not be visible once the roof is on, but it’s what separates a professional-grade job from a future money pit.
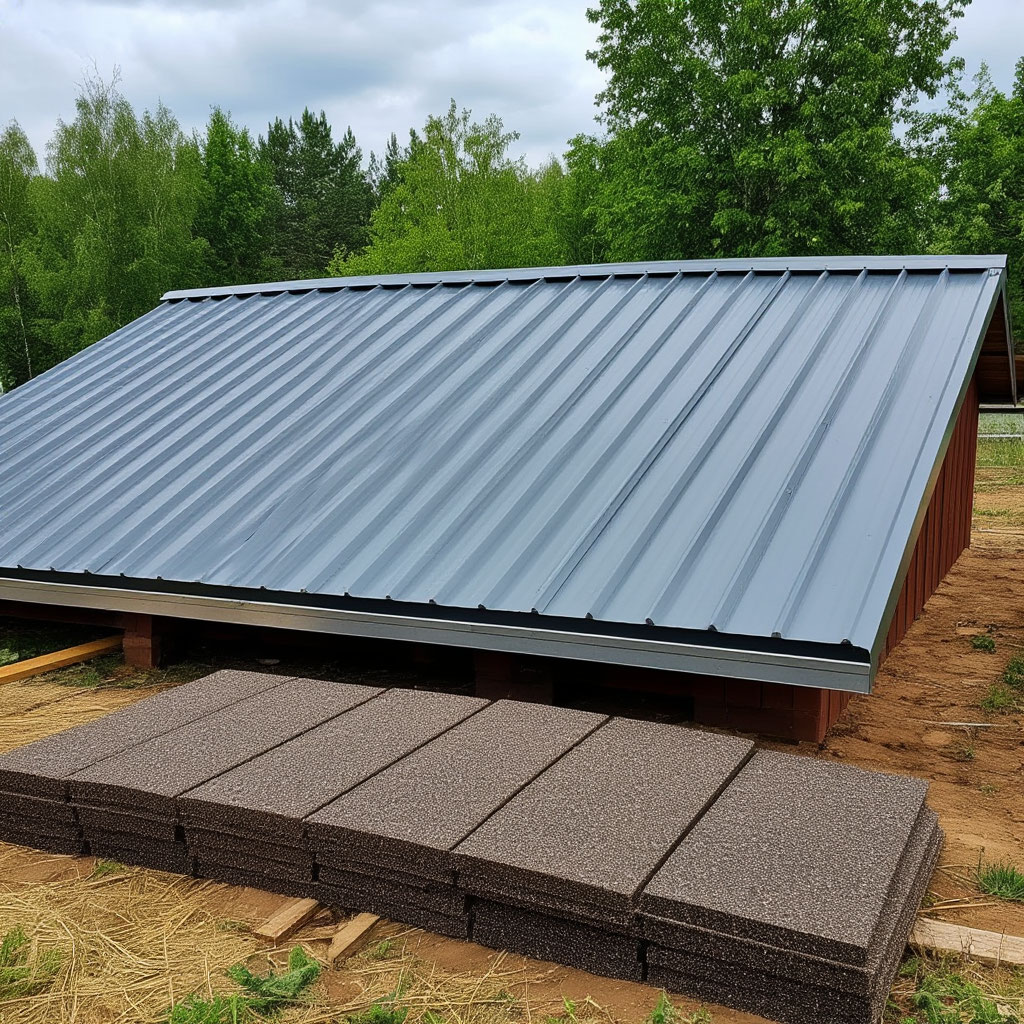
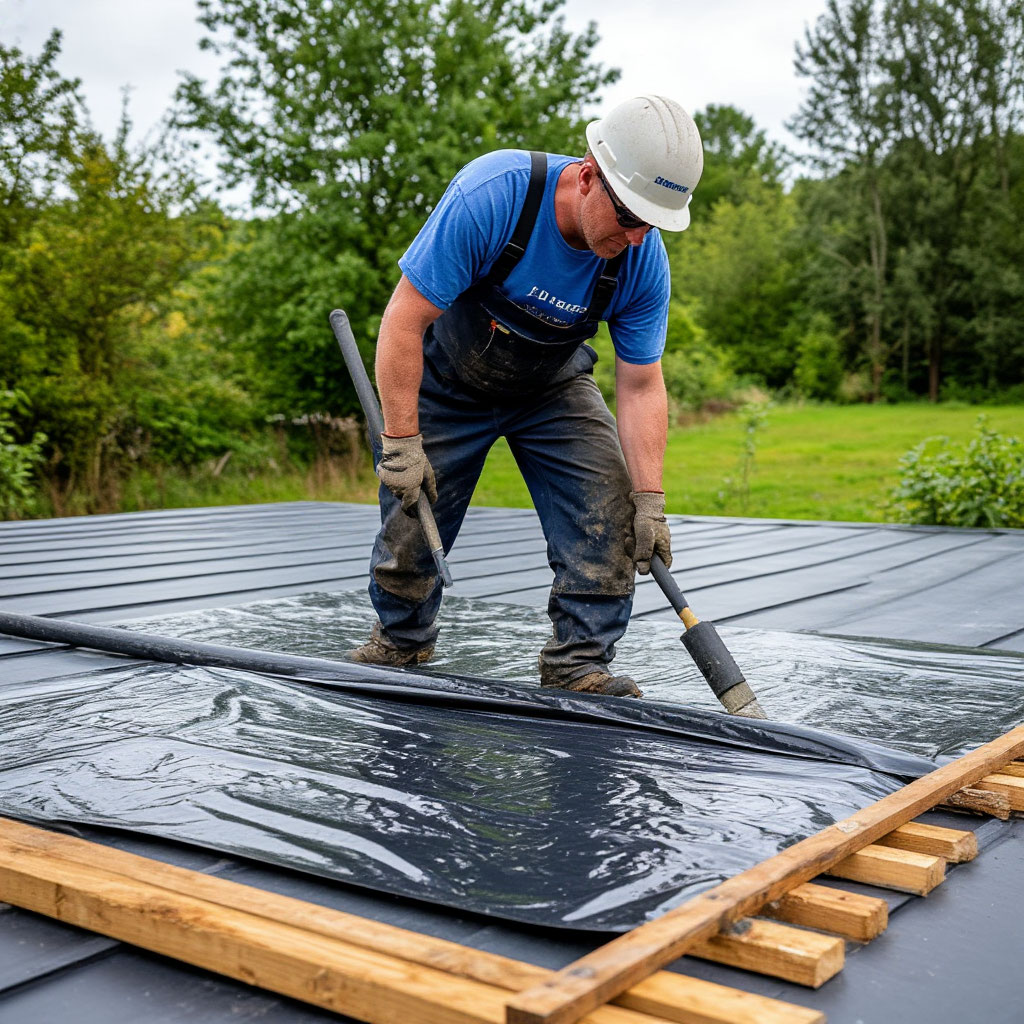
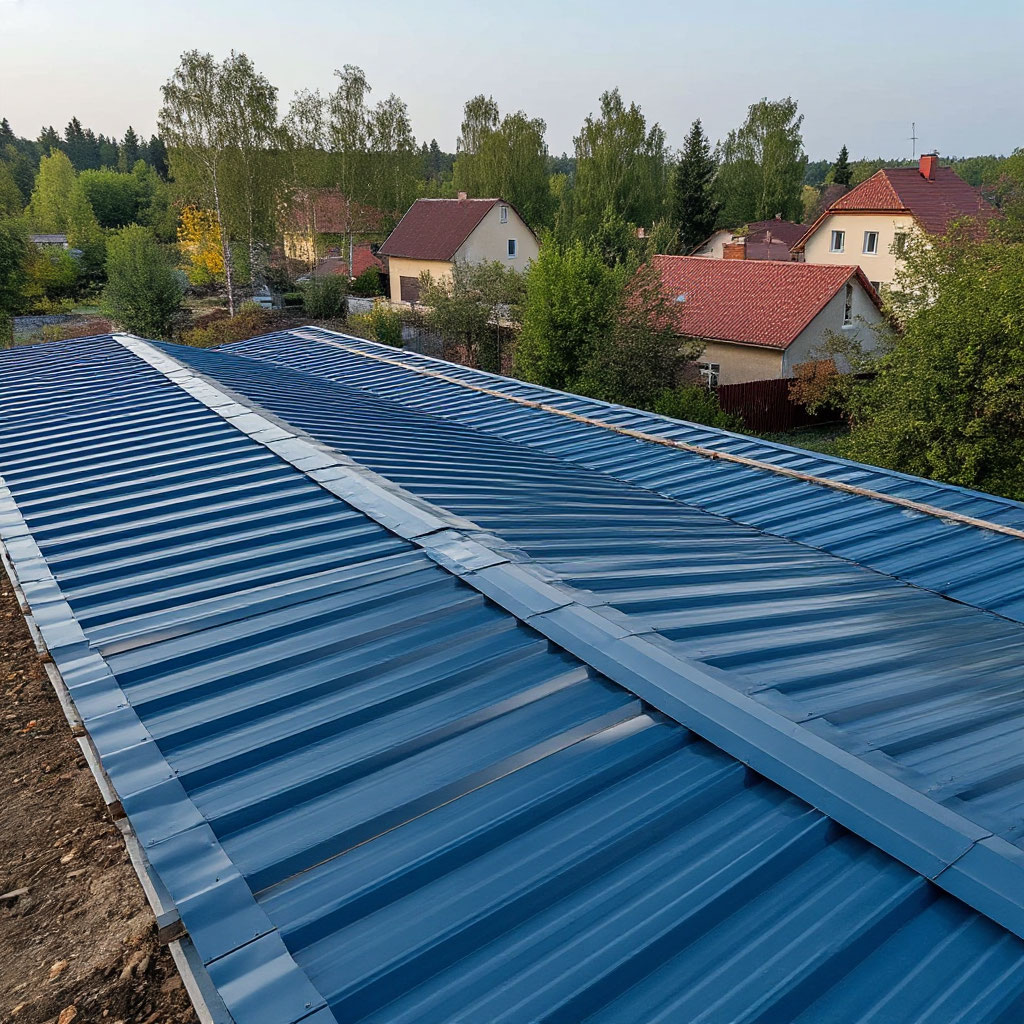
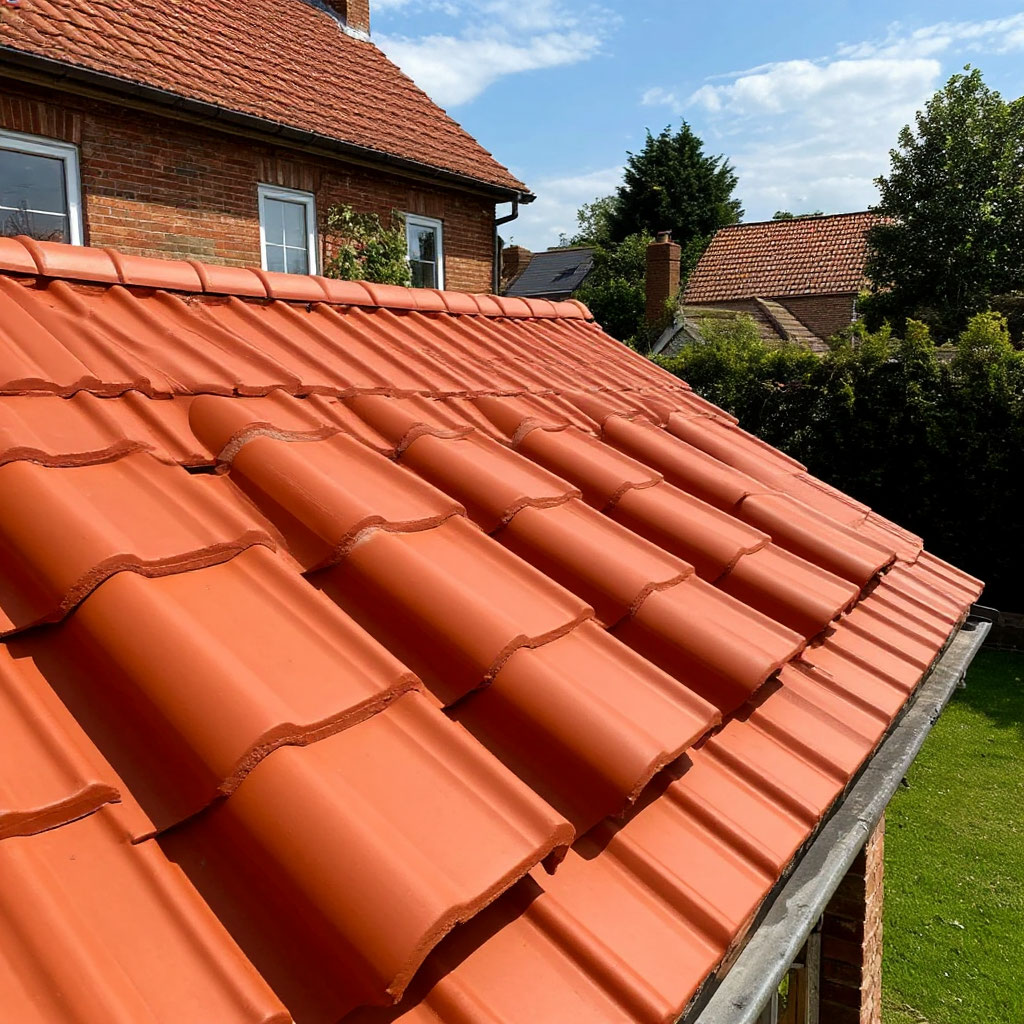
Step 3: Installing Metal Roof Panels
It’s time to transform your bare deck cabin roof installation into a weatherproof shelter with these sleek metal panels. This is the step in your step-by-step DIY cabin roof project where everything starts to visually come together. While metal requires more precision than shingles, the right techniques will give you a professional finish without the professional price tag.
Start with a Solid First Row
This starter panel will dictate everything that comes next, so measure twice and install once. Start at the eaves, extending about 1 to 1.5 inches beyond the drip edge. Those chalk lines you cut earlier will now become your lifeline—this is no guesswork. When working with metal cabin roofing, proper alignment means both checking the edge of the panel against your starting mark and checking for squareness with the trusty 3-4-5 triangle method. Temporarily secure the panels with just a couple of screws until you’re confident in the alignment.
Thermal expansion of metal must be respected. Always leave about ½ inch at the ends of panels. This will allow for the natural movement that occurs with temperature changes. This becomes important on longer runs of panels where expansion can amount to several inches along the entire length of the roof.

Mastering the Art of Fastening
More cabin roof installation projects fail at fastening than at any other stage. These specially designed screws with rubber washers require perfect placement to create a tight seal:
- Tighten each screw exactly perpendicular to the roof surface – any angle reduces the effectiveness of the washer.
- Tighten until the washer makes full contact and compresses slightly, but stop before it begins to deform.
- Space fasteners 12 to 18 inches apart along the edges of the panel, keeping them at least one inch from any edge of the panel.
Exposed fastening systems, the most convenient option for DIY metal roofing for cabins, require installing screws in the flat areas between the ribs rather than in the raised portions. While hidden fastening systems provide a cleaner aesthetic that can be suitable for the best log cabin roofing, their installation complexity often puts them outside the typical DIY comfort level.
Progressing Up the Roof Surface
Each successive row is built upon the previous one, with an overlap typically between 6 and 12 inches, as specified by your specific product. This is where an extra pair of hands proves invaluable – one person can handle the alignment while the other checks for consistent overlap and proper placement before any fasteners are permanently installed. On steeper roof slopes, special roofing hooks or temporary cleats provide the necessary security while working. Never step directly on unsupported panels, as the weight can cause a buckling action that will rip the fasteners right through.
Valleys require special attention in any quality cabin roof installation. The proper approach starts with installing preformed valley metal before any panels are inserted into it. Place your panels into the valley, maintaining a gap of about one inch, then carefully seal the edges with a high-quality urethane sealant. This combination provides both physical protection and water shedding.
When encountering chimneys, vents, or other protrusions, a careful fit is critical. Cut the panels to allow a ¼-inch gap around obstructions, then install a flashing that overlaps the panel face. Apply sealant generously but precisely—excessive wicking will create maintenance issues down the road without improving performance.
Finishing with Precision Ridge Cap
The ridge cap serves as the finishing touch to your metal cabin roof, combining ventilation, protection, and aesthetics. Start by applying a special sealant tape along the entire ridge line. The cap is then snapped into place, secured with fasteners driven into the high spots rather than the flat areas. Each section should overlap the next by at least four inches to ensure weather resistance at these critical joints.
A Necessary Final Inspection
Before you declare your DIY step-by-step cabin roof project complete, perform a thorough assessment:
- Check each fastener for proper tightness without excessive compression.
- Ensure that all panel edges maintain consistent alignment across the entire roof surface.
- Ensure that expansion gaps remain uniform and free.
- Check all flashing installations for security and proper integration with roof members.
- Walk the perimeter to verify proper overhang measurements on all sides.
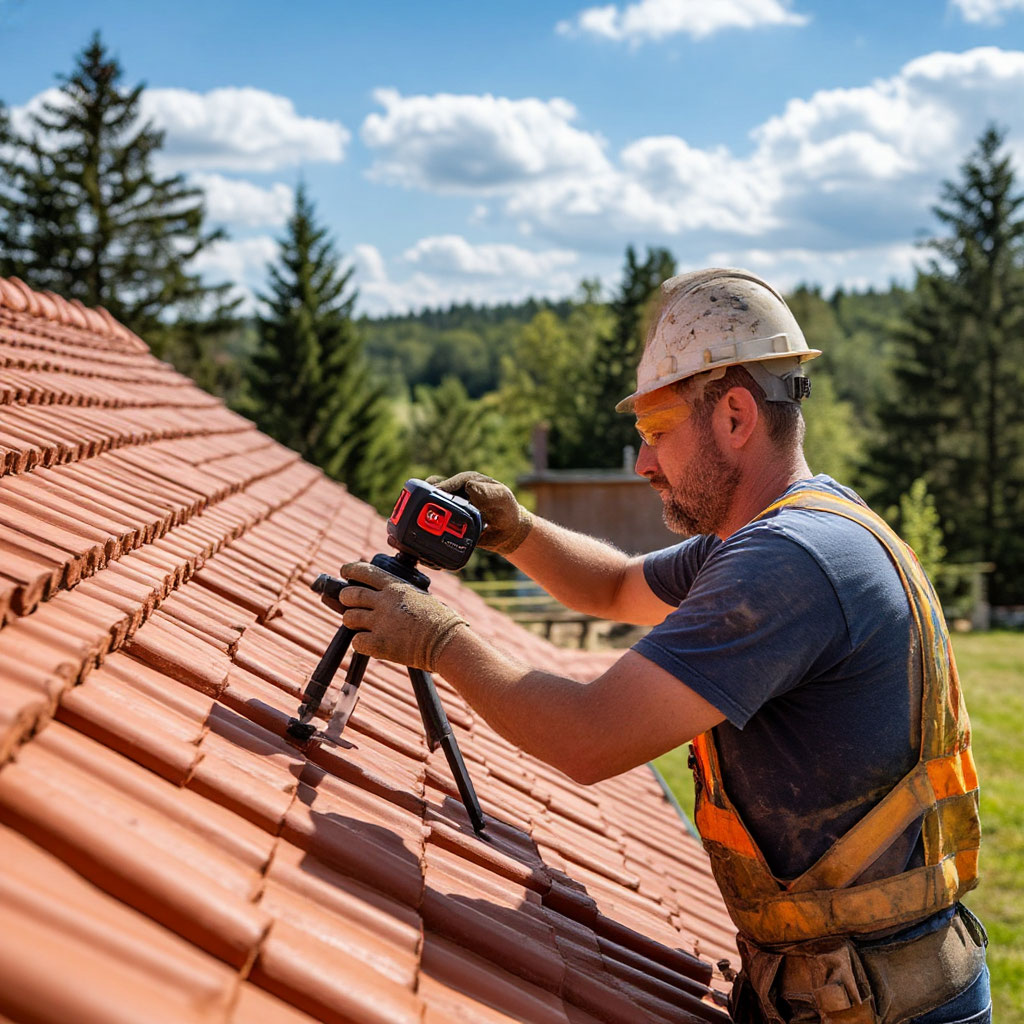
Documenting your work with photographs provides a valuable reference for future maintenance and serves as proof of proper installation for warranty purposes. When done with care and attention to these details, a metal roof installation becomes a multi-year investment in the protection and value of your cabin.
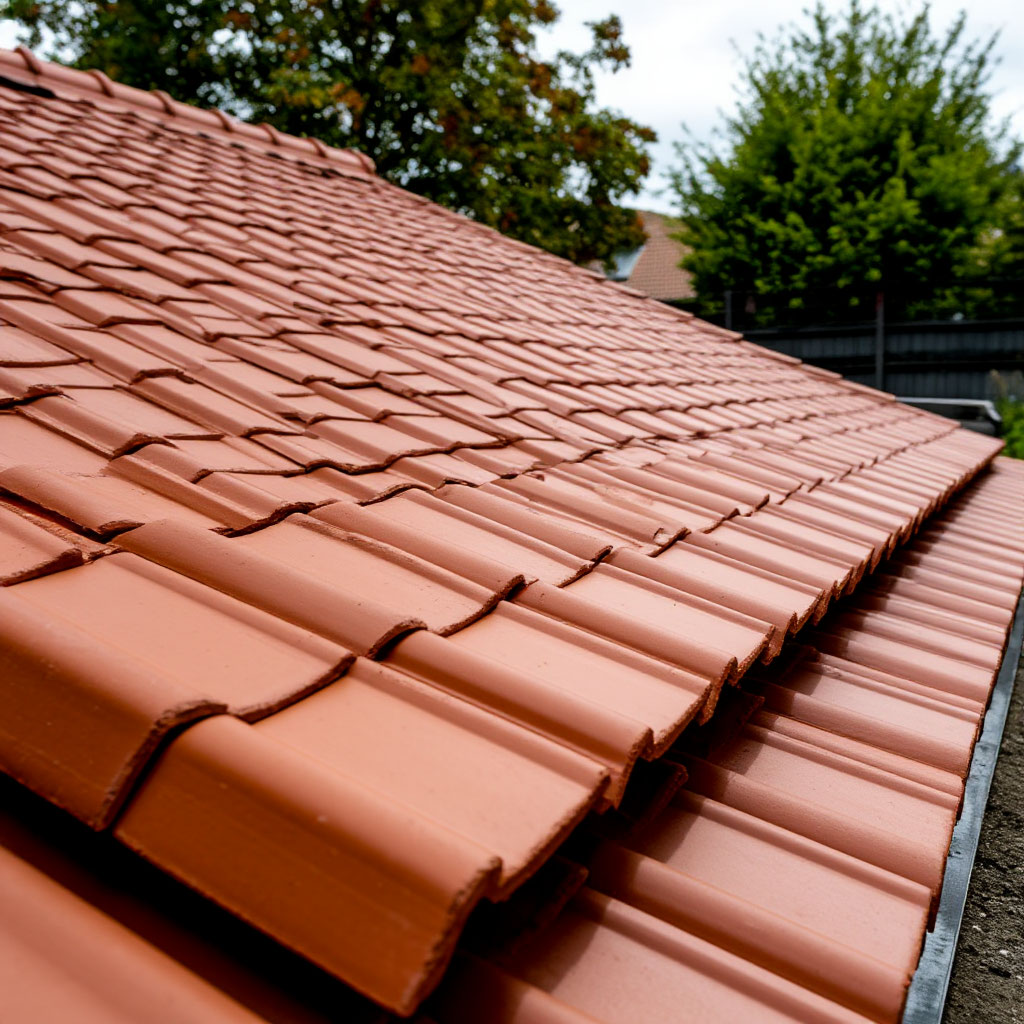
Step 4: Alternative to Shingles
For those who have ditched metal, installing asphalt shingles completes your cabin roof installation, giving it a classic look that has stood the test of time. This step-by-step approach to DIY cabin roof installation offers more forgivingness for first-timers while keeping cabin roofing costs reasonable. Let’s break down how to properly install shingles so they’ll protect your shelter for decades to come.
Start with the Right Foundation
Installing shingles begins with that critical first row along the eaves. Starter strips create the base onto which your field shingles will snap—either buy pre-made starter strips or cut the tabs off regular three-tab shingles. Offset them about a half-inch past the drip edge to ensure proper water drainage. This underlayment prevents wind from penetrating under your main rows while providing extra thickness at the most vulnerable edge.
The slope of your starter row matters more than many people realize. A slight curl up at the edges helps the shingles lie flatter as the sun heats them. Some professionals draw a second chalk line six inches above the eaves as a guide to ensure the starter shingles are perfectly level.
Nailing Patterns That Actually Hold
Here’s where many cabin roofing projects go sideways – improper nailing. Each shingle needs exactly four nails, placed precisely:
- About one inch above the cutouts.
- No closer than one inch from each edge.
- Driven straight through the thick nail strip.
- Never overdriven (perfectly flush).
Stagger the nails slightly from row to row rather than creating vertical lines of nail heads. This distributes the load better across the entire roof deck. Beware of “shiny” nails – nails that don’t hit the underlying shingle – they will cause leaks faster than you expect.
Proper Roofing
The magic of installing shingles is in consistent offset patterns. Standard three-tab shingles use a 6-inch offset between rows, while architectural styles typically call for 4-5 inches. Sticking to this rhythm religiously is what gives your roof a professional, finished look while ensuring proper water drainage.
Cutting shingles requires a sharp knife and a steady hand. Score the back of the shingles with a straightedge, then snap them off carefully. In cold weather, warm the shingles slightly before cutting to prevent cracking. Be careful when cutting around vents and tabs – uneven edges invite wind damage and moisture penetration.
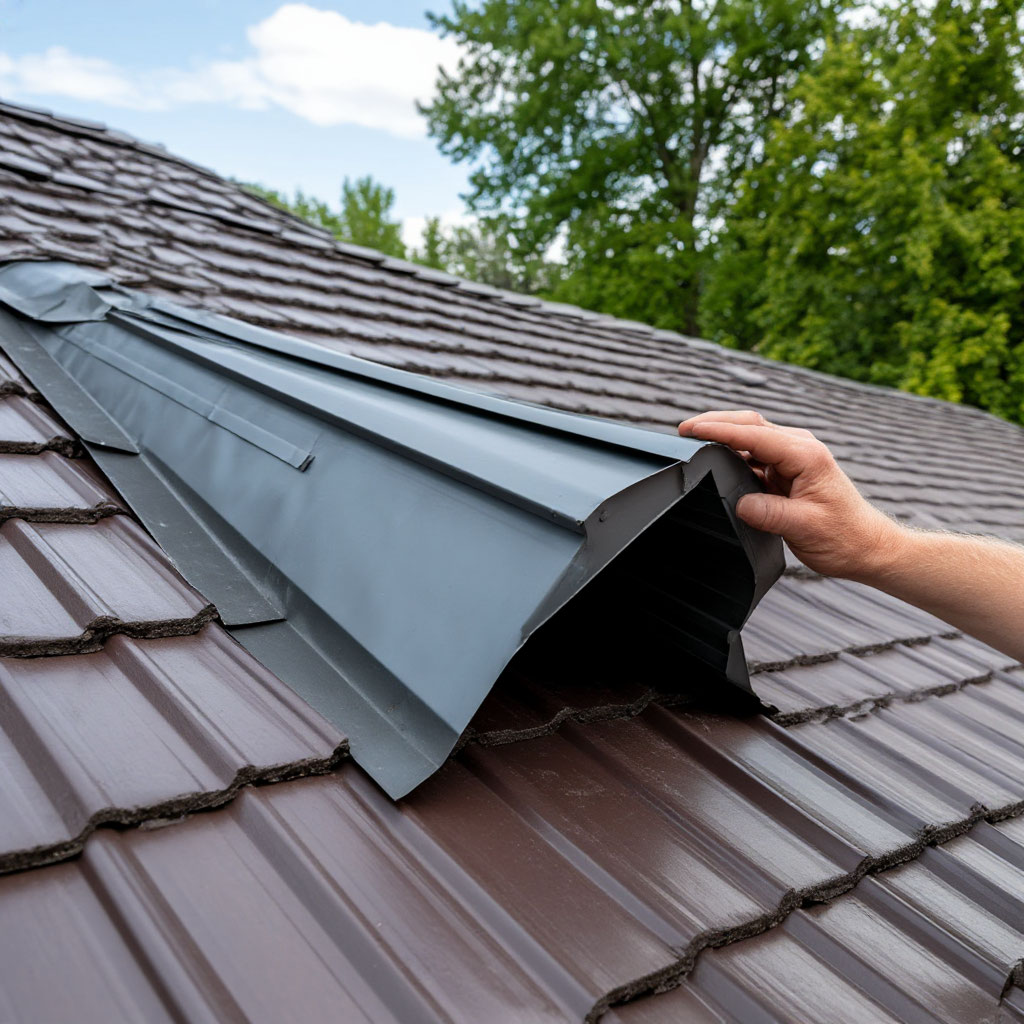
Pay special attention to valleys
Inside corners where roof planes meet become rivers during heavy rains. For open valleys:
- First, install a valley underlayment.
- Lay the shingles in the valley, but do not extend them 2 inches.
- Cut the shingles at a consistent 45-degree angle.
- Seal the edges carefully with roofing cement.
Closed valleys look cleaner, but require more precision. Either method, done correctly, will outlast your cabin if it was installed with care during the step-by-step DIY cabin roof project.
Ridge Cap Installation Made Simple
Finishing the peak ties everything together both functionally and visually. Special ridge cap shingles bend easily over the apex when warmed slightly. Install them working into the prevailing wind direction so each piece laps over the one before it. Nail about 6-7 inches from the exposed edge with just two nails per cap – any more restricts the natural flexing needed as temperatures change.
Final Touches for Lasting Protection
Before calling your cabin roof installation complete:
- Inspect every shingle for proper adhesion.
- Verify all flashing integrates smoothly.
- Check that vent boots seal tightly.
- Remove all debris from the roof surface.
- Apply sealant to any questionable areas.
Quality shingle work shows in the details – straight lines, consistent exposures, and meticulous flashing. Done right, this approach to how to roof a small cabin delivers reliable protection at a fraction of metal’s upfront cost while maintaining the traditional aesthetic many cabin owners prefer.
FAQ
Is a metal roof louder than asphalt shingles in rain and hail on a small cabin?
No, not if it’s installed right. With roof decking, underlayment, and insulation, metal roof noise is close to shingle noise. The loud drum sound happens mostly on open-frame sheds. In a finished cabin, you usually won’t notice a storm is louder.
Will a metal roof lower my cabin insurance compared to shingles?
Often yes. Insurers like metal roofing because it’s more fire resistant and more hail resistant than basic three-tab shingles. Some companies give a small annual discount, sometimes 5–15%. You usually need proof the panels are rated impact-resistant.
Can I install a metal cabin roof myself without a roofing permit?
In many counties no. A re-roof, even on a cabin, is considered structural weather protection and needs a permit and sometimes inspection. If you skip it and something leaks, insurance can refuse storm damage claims. Call the building office before teardown.
Does a metal roof really last longer than asphalt shingles or is that marketing?
Yes. A basic asphalt shingle roof is often rated 20–30 years but can age out faster with sun, wind, or heavy snow. A properly installed steel or aluminum roof is often quoted 40–50 years or more. Fastener maintenance and keeping screws tight matters for that lifespan.
Which roof type handles heavy snow load better on a remote cabin: metal roof or shingle roof?
Metal roof usually does better. Snow tends to slide off a smooth metal panel instead of sitting and soaking the structure. Packed wet snow sitting on old shingles can trap water, ice-dam, and cause leaks at the eaves. In deep-snow areas people add snow guards so the whole sheet doesn’t avalanche at once.
Whether you choose metal log cabin roofing or classic asphalt shingles, your log cabin roof is now ready to withstand the elements for decades to come. This step-by-step guide to installing a log cabin roof yourself walks you through the important decisions—from weighing asphalt shingles versus metal to the right installation methods—helping you balance the strength, cost of a log cabin roof, and your skill level.
Metal offers unmatched durability, while shingles make everything budget-friendly and easy for beginners. Regardless of your choice, proper preparation and attention to detail are essential. Now that the best log cabin roofing is securely installed, you can relax knowing your sanctuary is protected.