Contents
Thinking about starting a garden but tired of dealing with poor soil or back-breaking weeding? DIY raised garden beds might be your perfect solution. These simple, elevated planters make growing veggies, herbs, and flowers easier than ever—no heavy digging required. Plus, they give you full control over soil quality, drainage, and even pest management. Whether you’re a beginner or a seasoned gardener, building your own raised beds is a fun weekend project with big rewards. In this step-by-step guide, we’ll walk you through planning, construction, soil prep, and planting so you can enjoy a thriving garden with minimal hassle.
Why Choose Raised Beds?
If you’re looking for DIY raised bed solutions that solve common gardening problems, these raised planters deliver real value. Unlike traditional gardens, raised bed designs allow you to have complete control over your growing environment while reducing maintenance costs. Whether you’re dealing with poor native soil or limited space, creating your own raised bed creates the perfect conditions for plants to thrive.
Great Growing Conditions Start Here
The magic of DIY raised beds starts with the perfect soil. Instead of struggling with whatever dirt you have in your yard, you can create an optimized mix by filling your raised bed with soil from the start. This means:
- better drainage;
- perfect texture;
- nutrient-rich conditions.
The elevated layout prevents soil compaction since you never step into the growing area – a major advantage over traditional gardens.
Smart Solutions for Limited Spaces
Urban gardeners especially appreciate how raised bed designs transform tiny spaces into productive growing areas. These small space gardening solutions work great on patios, rooftops, or narrow side yards where traditional gardening is impossible. When planning the depth of your raised beds, remember that most vegetables require at least 12 inches, while root vegetables grow best at a depth of 18-24 inches. The modular nature allows you to customize the layouts to fit any awkward space.
Ergonomic Benefits You’ll Appreciate
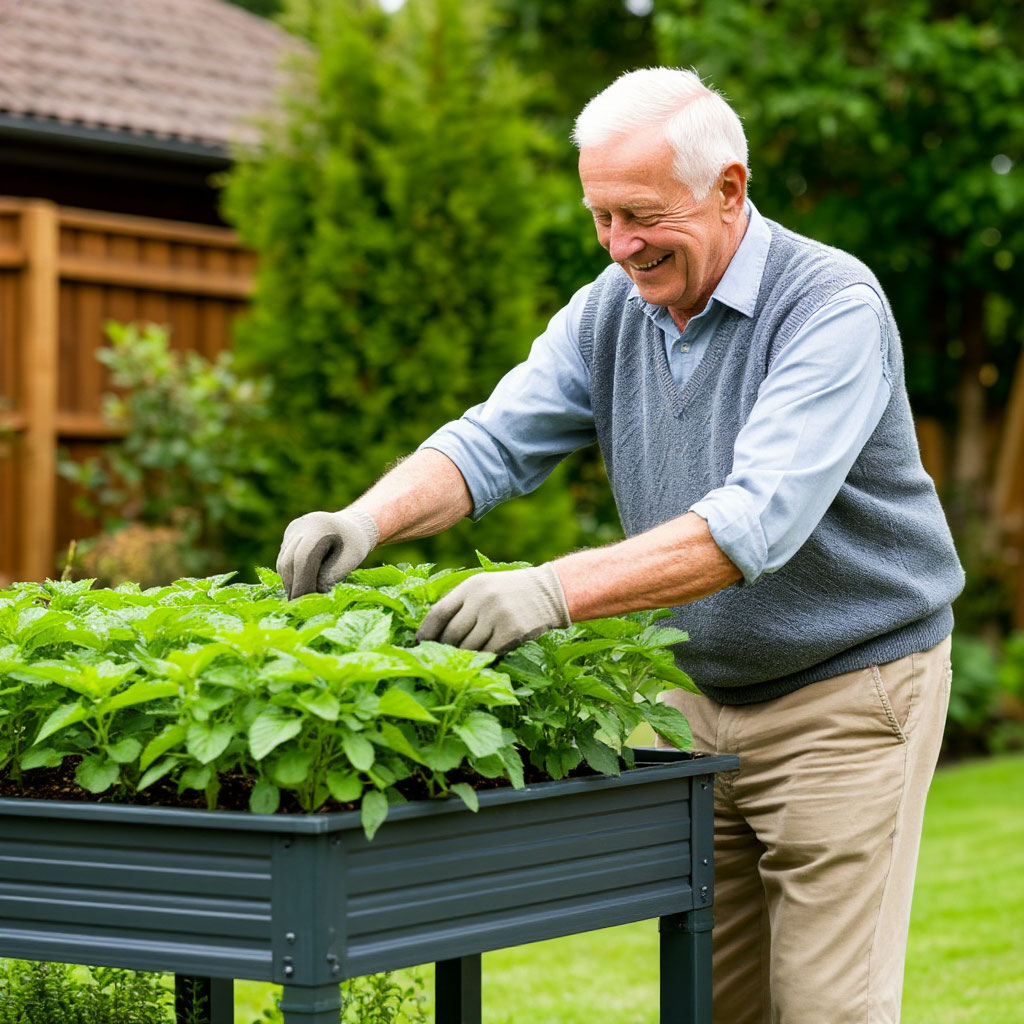
Anyone who has struggled with back pain while gardening will love DIY raised beds. The high height greatly reduces the need to bend and kneel. For maximum comfort, build taller frames (up to waist height) and keep the width under 4 feet for easy access. These thoughtful dimensions make routine maintenance like weeding and harvesting much more enjoyable.
Extended Seasons and Better Harvests
One of the hidden benefits of raised beds is their ability to extend the growing season. In the spring, the soil warms up faster, allowing for earlier planting. In the fall, adding simple covers creates a protective microclimate. When raised beds are properly filled with soil, plants develop stronger root systems and face fewer disease problems. This results in noticeably better yields compared to planting in the ground.
Built-in Pest Control
Many common garden pests struggle with homemade raised beds. The height deters ground-dwelling insects, while physical barriers like a hardware cloth bottom block burrowing animals. Choosing the best wood for raised beds also matters — cedar or redwood. It’s rot-resistant and can last for years without chemical treatments that could affect your plants.
Organization and Aesthetics
Beyond functionality, raised bed designs bring order and beauty to outdoor spaces:
- A specific structure prevents plants from growing out of control, creating attractive geometric patterns.
- Using the best wood for raised beds ensures that your garden will look good and withstand any weather conditions.
- Clean lines and thoughtful layouts make gardening more manageable and visually pleasing.
Customization for Every Gardener
What makes DIY raised beds so appealing is their adaptability. You decide how deep you want your raised beds to be, depending on what you’re growing. The construction process allows for creative touches like built-in seating, trellises, or decorative trim. Even when filling raised beds with soil, you can tailor the mix to the needs of specific plants—something you can’t do with native soil.
After considering all these benefits, it’s easy to see why raised bed designs have become so popular. They solve space constraints with small-lot gardening solutions, overcome poor soil conditions by properly filling the raised beds with soil, and reduce physical strain—all while looking great. The initial effort of creating them pays off season after season with easier maintenance and better results.
Making the Right Start
Before jumping into construction, consider what you’ll grow to determine how deep should raised beds be and select the best wood for raised beds for longevity. Proper planning ensures your DIY raised garden beds will meet all your gardening goals for years to come.
Materials Needed to Build Raised Beds
Building your own raised beds requires wisely choosing materials that balance durability, cost, and plant health. The right lumber, tools, and soil are essential to creating functional raised bed designs that will last for years to come.
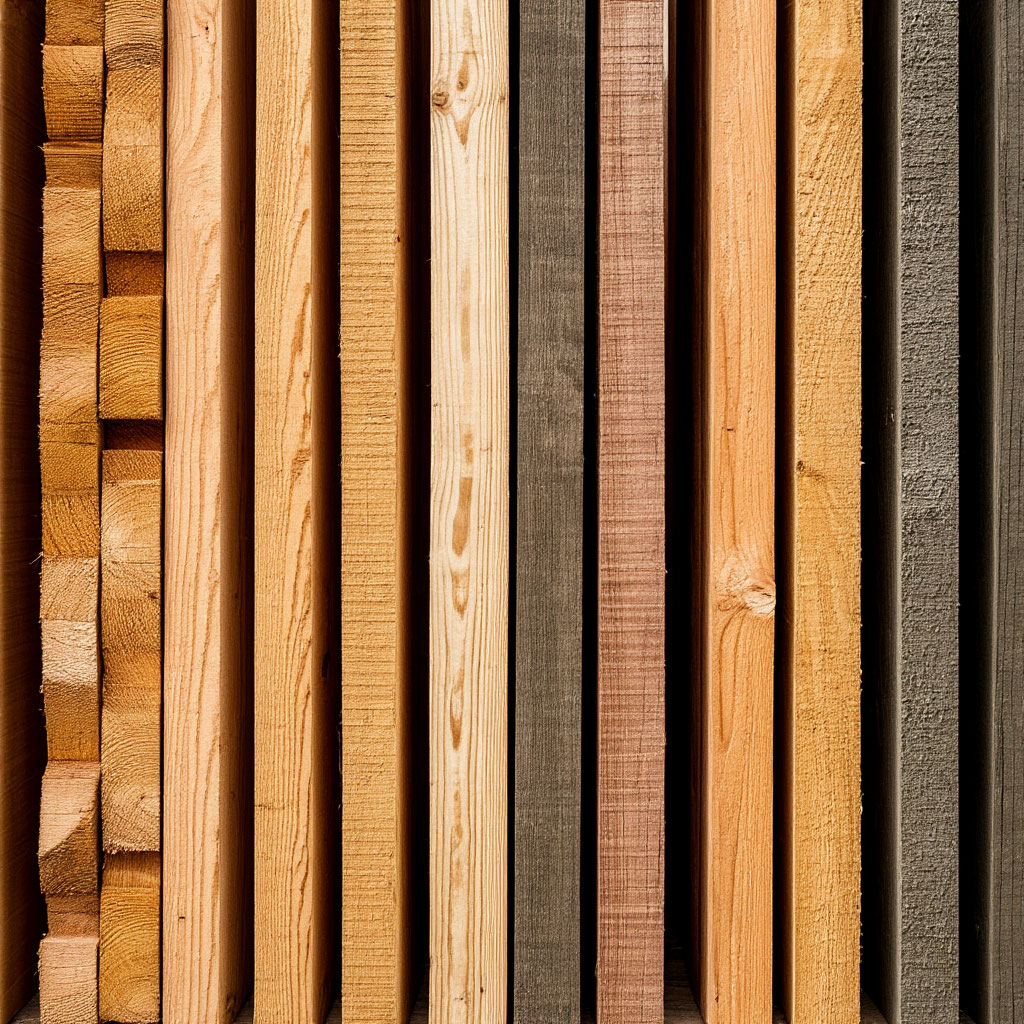
Choosing the Best Wood for Raised Beds
The best wood for raised beds combines natural rot resistance with structural integrity. Cedar tops the list and will last for more than 10 years without chemical treatment. Redwood offers similar durability but at a higher price. For budget options, heat-treated pine resists rot better than standard wood. Avoid older pressure-treated wood that contains arsenic — modern ACQ-treated wood is safer when lined with landscape fabric.
For those looking for gardening solutions in a small space, composite decking or galvanized steel are low-maintenance alternatives. These materials are especially well suited for urban settings where aesthetics are important.
Basic Construction Components
Every DIY raised bed project requires a few key elements:
- Structural Supports: Use 2×6 or 2×8 lumber for the sides, and 4×4 posts at the corners for deeper beds.
- Fasteners: Outdoor screws (3-3.5 inches) hold up better than nails.
- Barriers: Hardware mesh (¼-inch mesh) keeps rodents out while providing drainage.
- Soil Amendments: Peat moss or coco coir helps retain moisture in your mix.
When determining the depth of your raised beds, remember that most vegetables require 12-18 inches of growing medium. Root vegetables like carrots and parsnips grow best at a depth of 24 inches.
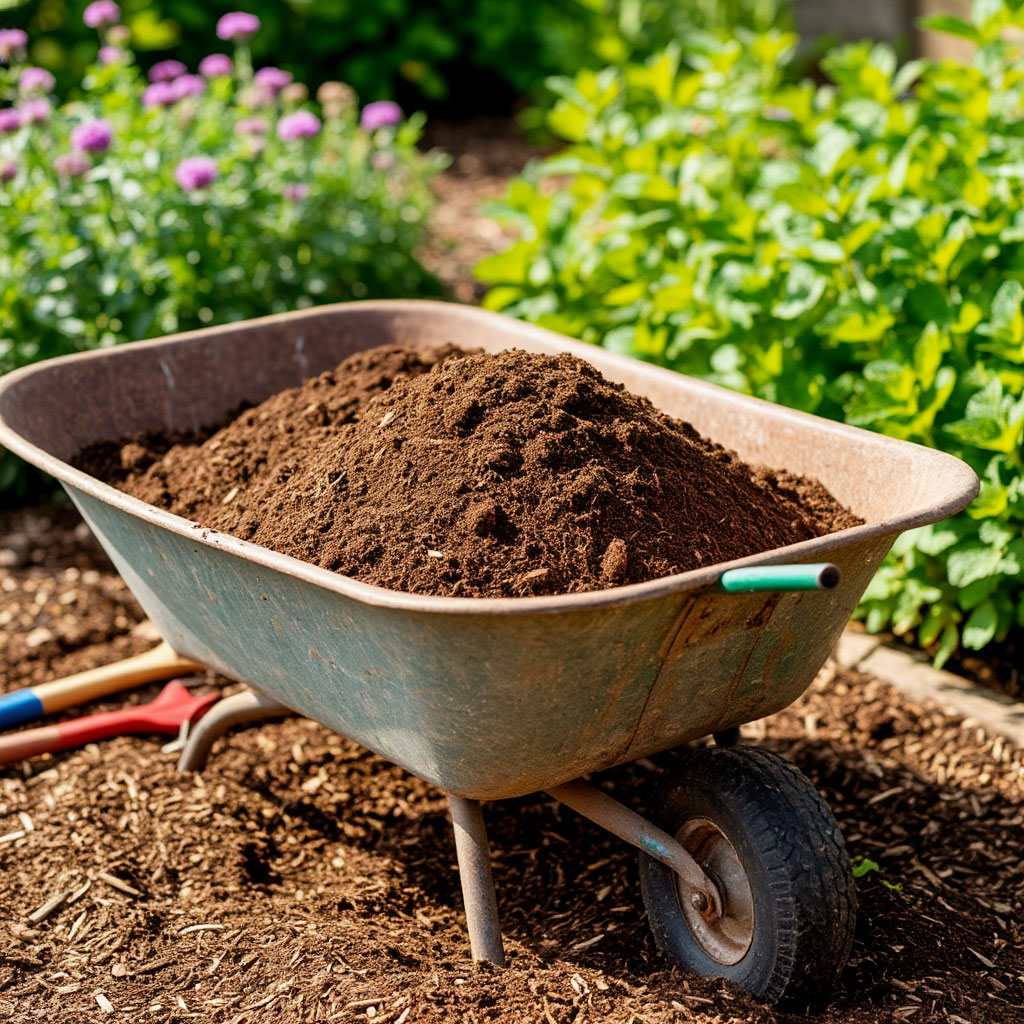
Smart Soil Mix Formula
Properly filling raised beds with soil ensures optimal plant growth. The ideal mix consists of:
- 60% high-quality topsoil (sifted to remove debris).
- 30% well-aged compost (multiple sources of balanced nutrients).
- 10% aeration material (perlite or coarse sand).
This combination provides nutrients while preventing compaction, a common problem with bagged garden soils. For a 4x8x1 bed, you’ll need about 32 cubic feet of the mix.
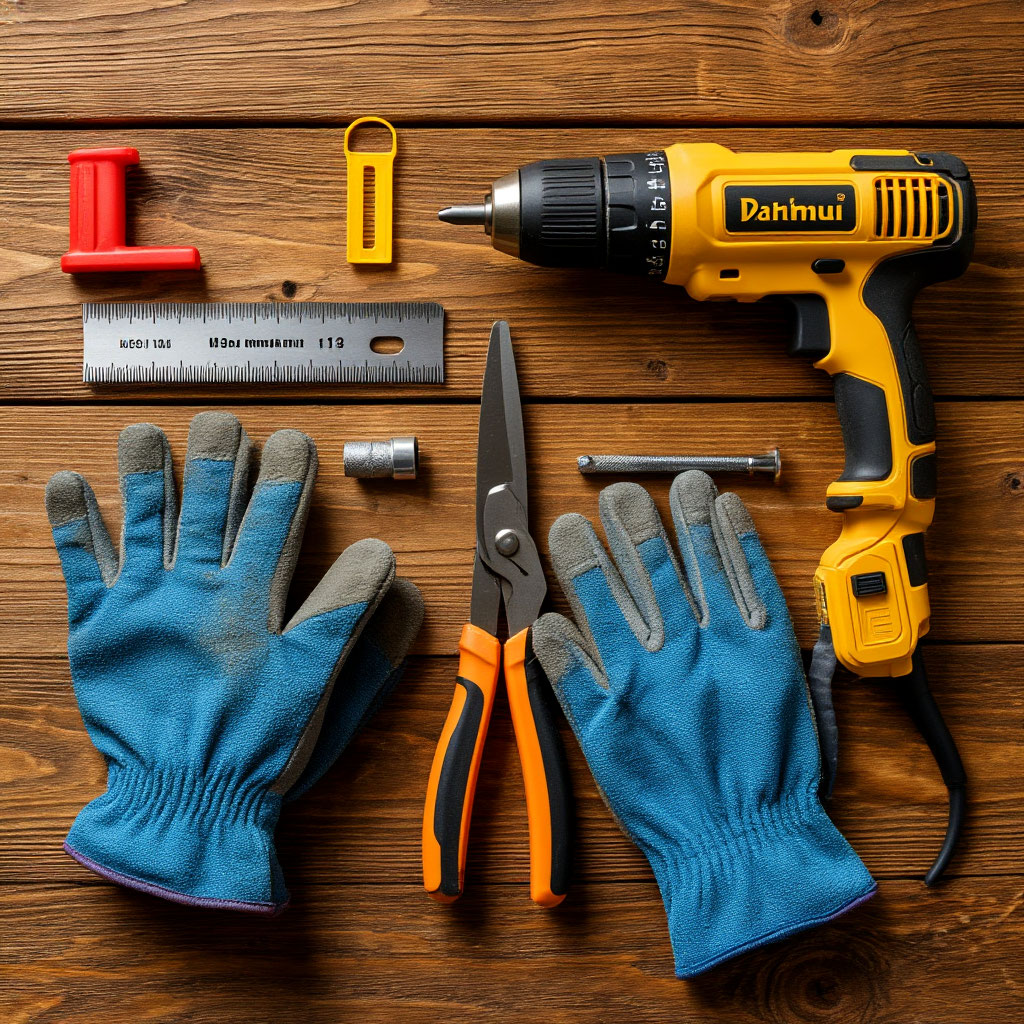
Basic Tools, Simplified
You don’t need a professional workshop to create a raised bed design. The basics include:
- Circular saw for precise cuts (or pre-cut lumber).
- Power drill with Phillips bit for efficient screwdriving.
- Carpenter’s square for maintaining perfect 90-degree angles.
- Stapler for securing landscape fabric.
Optional but helpful additions include a Kreg jig for hidden joints and a level to ensure level installation.
Budget-Saving Alternatives
Creative gardening solutions for small spaces can cut costs significantly:
- Cinder Blocks: Stack dry to create raised beds with built-in planting pockets.
- Recycled Materials: Wine barrels cut in half make perfect herb gardens.
- Storage Bins: Galvanized metal adds instant rustic charm.
Always ensure proper drainage by drilling holes in the bottoms of containers before filling raised beds with soil.
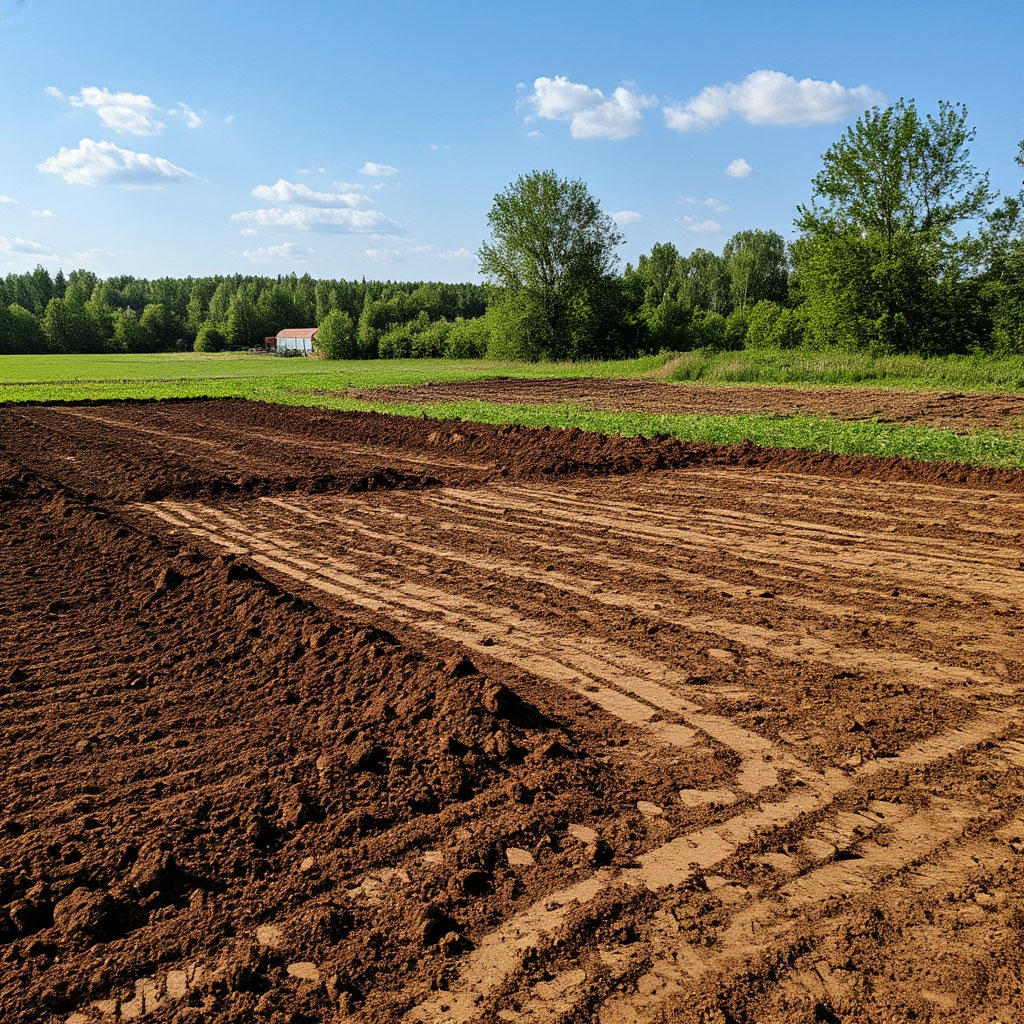
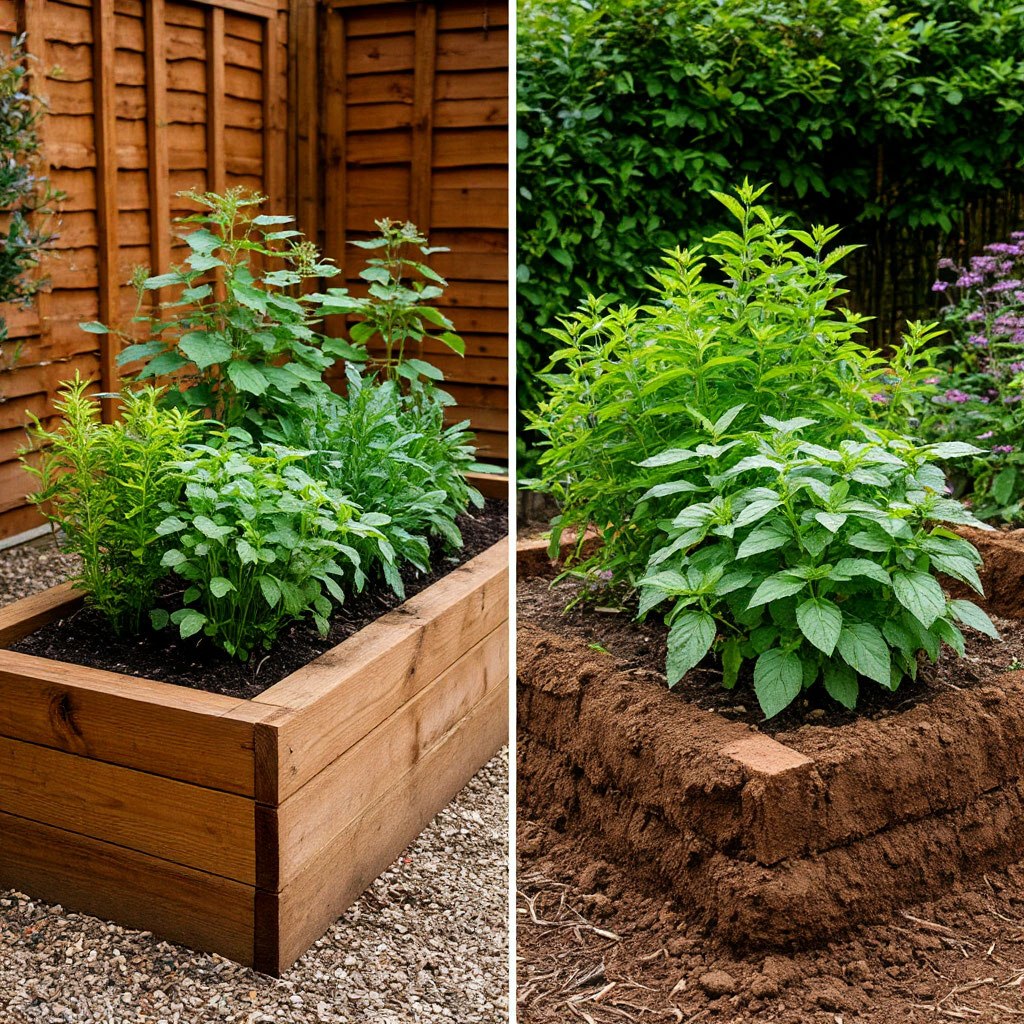
Site Preparation Tips
Proper placement will extend the life of your homemade raised beds. Choose a level surface with 6-8 hours of sunlight. Remove grass and lay down cardboard to suppress weeds. Orient long beds north to south for even sunlight.
For problematic slopes, consider terracing or building stepped raised bed structures to create level planting surfaces.
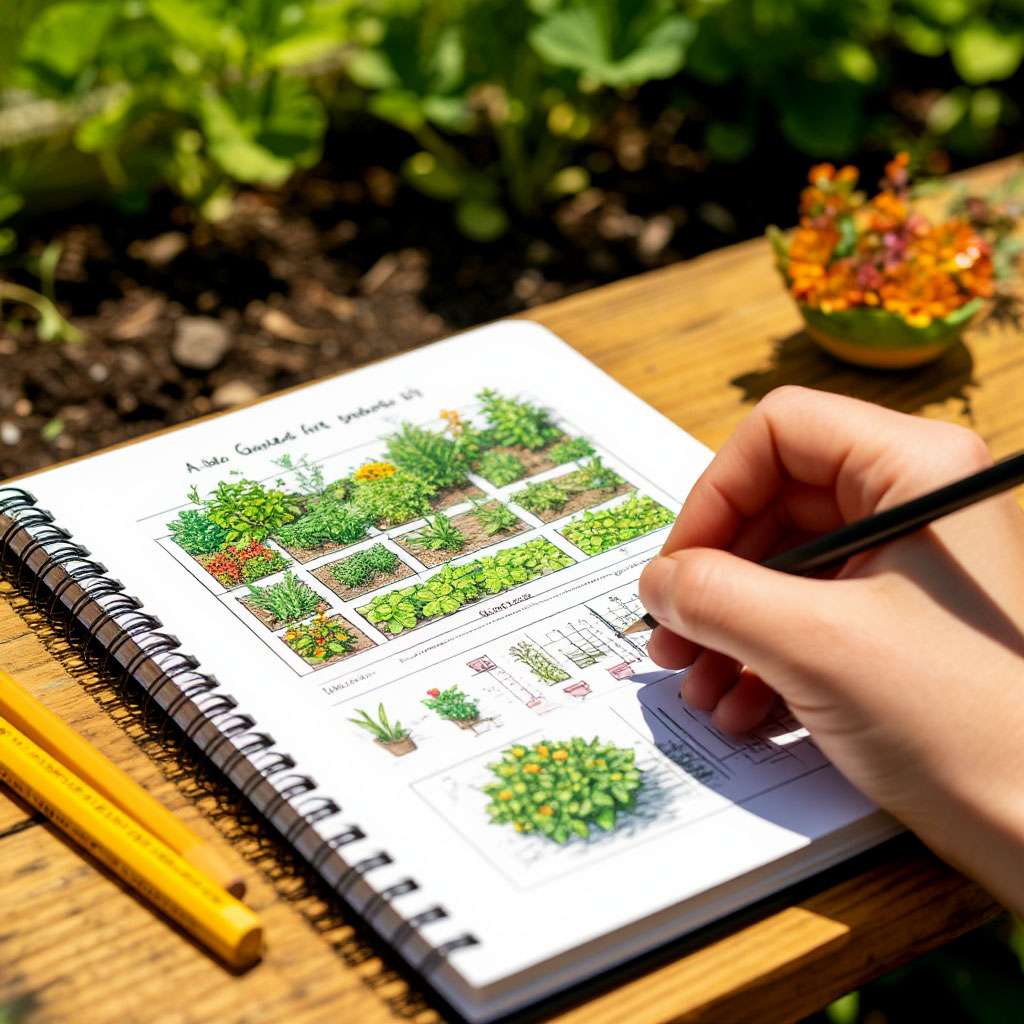
Step 1: Plan Your Bed Layout
Properly laying out your homemade garden beds can mean the difference between a thriving garden and constant frustration. Smart planning will save you headaches later when you’re filling the beds with soil or trying to harvest tomatoes without stepping on the plants.
Sunlight and Accessibility First
The golden rule for garden bed design? Follow the sun. Most vegetables need 6-8 hours of direct sunlight per day. Watch how the shadows move across your space before you decide on a location. Morning sun dries out dew quickly, preventing fungal problems, while midday shade protects tender greens in hot climates.
Allow at least 2 feet between beds for comfortable movement — 3 feet if you need wheelchair access. For smaller gardening solutions, consider a U-shaped layout or vertical trellis along one side to make the most of every square inch.
Size Matters More Than You Think
When deciding on the depth of your raised beds, match the dimensions to what you’re growing:
- 12 inches is great for lettuce and greens.
- 18 inches is great for tomatoes and peppers.
- 24 inches will give carrots and potatoes room to spread out.
A standard 4-foot width will allow you to easily reach the center from either side. Length is flexible, but 8-foot sections will keep the lumber from bowing outward as you fill the raised beds with soil.
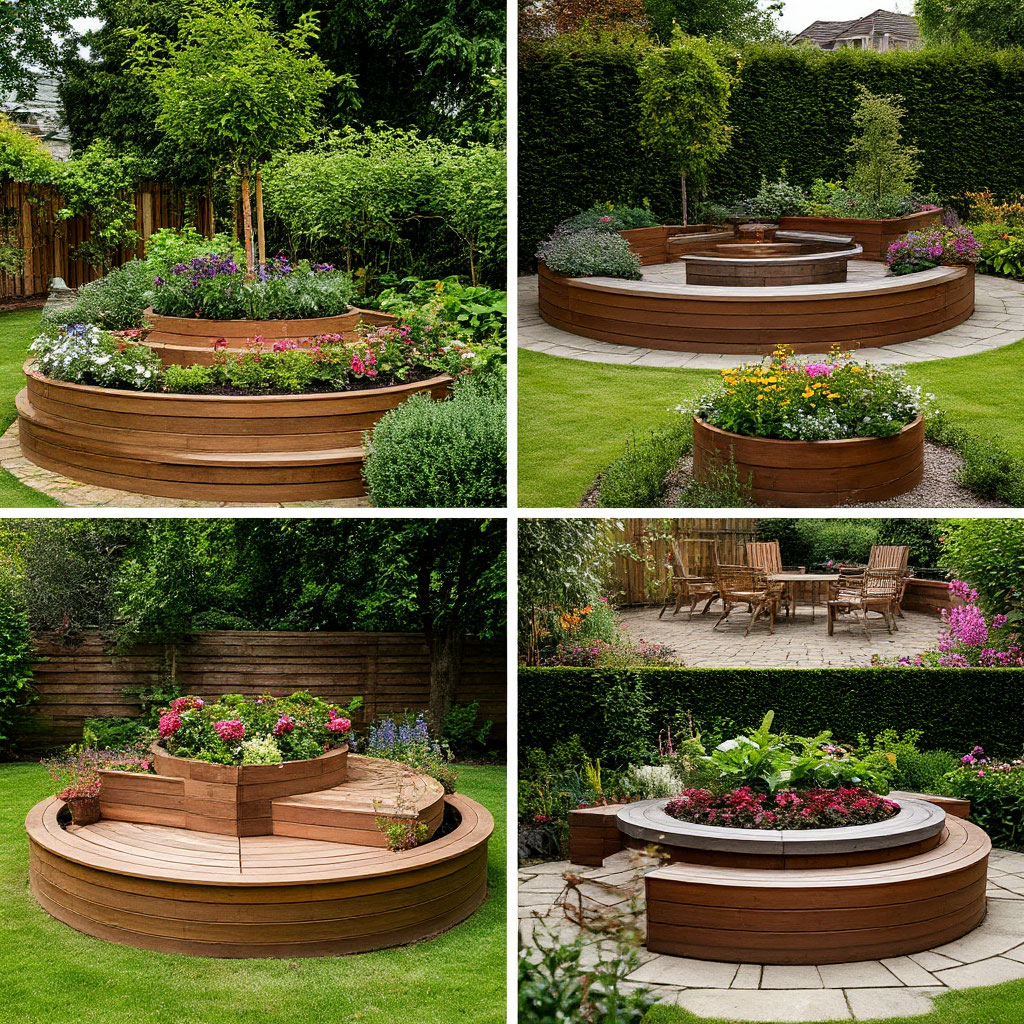
Creative Configurations for Any Yard
Basic rectangles aren’t your only option for raised bed designs. Try these space-saving options:
- Keyhole beds with center access paths.
- Tiered planters for sloping terrain.
- Corner triangle units for awkward areas.
- Mobile planters on casters for renters.
Urban gardeners using small-space gardening solutions often build narrow beds (18 to 24 inches wide) along fences or walls, adding trellises for vertical growth.
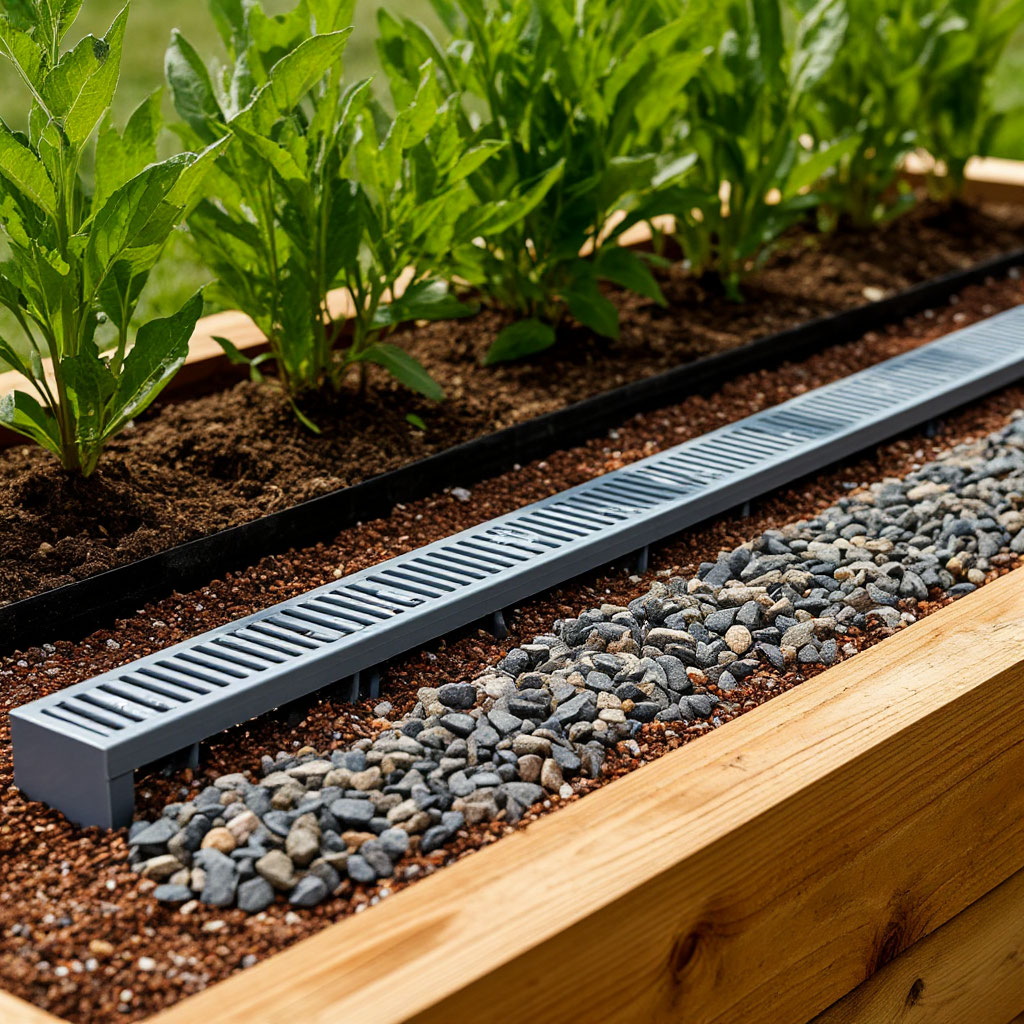
Drainage and Soil Considerations
Height solves most drainage issues with DIY raised beds, but problem areas require special attention. In clay yards, dig 6 inches deeper than the planned height and add gravel before building the frames. Sandy areas benefit from using landscape fabric to retain moisture while filling the raised beds with soil.
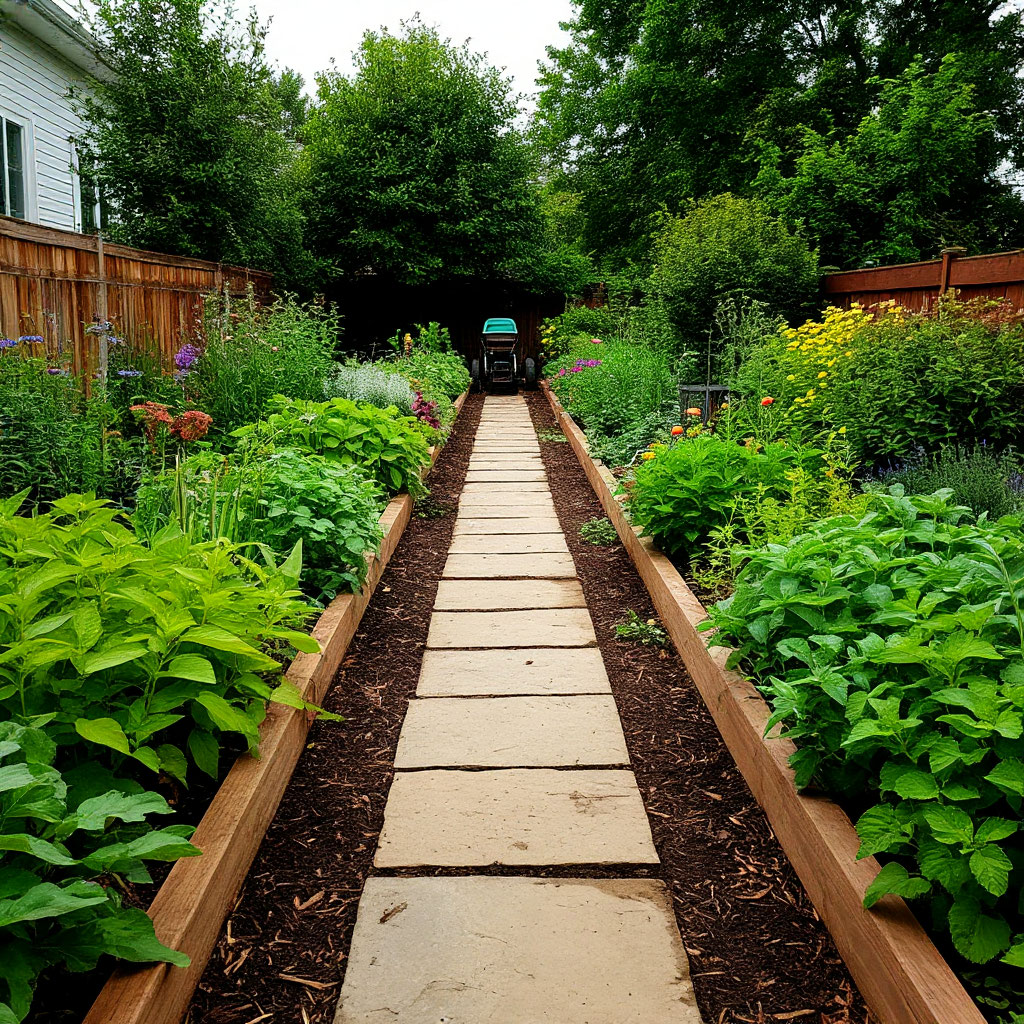
Paths and Borders
Don’t neglect what’s between your raised beds. Mulched paths prevent mud buildup, and crushed gravel provides better drainage. For a formal look, line your paths with brick or stone borders that complement the best raised bed wood you’ve chosen.
Microclimate tricks
Thoughtful placement creates a favorable microclimate:
- North-facing areas are good for shade-tolerant crops.
- South-facing beds warm up fastest in spring.
- East-facing areas provide protection from the harsh midday sun.
- West-facing areas extend the warmth into the evening.
In windy areas, place taller homemade raised beds as barriers for delicate plants or use trellis screens for wind protection.
Plan for the future
Allow room to expand your bed design as your skills improve. Perhaps leave room for:
- A future compost bin between beds.
- Dwarf fruit trees at the north end.
- A potting station nearby.
- A place for season-extending shelters.
Sketch out some scale drawings before you start building—graph paper is great for visualizing different gardening solutions in small spaces.

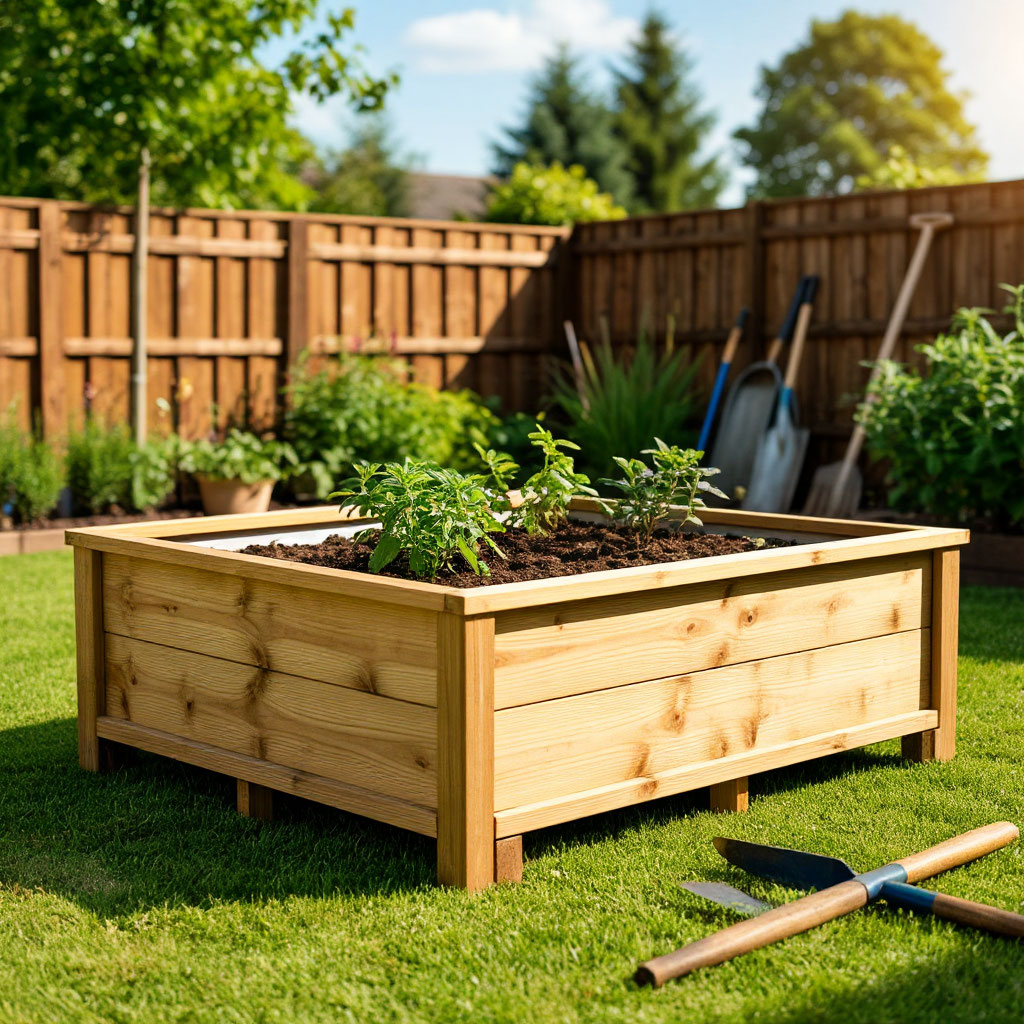
Step 2: Constructing Your Raised Bed Frame
Now comes the fun part – turning your DIY raised garden beds vision into reality. Building the frame is simpler than you might think, especially if you’ve chosen the best wood for raised beds for your climate and budget. Let’s break down the process into manageable steps that’ll have you assembling sturdy planters in no time.
Pre-Cutting Your Materials
Start by measuring twice and cutting once. For standard raised bed garden designs, you’ll need:
- Four side boards (typically 2×6 or 2×8 lumber).
- Four corner posts (4×4 works best for stability).
- Optional center supports for beds longer than 6 feet.
Use a circular saw with a sharp blade to ensure clean cuts on your chosen wood. If you’re working with small space gardening solutions, consider having your lumber yard make precise cuts for you – many offer this service for free or minimal charge.
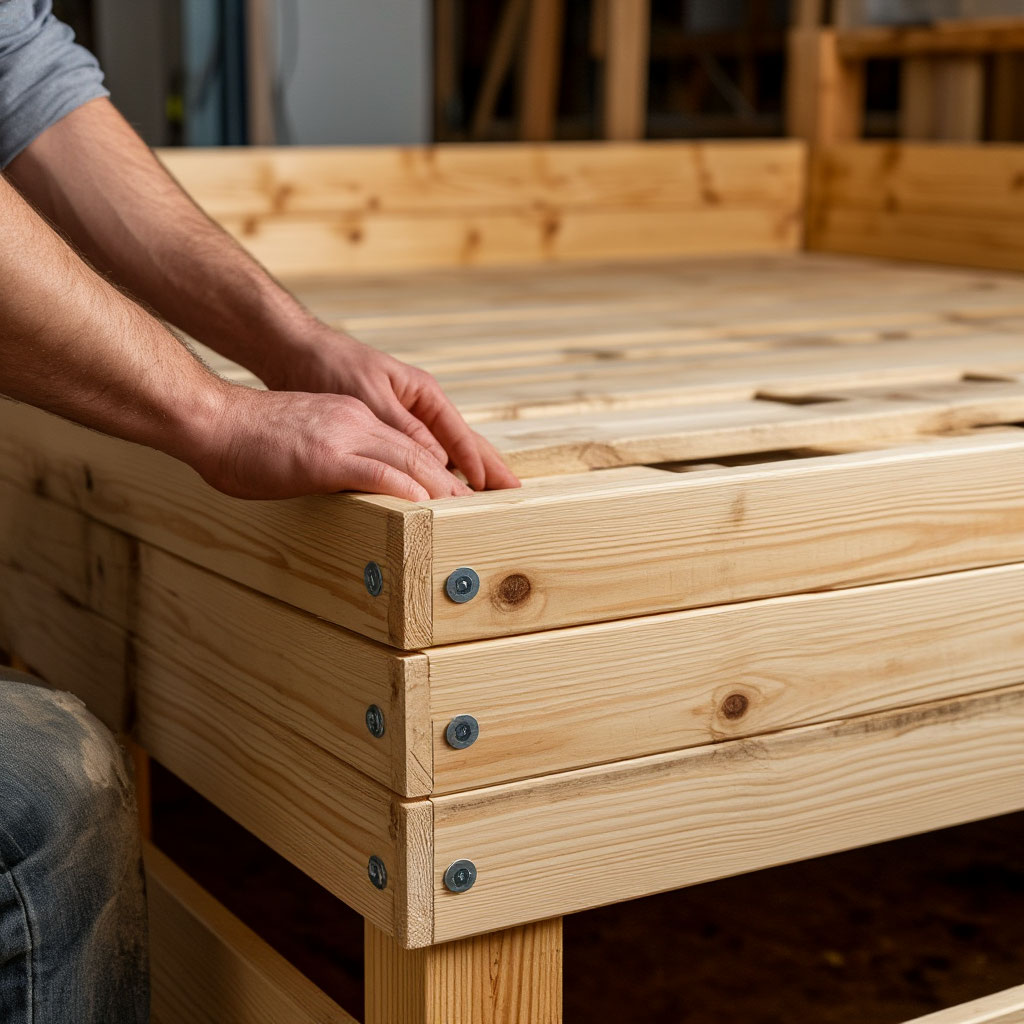
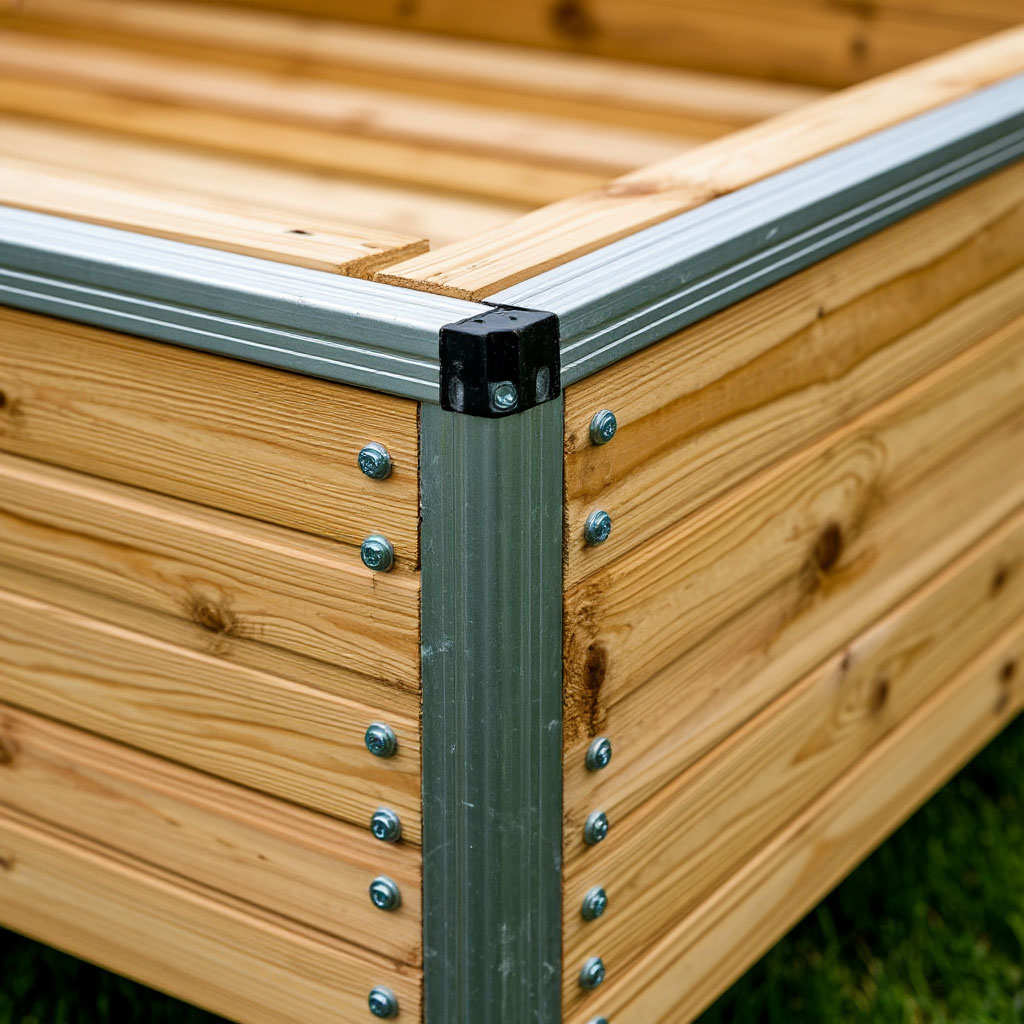
Assembling the Basic Box Structure
Lay out your cut pieces on a flat surface before drilling. Position the side boards between the corner posts to create a box shape – this hides the end grain for a cleaner look. Pre-drill holes to prevent splitting, then secure with 3-inch exterior deck screws. For extra stability in deeper beds (those over 18 inches when considering how deep should raised beds be), add diagonal braces at the corners.
Reinforcing for Long-Term Durability
The secret to DIY raised garden beds that last? Smart reinforcement. Add horizontal support beams along the mid-section of taller frames to prevent bowing when filling raised beds with soil. Metal corner brackets provide additional strength at stress points. If you’re using heavier materials like stone or brick, consider a concrete footer for ultimate stability.
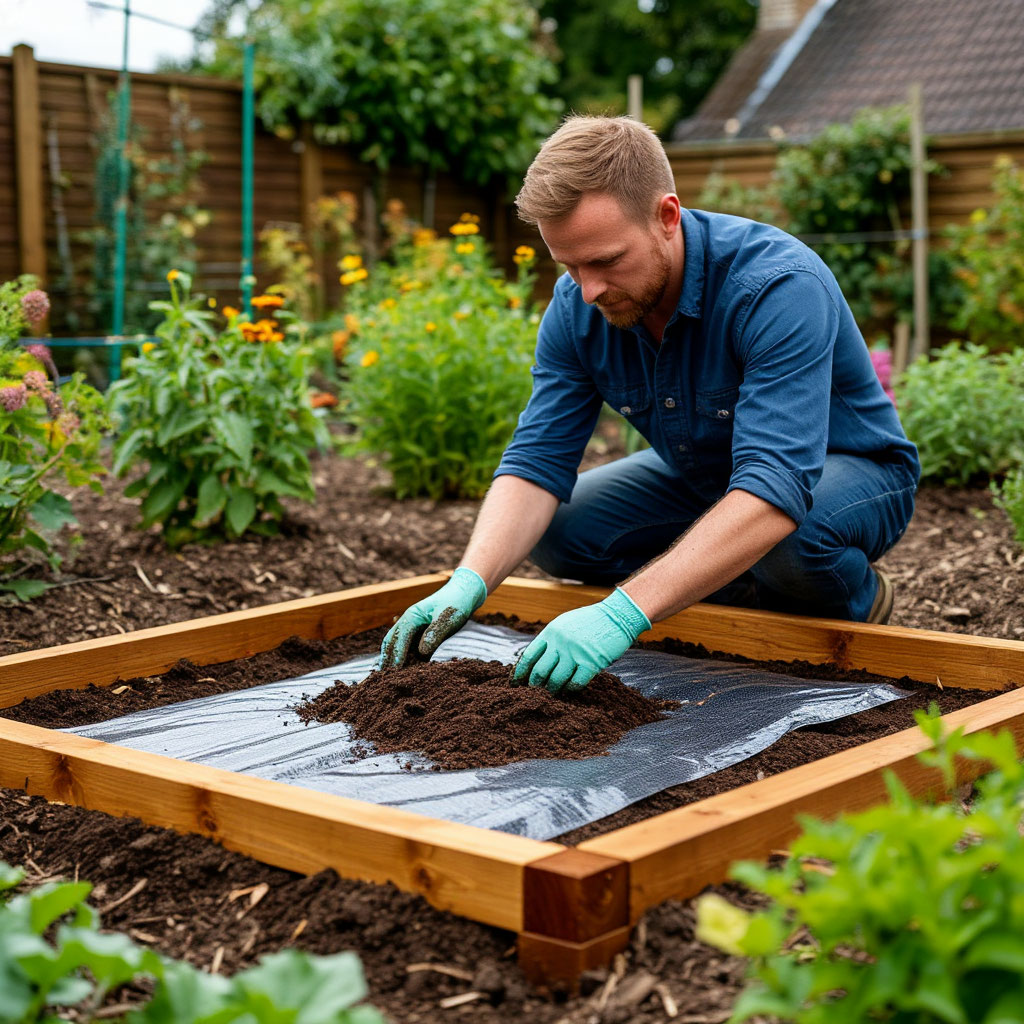
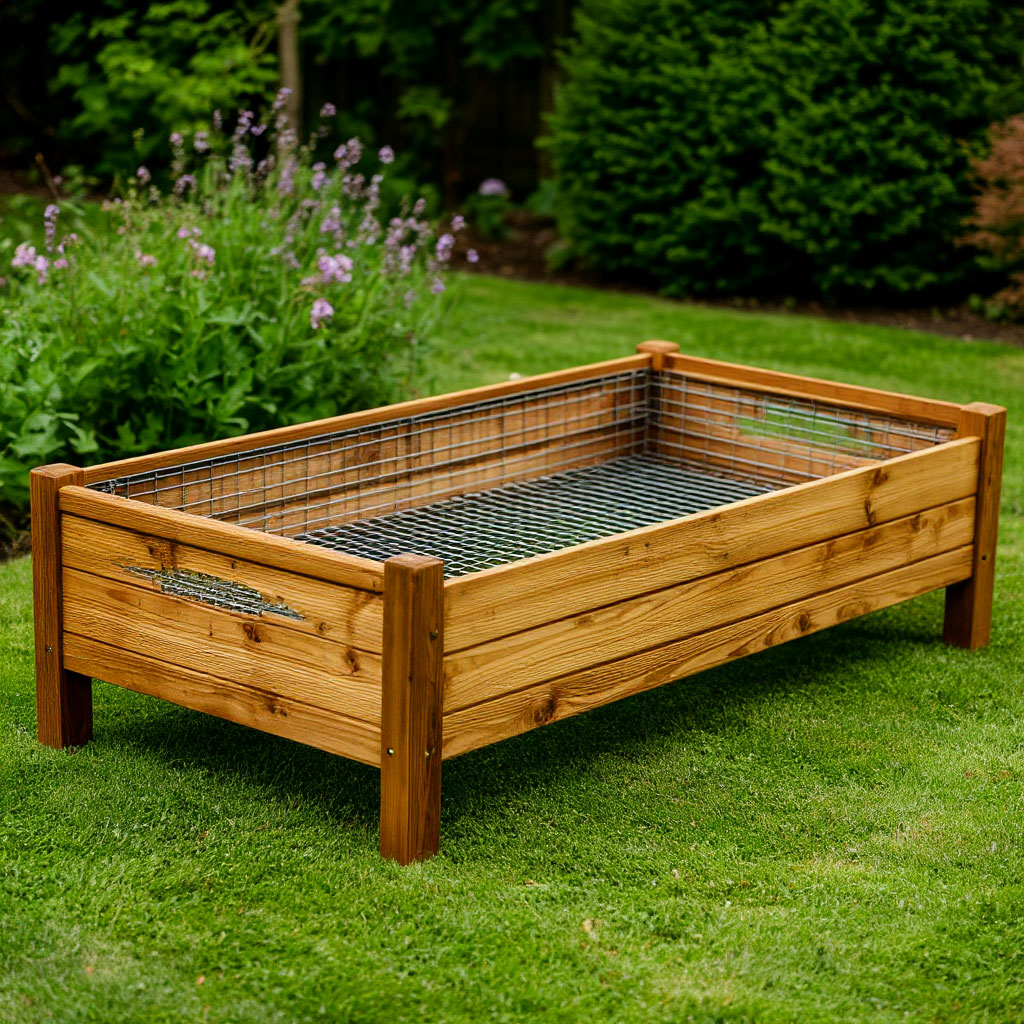
Installing Protective Barriers
Before placing your completed frame in position, line the bottom with hardware cloth to deter burrowing pests. Use a staple gun to secure it firmly to the interior sides. For weed prevention, add a layer of cardboard or landscape fabric over the cloth – this decomposes slowly while blocking unwanted growth.
Positioning and Leveling
Move your assembled frame to its planned location. Check for level in all directions – slight slopes can cause water runoff issues later. If needed, dig shallow trenches or add gravel to compensate for uneven ground. This step is especially important for interlocking raised bed garden designs where multiple units connect.
Alternative Building Methods
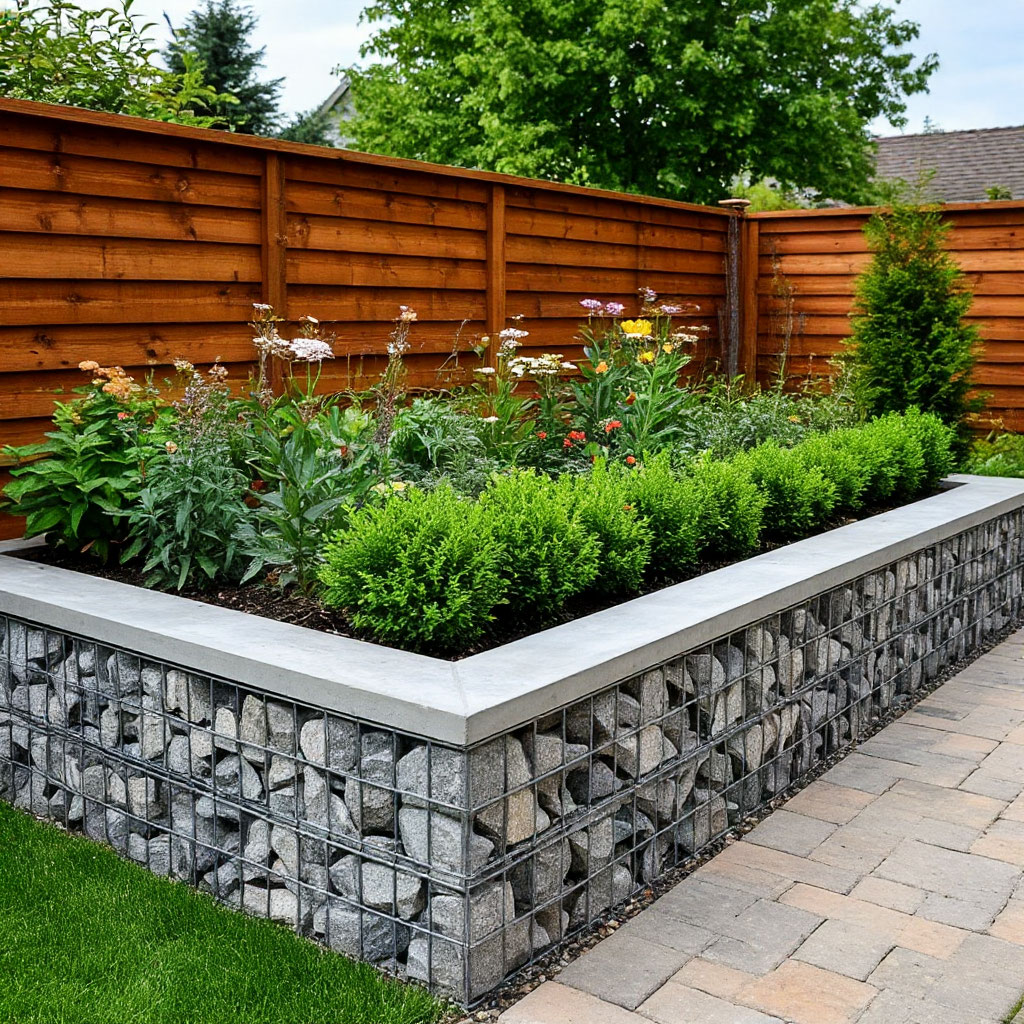
Not all DIY raised garden beds require traditional wood construction. Creative builders might try:
- Stacked stone or brick with mortar-free dry stacking.
- Repurposed galvanized stock tanks with drilled drainage.
- Interlocking composite blocks that snap together.
- Upcycled wine barrels cut in half.
These approaches work particularly well for small space gardening solutions where standard lumber might feel too bulky.
Special Features to Consider
Elevate basic raised bed garden designs with thoughtful additions:
- Built-in benches at the corners
- Trellis attachments for vining plants.
- Removable covers for pest protection.
- Integrated irrigation channels.
- Lighting fixtures for evening enjoyment.
These extras transform simple planters into functional garden centerpieces while maintaining the practicality of your DIY raised garden beds.
Step 3: Create the Perfect Soil Mix
The magic of successful DIY raised bed gardens happens below the surface. The soil you fill it with determines whether your plants will thrive or simply survive. Unlike regular garden soil, your custom mix gives you complete control over texture, nutrients, and drainage—the holy trinity of plant health.
Understanding the Components of Soil
Great garden soil breathes like a sponge—holding moisture while allowing excess water to drain. Start with three key ingredients:
- Base soil (about 60%): Use sifted topsoil as a base.
- Organic matter (30%): Mix compost from a variety of sources.
- Aeration material (10%): Perlite or coarse sand prevents compaction.
This combination works for most raised bed projects, though you may want to adjust the proportions for specific plants. Acid lovers like blueberries prefer additional peat moss, while succulents need sharper drainage with added sand.

Mix Like a Pro
Mix the soil ingredients on a tarp. Put on gloves and mix thoroughly until you have a smooth consistency – no lumps or dry pockets. For larger DIY raised beds, consider renting a small cement mixer to save your back. The final texture should hold together when compressed, but crumble easily when poked.
Layers for Success
Smart infill makes maintenance easy:
- Bottom layer (2-3 inches): Coarse woody material for drainage.
- Middle layer: Your premium mixed soil.
- Top inch: A finer sifted mix for sowing seeds.
This approach prevents the settling problems common when filling raised beds with soil all at once. The wood base decomposes slowly, providing long-term nutrients.
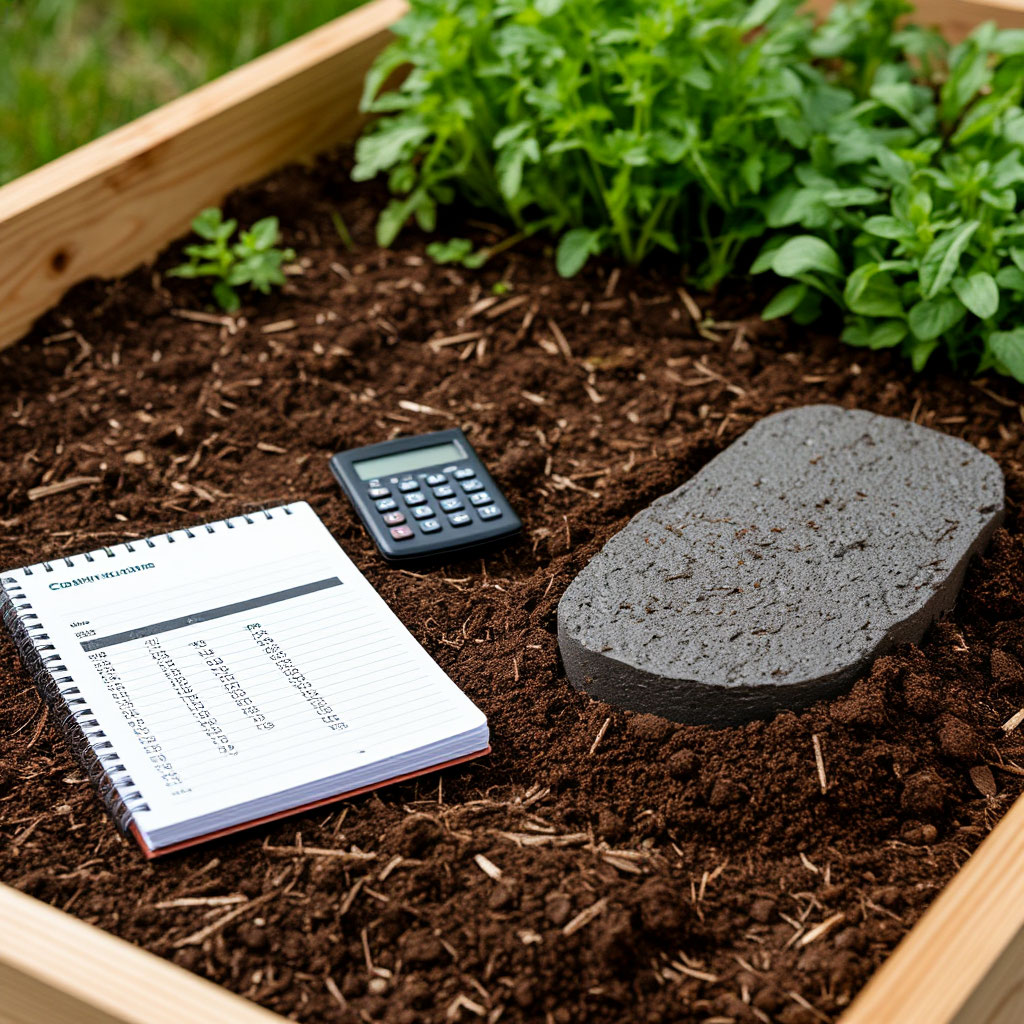
Calculating Quantity
Determine the amount based on how deep you want your raised beds to be for your crops. A standard 4’x8’x1′ bed requires about 32 cubic feet of mix. Buy in bulk where possible – packaged soil costs 3-5 times more per cubic foot than bulk supplies. Many garden centers offer premixed raised bed mixes if you’re not comfortable mixing your own.
Nutrient Boosters
Improve your base mix with:
- Worm molds for microbial life.
- Biochar for improved retention.
- Rock dust for micronutrients.
- Mycorrhizal fungi for root support.
These amendments enhance plant growth in raised beds, especially when replenished annually.
Maintaining Healthy Soil
Protect your investment with simple tips. Apply compost each season and rotate crops to prevent nutrient depletion. Try to plant cover crops in the off-season. Use mulch to conserve moisture and regulate temperatures.
Healthy soil means less work later when creating your DIY raised beds – fewer pests, diseases, and nutrient deficiencies to correct.
Troubleshooting and Common Problems
Even the best plans sometimes need adjustments:
- Too compact? Use more perlite or coarse sand.
- Drying out? Increase organic matter.
- Poor drainage? Check for proper bed height.
- Compacted? Avoid stepping on beds and add aeration.
For smaller gardening solutions, consider lightweight soil mixes containing coco coir to reduce container weight on balconies or rooftops.

Alternative Soil Options
When traditional mixes aren’t available:
- Square-foot gardening mix (1/3 peat, 1/3 vermiculite, 1/3 compost).
- Hugelkultur method (buried logs in soil).
- Lasagna gardening (layered organic materials).
- Compost-only beds (for quick-start gardens).
These approaches work especially well for certain raised bed projects or temporary installations.
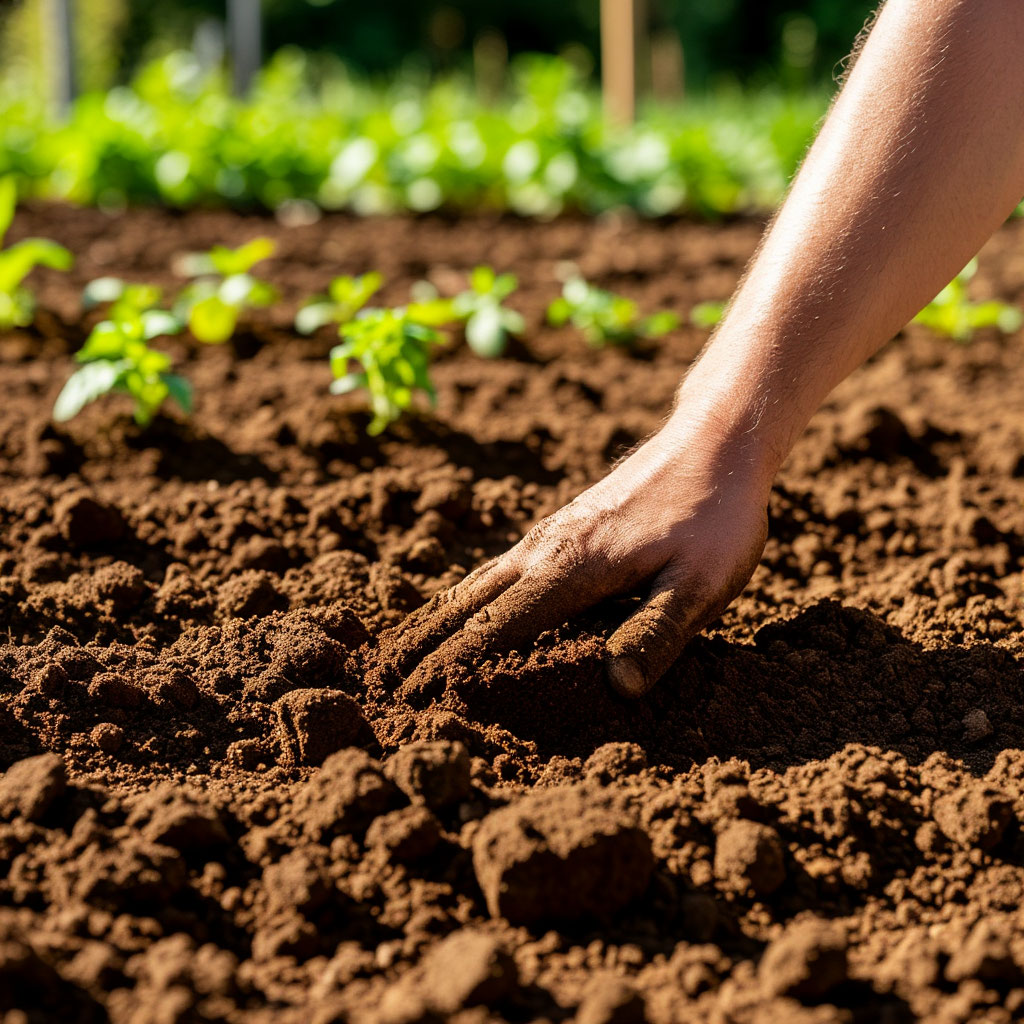
Final Soil Preparation Steps
Before planting, water thoroughly and let sit for 2-3 days. Fill in any low spots that have formed and perform a squeeze test to check for ideal moisture. Add starter fertilizer for young plants if needed. Once your ideal growing medium is ready, these DIY raised beds are ready to produce impressive yields.
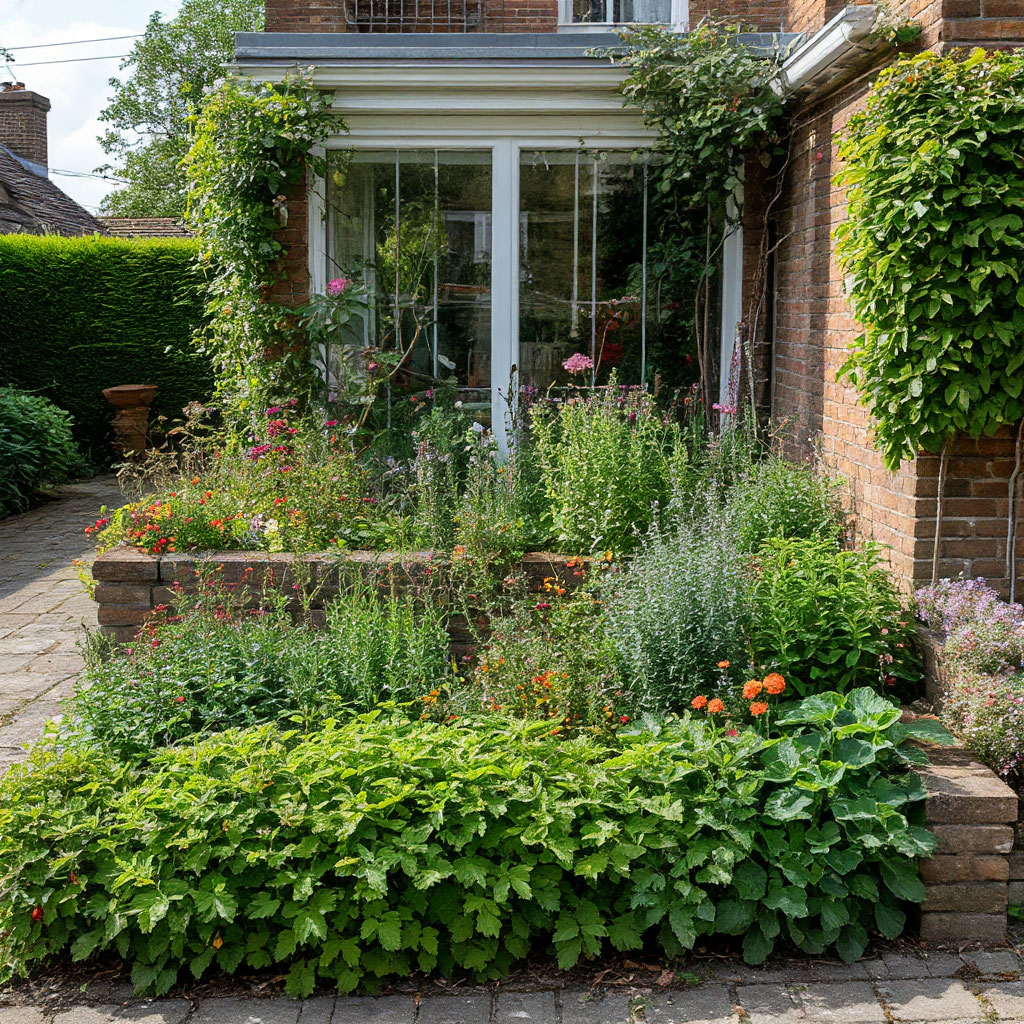
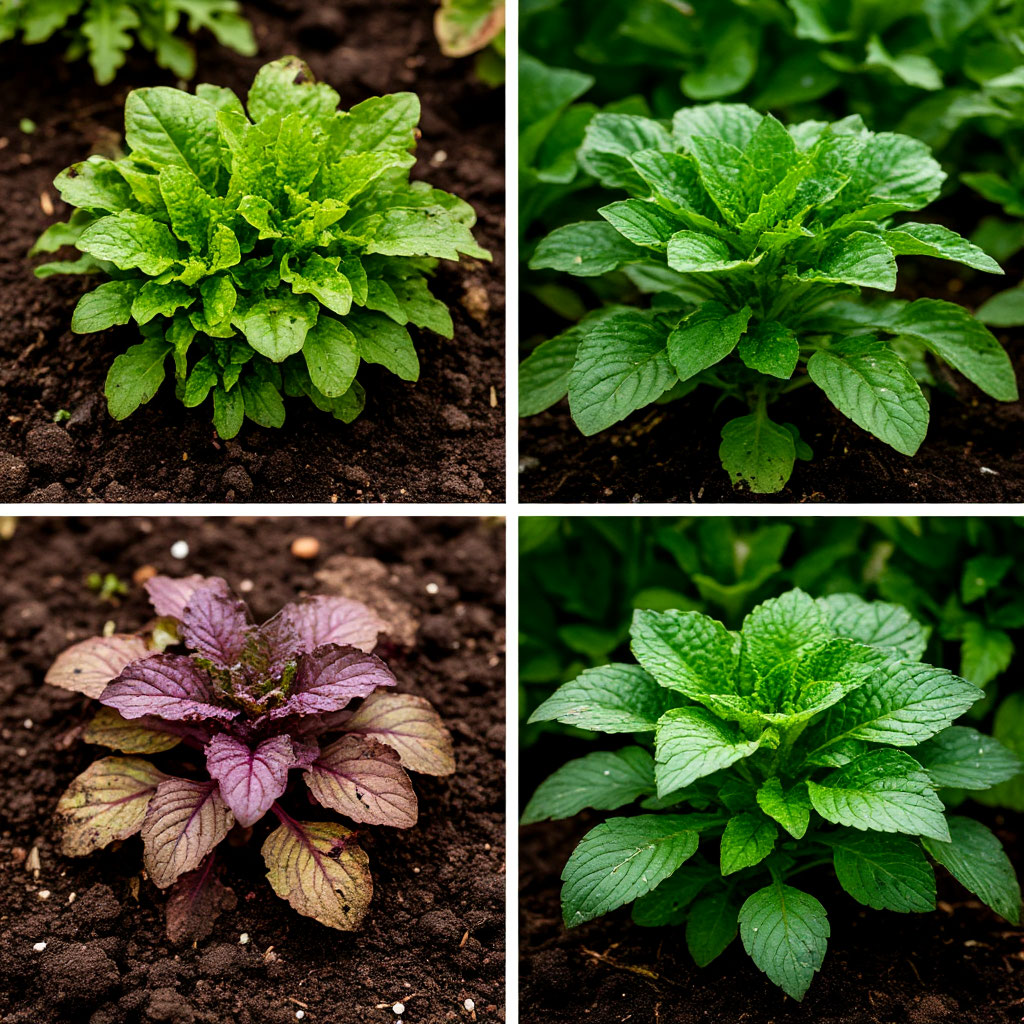
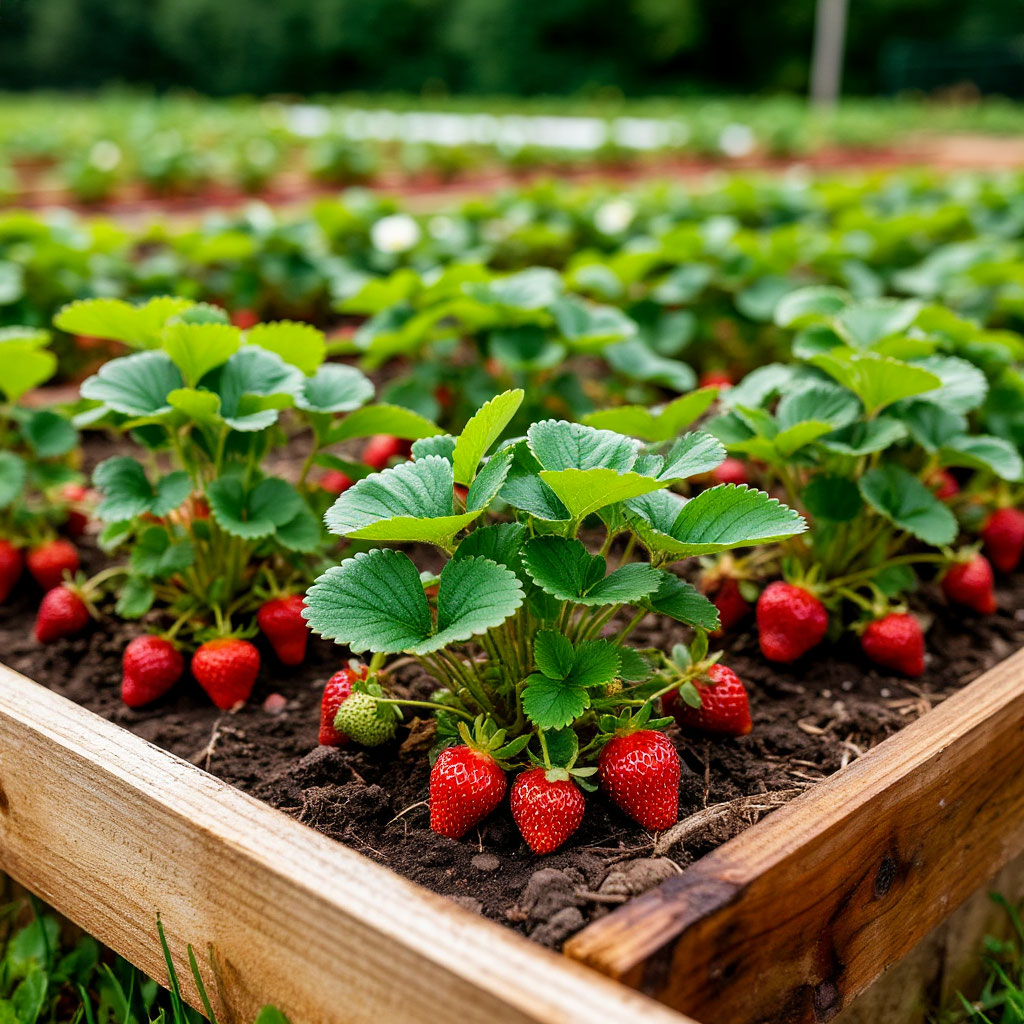
What to Plant in Your New Raised Beds
Your DIY raised garden beds stand ready, filled with carefully prepared soil, awaiting the final touch – choosing the perfect plants. The magic of raised bed garden designs lies in their versatility, allowing you to grow everything from kitchen herbs to sprawling vegetables with greater success than traditional in-ground gardens.
Small Space Gardening Solutions
For urban gardeners working with small space gardening solutions, vertical growing changes the game. Compact bush varieties of tomatoes and cucumbers produce impressive yields without sprawling. Pole beans climb gracefully up trellises attached to your DIY raised garden beds, while dwarf fruit trees in large containers make surprising additions to patio gardens.
Growing Challenging Plants Successfully
The soil composition you created when filling raised beds with soil opens doors to growing challenging plants. Blueberries, requiring acidic conditions, flourish when planted in beds lined with peat moss. Artichokes, typically space hogs, become manageable in the contained environment of raised bed garden designs.
Companion Planting Strategies
Companion planting takes on new effectiveness in the controlled environment of DIY raised garden beds. The classic trio of corn, beans, and squash demonstrates perfect synergy when given adequate space. Basil planted among tomatoes enhances flavor while deterring pests, and marigolds scattered throughout your raised bed garden designs provide natural nematode control.
Seasonal Planting Rotation
Seasonal planning ensures continuous harvests from your investment in the best wood for raised beds. Early spring welcomes cool-weather crops like spinach and peas, followed by heat-loving tomatoes and peppers. As autumn approaches, transition to kale and Brussels sprouts that sweeten with frost.
Space-Efficient Interplanting Techniques
For those implementing small space gardening solutions, interplanting creates efficient use of every square inch. Quick-growing radishes mature between slower-developing cabbages, while lettuce fills gaps around young tomato plants. These techniques maximize yield without overcrowding, especially important when working with the finite space of raised bed garden designs.
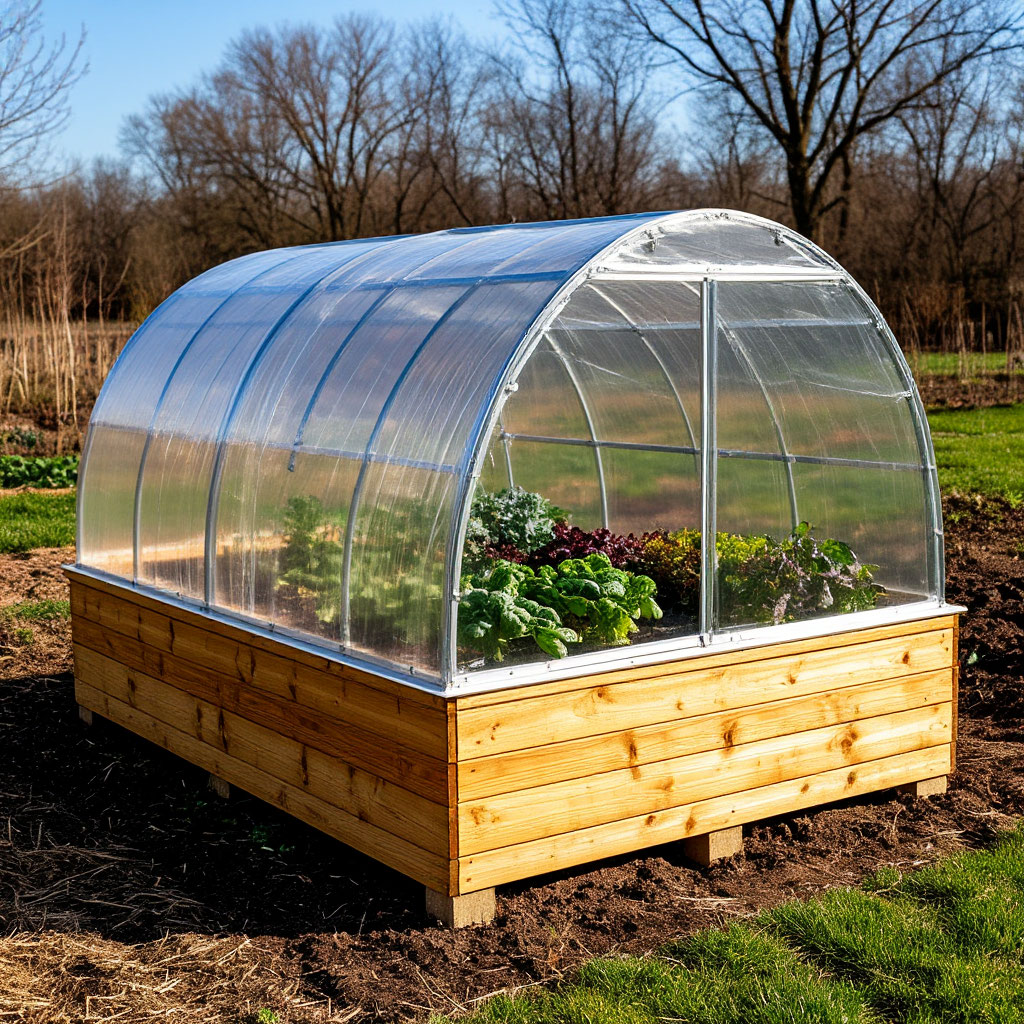
Extending the Growing Season
The improved drainage and soil warmth of DIY raised garden beds give you a head start on the season. Heat-loving plants like eggplants and peppers benefit from the early soil warming, while the loose, stone-free soil created when filling raised beds with soil produces picture-perfect root vegetables.
Adding Beauty and Functionality
Don’t overlook the aesthetic potential of your planting scheme. Edible flowers like nasturtiums and calendula add splashes of color while serving practical purposes in raised bed garden designs. Flowering herbs attract pollinators to boost vegetable production, creating a balanced ecosystem within the confines of your DIY raised garden beds.
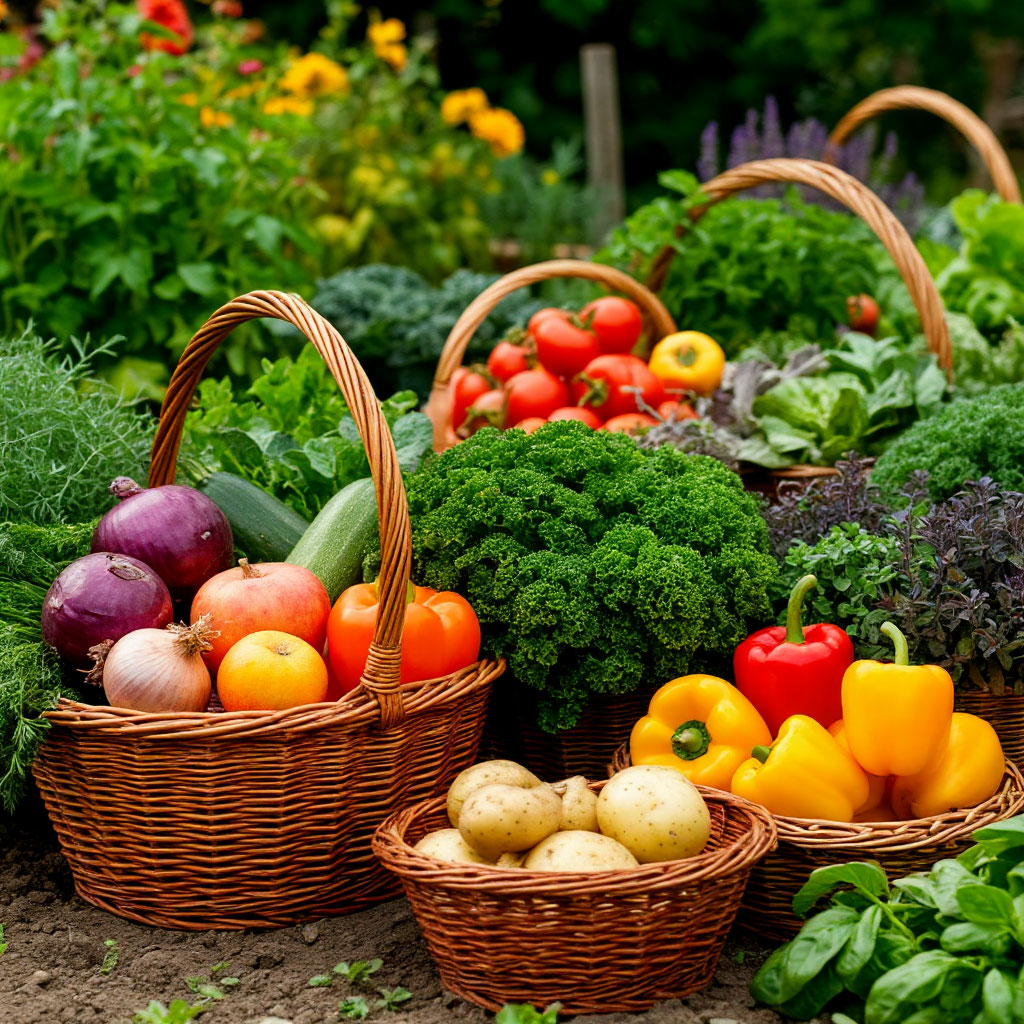
Reaping the Rewards of Careful Planning
The careful consideration you gave to selecting the best wood for raised beds and determining how deep should raised beds be for various plants now pays dividends. Your garden becomes a personalized productive space, whether you’re growing gourmet salad greens or enough tomatoes to can for winter.
Now that your DIY raised garden beds are built, filled, and planted, it’s time to enjoy the fruits (and veggies!) of your labor. Whether you chose the best wood for raised beds or creative small space gardening solutions, your customized setup will reward you with bountiful harvests for seasons to come.
Remember to refresh the soil annually and rotate crops to maintain productivity. These raised bed garden designs aren’t just practical—they transform gardening into a more enjoyable, accessible experience. From determining how deep should raised beds be to carefully filling raised beds with soil, every step you’ve taken ensures your plants thrive.