Contents
- 1 The Best DIY Log Cabin Wall Materials
- 2 Method 1: Shiplap Paneling (Budget-Friendly)
- 3 Method 2: Reclaimed Wood for a Rustic Look
- 4 How to Insulate Interior Walls Properly
- 4.1 Understanding Your Insulation Options
- 4.2 Preparing the Walls Before Insulating
- 4.3 Installation Methods That Work
- 4.4 Special Considerations for Different Climates
- 4.5 Balancing insulation and aesthetics
- 4.6 Cost vs. Performance Breakdown
- 4.7 Common Mistakes to Avoid
- 4.8 Maintenance and Care
- 4.9 Why You Can’t Skip This Step
- 5 Finishing Touches: Staining & Sealing
- 6 FAQ
- 6.0.1 Do I need a vapor barrier behind my log cabin interior walls or will the wood “breathe” by itself?
- 6.0.2 Can I run electrical wiring in DIY log cabin interior walls without cutting big channels in the logs?
- 6.0.3 Is tongue and groove pine on interior cabin walls a fire hazard compared to drywall?
- 6.0.4 How do I stop mold behind cheap cabin wall panels and cabin wall insulation if I only heat the place on weekends?
- 6.0.5 Will plywood or paneling instead of full exposed logs hurt resale value of my log cabin interior?
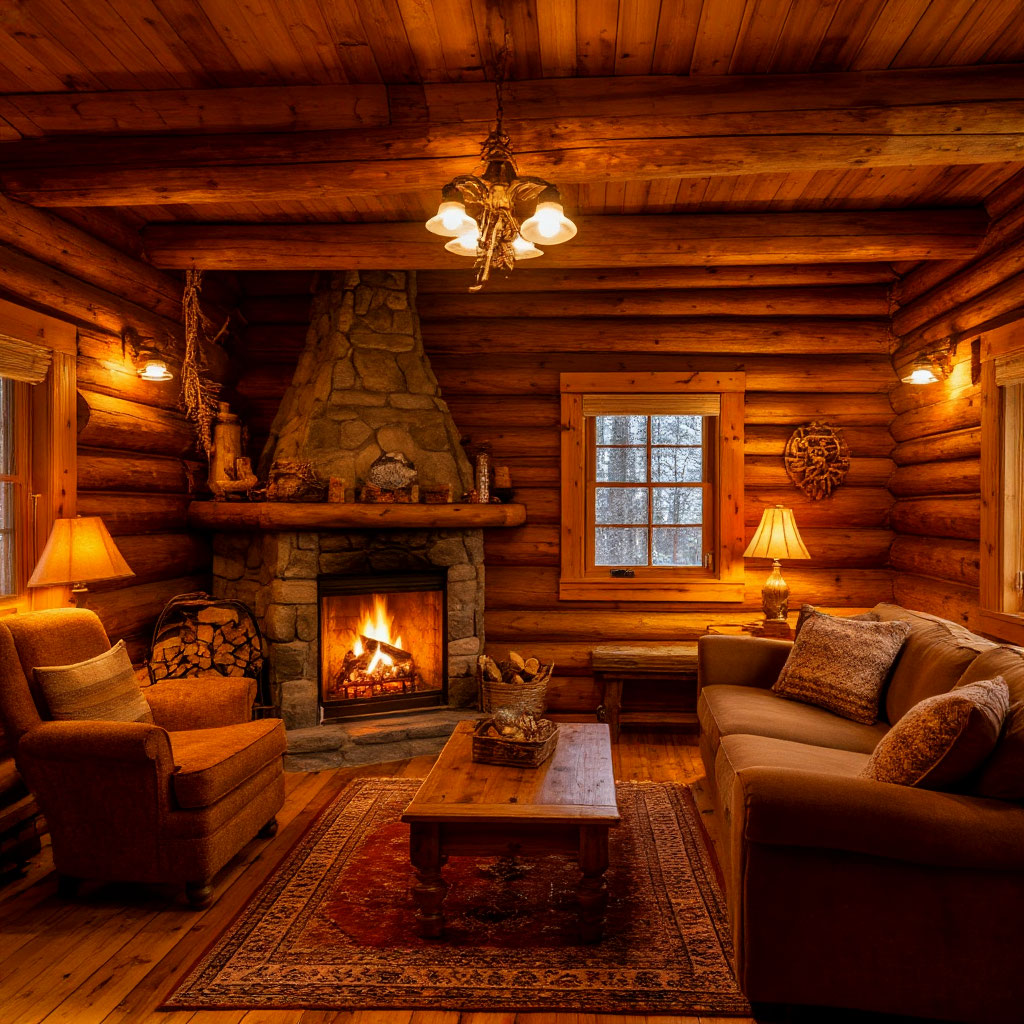
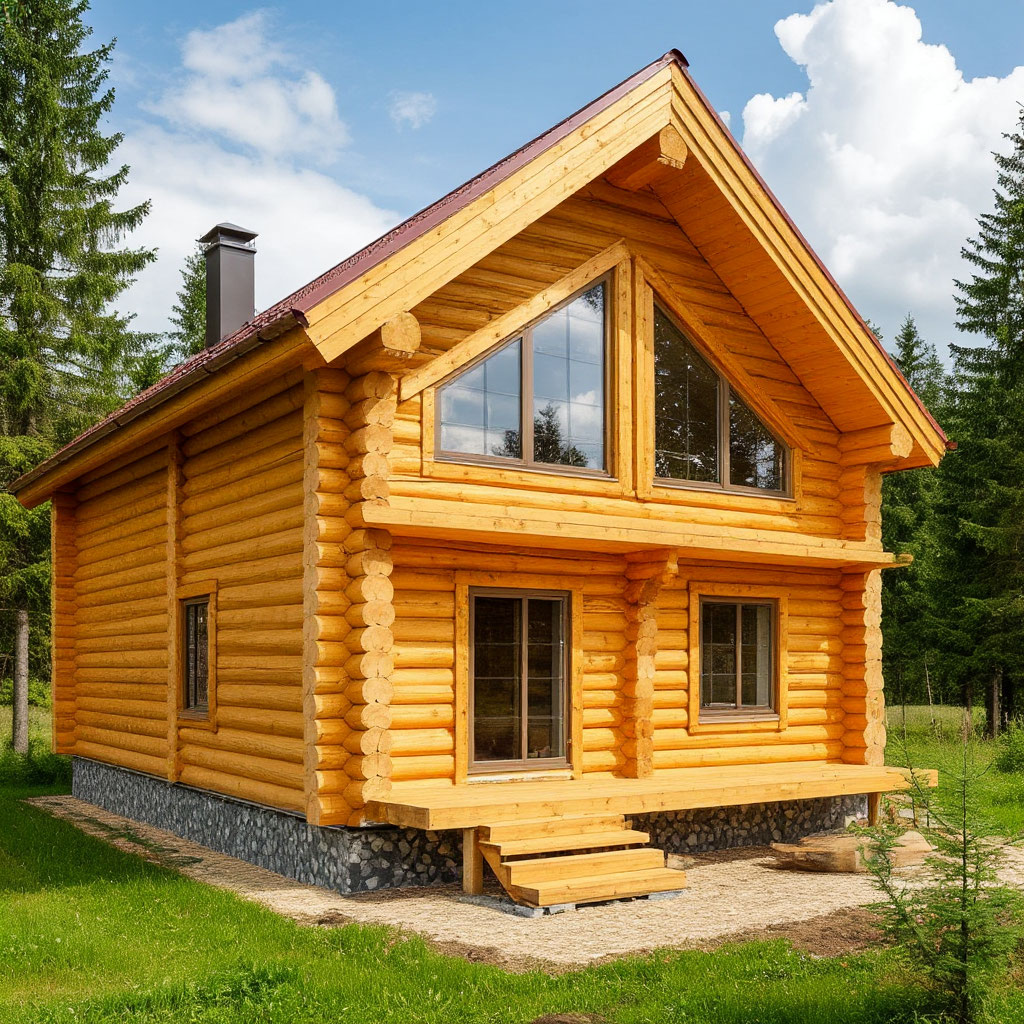
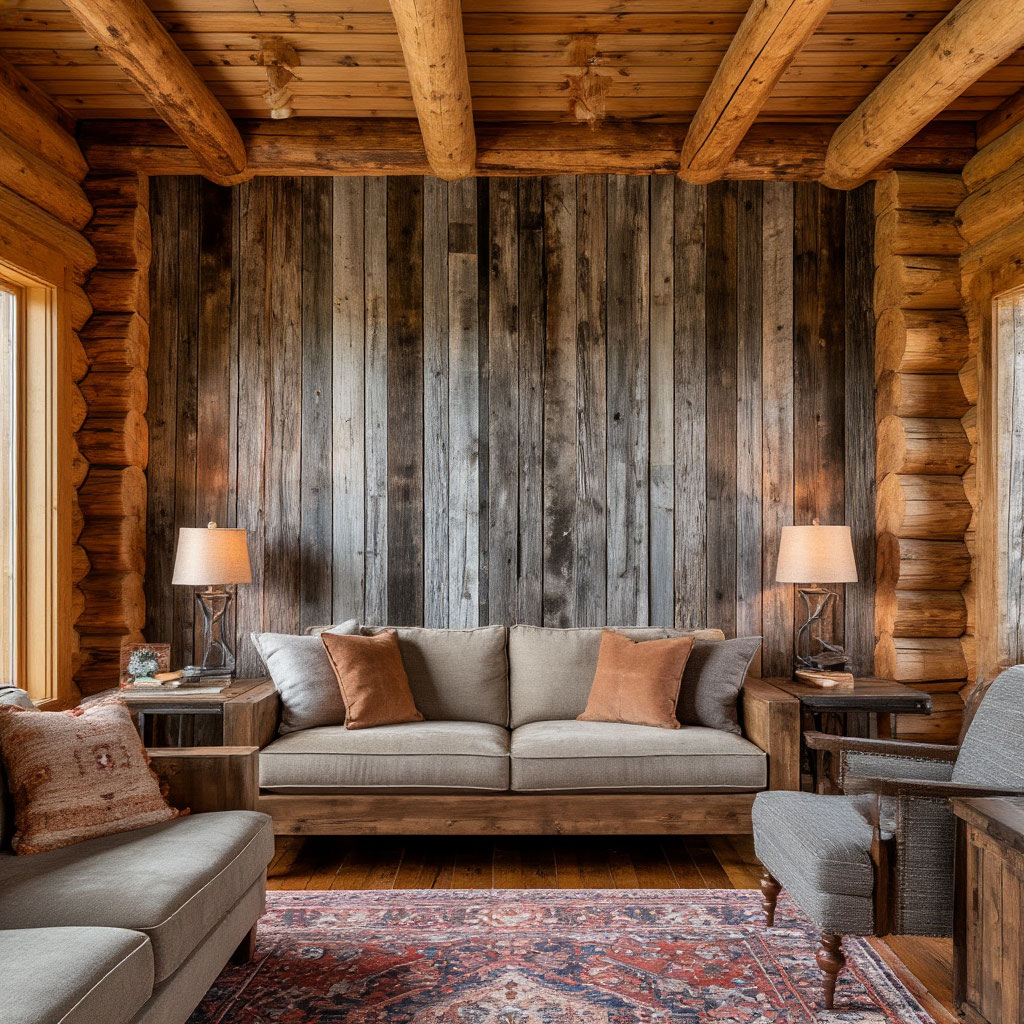
You’ve got a log cabin, and now you’re looking at those bare interior walls, wondering how to make them look amazing without breaking the bank. Good news – you don’t need any special skills or a huge budget to pull it off. Whether you’re looking to create a cozy, rustic feel with reclaimed wood or a clean finish with budget clapboard, there are plenty of DIY cabin wall covering options that will suit your style. And let’s not forget about insulation, because no one wants to freeze in their cabin in the winter. From cheap interior wall options to rustic cabin wall ideas, we’ll show you the best ways to finish the interior of a log cabin like a pro.
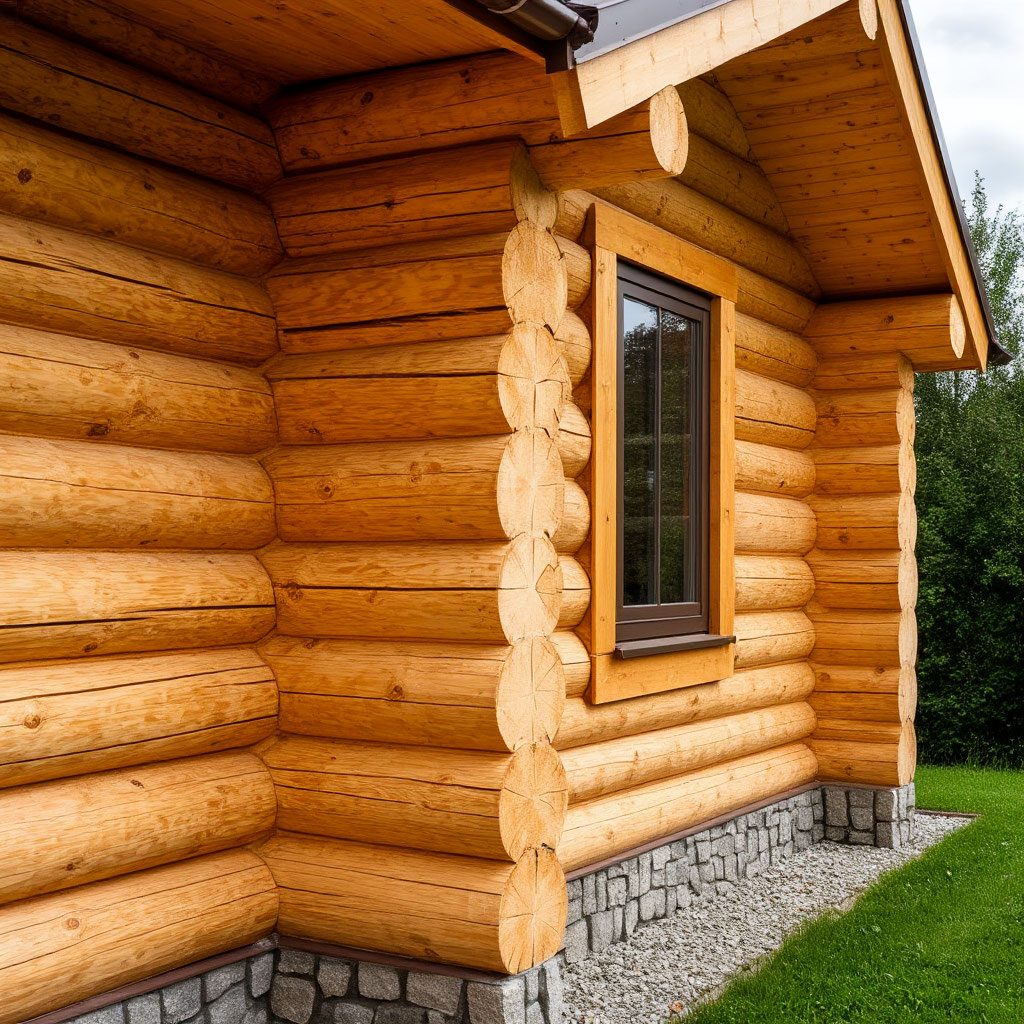
The Best DIY Log Cabin Wall Materials
When it comes to transforming the interior walls of your log cabin, the material you choose sets the tone for your entire space. Whether you’re going for a cozy farmhouse or a modern woodland retreat, your wall coverings impact both aesthetics and functionality. Let’s look at the best options that combine beauty, durability, and cost, because great log cabin interior walls shouldn’t require a second mortgage.
Why Your Wall Material Matters
The interior walls of your log cabin don’t just look pretty — they block out drafts, help regulate temperature, and create that signature cabin vibe. The right choice can make your space feel larger, warmer, and more inviting, while the wrong one can leave you with a constant maintenance headache.
Top Contenders for Log Cabin Wall Coverings
Solid Wood Paneling (The Classic Choice)
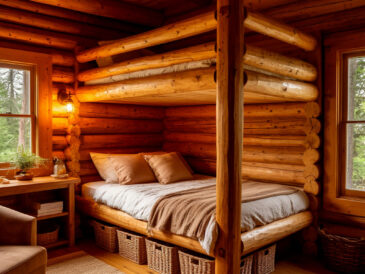
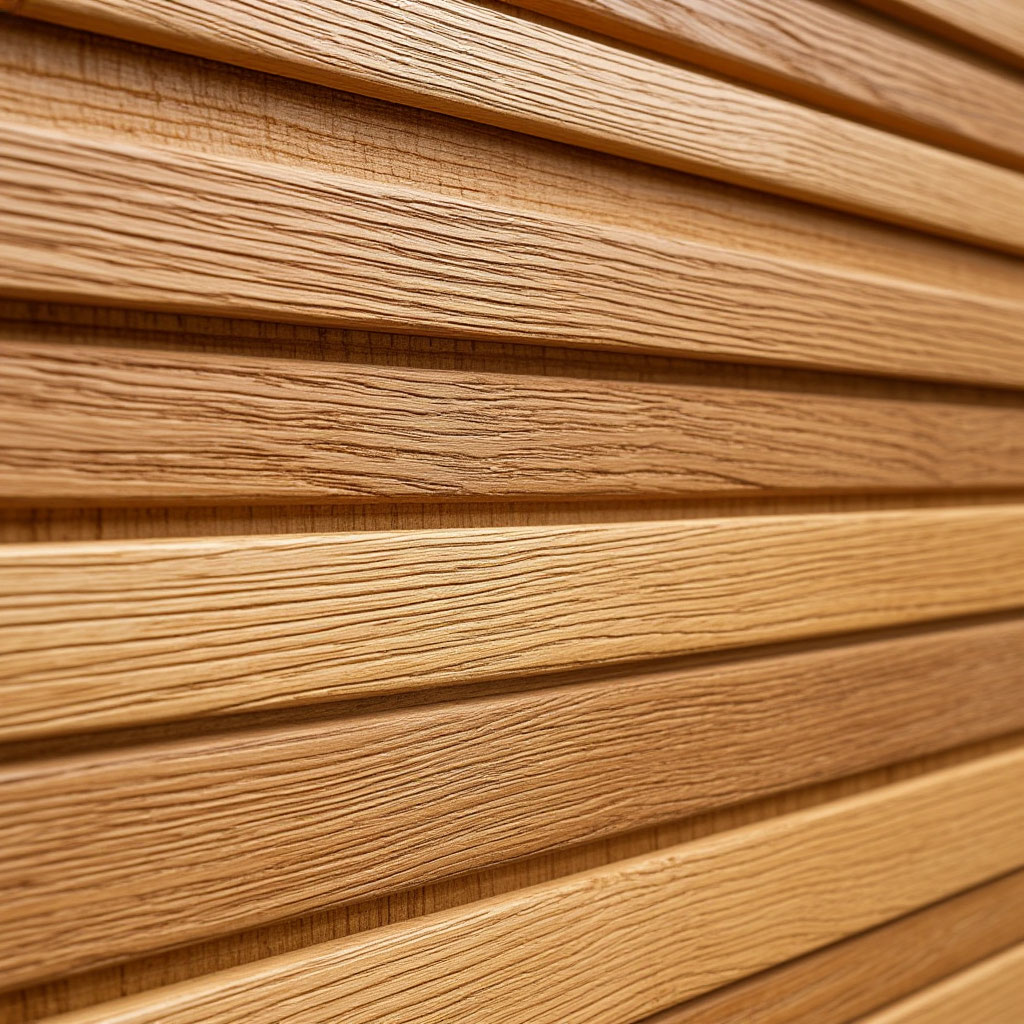
For authentic log cabin interior walls, nothing beats real wood. Shiplap and tongue and groove panels are the most popular choices because they’re easy to install and instantly lift the space.
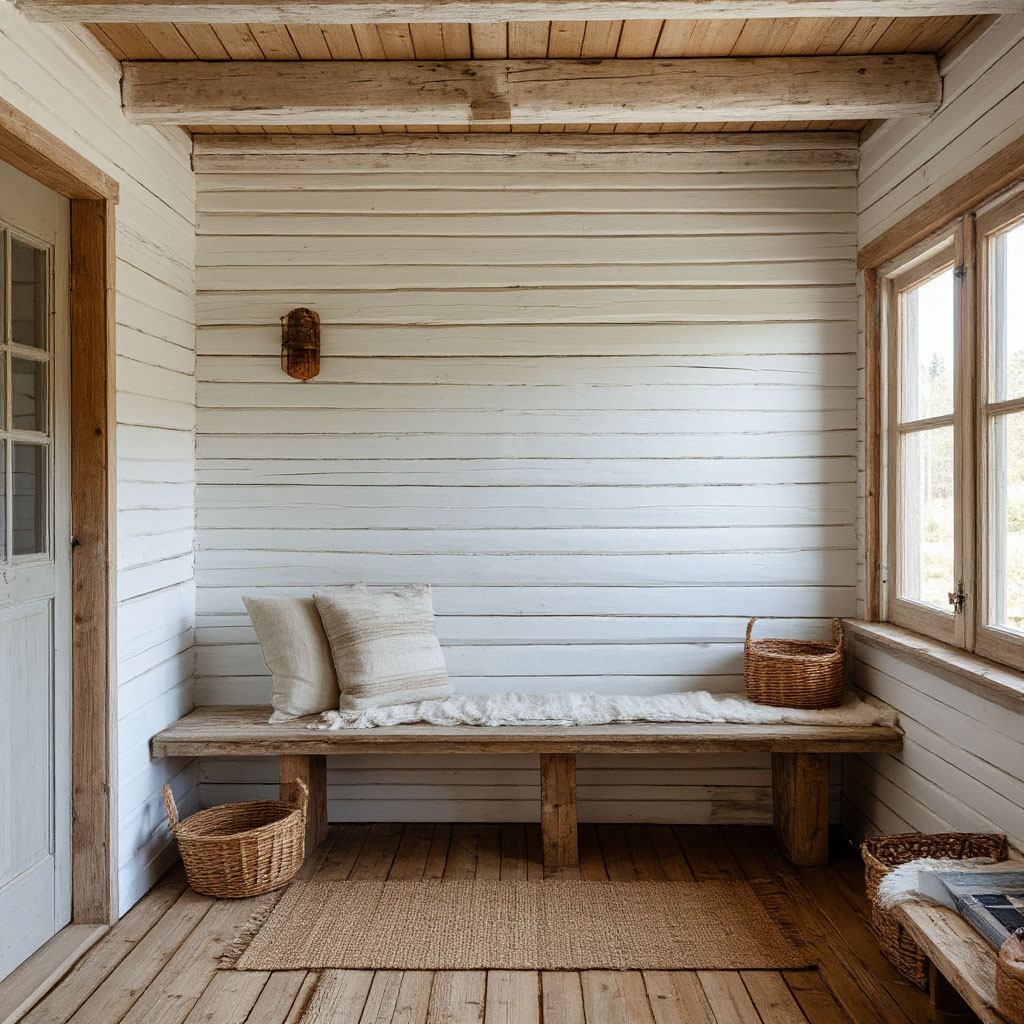
Shiplap offers a clean, farmhouse-inspired look with its distinctive horizontal grooves. It’s budget-friendly and works well in both modern and rustic interiors.
Tongue and groove creates a tighter seal, making it ideal for insulating log cabin walls while maintaining a seamless look.
Pine is the most affordable option, but if you want a richer texture and durability, cedar or oak are worth the extra splurge. Just remember: solid wood expands and contracts with moisture, so proper installation is key to preventing gaps over time.
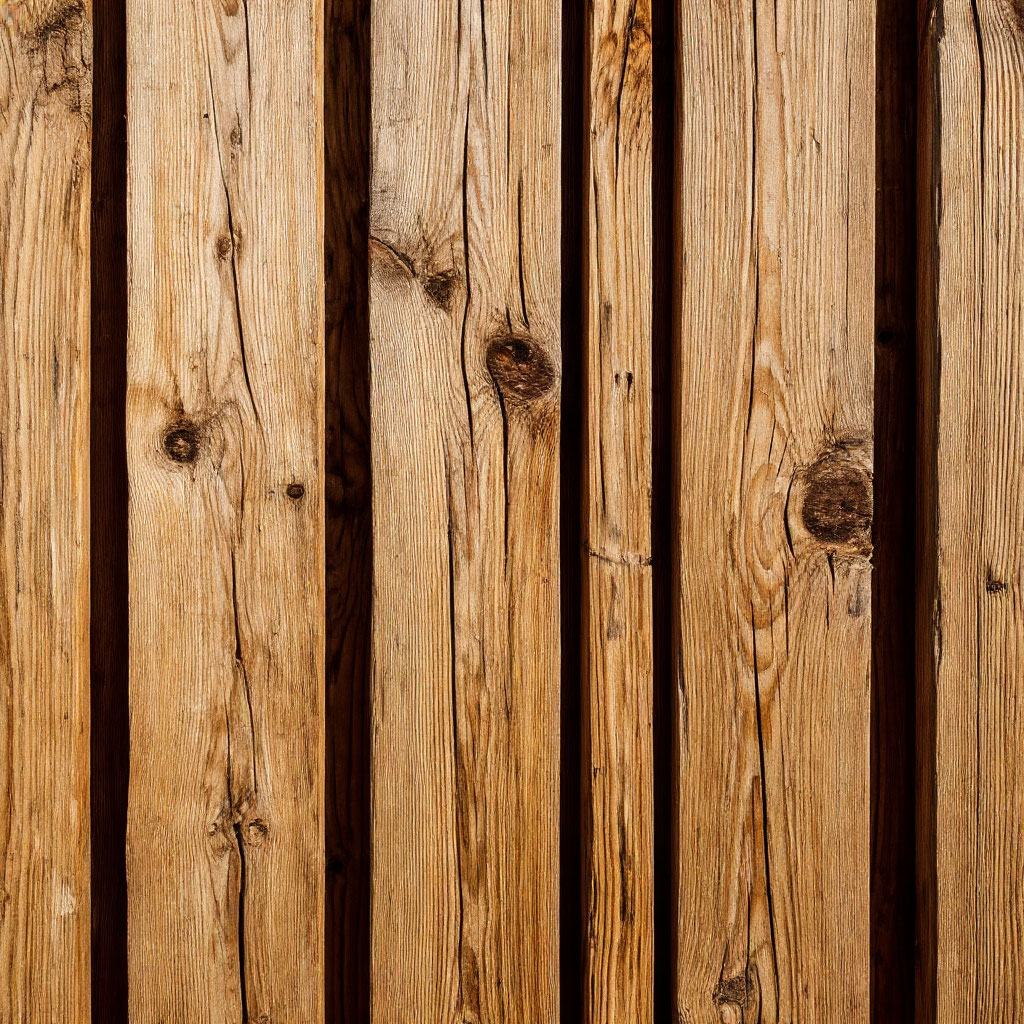
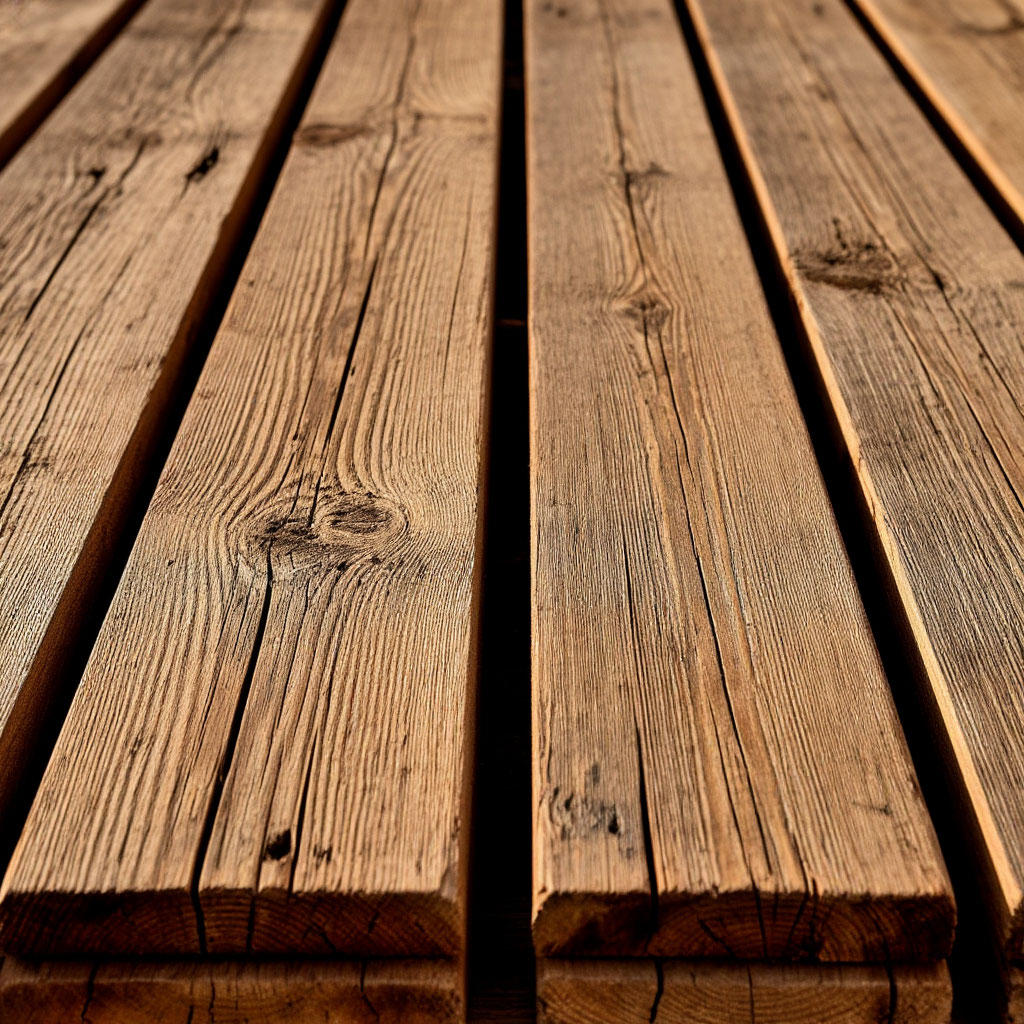
Reclaimed Wood (rustic character galore)
If you’re craving the charm of a weathered ambiance, reclaimed barn wood or salvaged boards will add unmatched character to the interior walls of your log cabin. Each element tells a story with its knots, cracks, and natural patina.
Pros:
- Eco-friendly (recycled material);
- Unique aesthetics;
- Natural insulation.
Cons:
- Requires additional preparation (cleaning, sanding, pest control).
- Can be difficult to source in large quantities.
For a balanced approach, mix reclaimed wood with other materials, such as using it as an accent wall and covering the rest with boards.
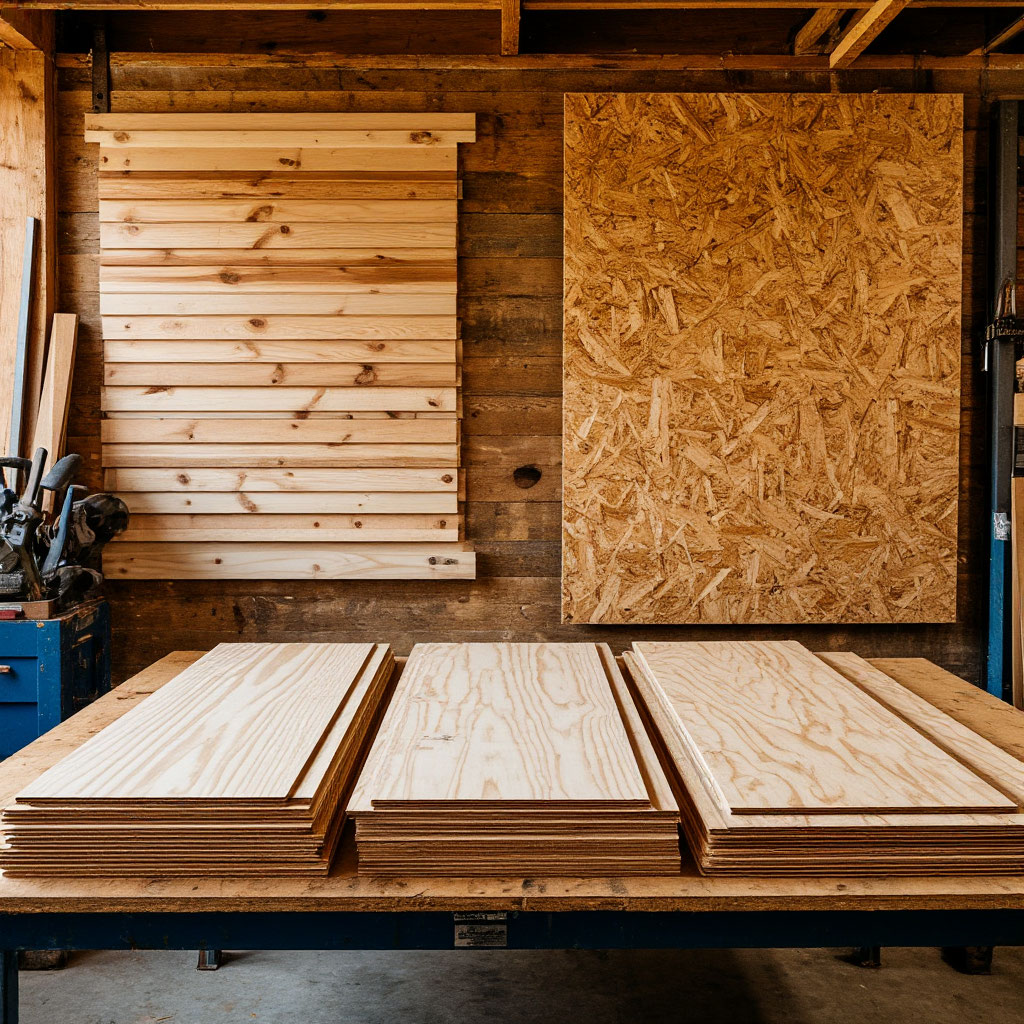
Plywood and OSB (Budget Alternatives)
If you’re looking for cheap interior wall options, wood-based products like plywood and OSB (oriented strand board) can work surprisingly well.
Plywood takes paint well, creating a crisp, modern look. OSB has a rough texture that can be stained or whitewashed for a more rustic effect.
While not as durable as solid wood, these materials are lightweight and easy to cut — perfect for DIYers on a budget. Just be sure to seal them thoroughly to prevent moisture damage.
Drywall (for a polished finish)
If you prefer smooth walls, drywall is the most affordable way to finish a modern log home interior. It’s a blank canvas for paint or wallpaper, but lacks the warmth of real wood.
Remember:
- Not suitable for high-moisture areas unless sealed.
- Less durable than wood (easier to dent or scratch).
- Requires taping and spackling for a professional look.
Log Siding (for a seamless look)
Want to maintain the aesthetics of a log home, both inside and out? Log siding mimics the look while being easier to install than solid logs. It’s more expensive than other options, but offers unmatched authenticity.
Insulation: The Unsung Hero
No discussion of the interior walls of a log home would be complete without mentioning insulation. Even the most beautiful walls won’t be cozy if they’re drafty.
Best insulation methods:
- Fiberglass batts (standard, affordable).
- Spray foam (fills gaps in uneven log walls).
- Rigid foam boards (great for moisture-prone areas).
Always leave an air gap between the insulation and the timber panelling to prevent condensation problems. Proper sealing between logs prevents drafts through interior partitions. See our step-by-step log cabin chinking tutorial before you frame or finish any walls.
Making the Right Choice
Your perfect wall material depends on:
- Budget (Plywood vs. solid wood).
- Style (Rustic reclaimed vs. modern drywall).
- Maintenance (Stained wood vs. painted surfaces).
If you want the best of both worlds, consider combining materials—like shiplap for most walls with a reclaimed wood accent feature.
Great log cabin interior walls should be beautiful, functional, and within your budget. Whether you choose the timeless appeal of solid wood, the rugged charm of reclaimed planks, or the affordability of plywood, your walls will define the heart of your cabin. Next up: a step-by-step guide to installing shiplap—the easiest way to get stunning walls without the hassle.
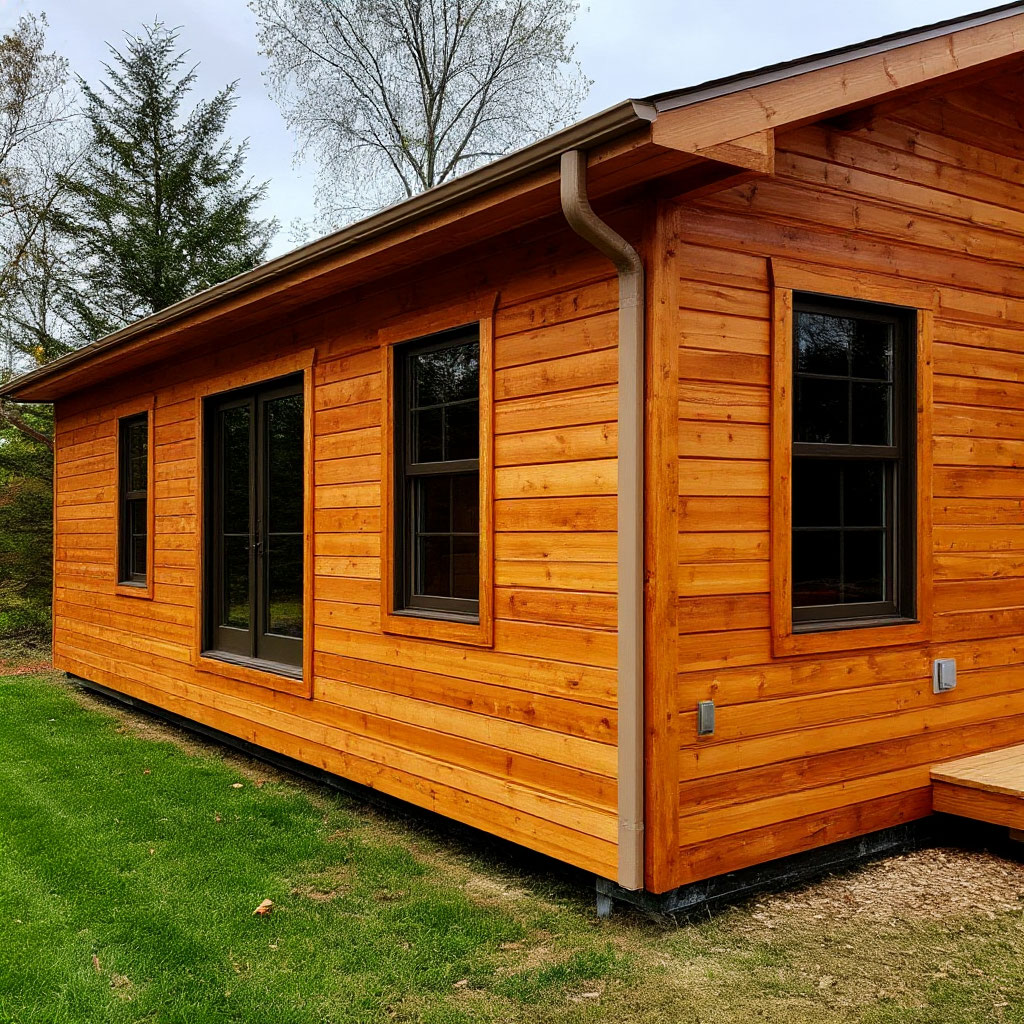
Method 1: Shiplap Paneling (Budget-Friendly)
Transforming the interior walls of your log cabin doesn’t have to cost a fortune. Shiplap paneling offers an affordable solution that delivers both charm and functionality. This timeless wall covering creates the perfect cabin aesthetic while being easy to install yourself.
Why Shiplap Is Right for Log Cabin Walls
Shiplap stands out as an ideal choice for log cabin interior walls due to its clean lines and textured appearance. The overlay design helps hide minor wall imperfections, which is especially useful in older structures. Unlike heavier materials, Shiplap’s lightweight means you won’t need additional structural support during installation.
Choosing the Right Shiplap
When choosing Shiplap to cover the walls of your DIY log cabin, you’ll be faced with several options. Pine remains the most budget-friendly choice, offering easy customization through staining or painting. MDF is an even more cost-effective alternative, although it’s less suitable for humid environments due to its sensitivity to moisture. For those willing to invest more, cedar or redwood provide excellent resistance to warping and insects.
For rustic wall ideas, rough-sawn pine with visible knots adds authentic character. If you prefer a cleaner aesthetic, sanded boards with a whitewash create a bright, airy feel.
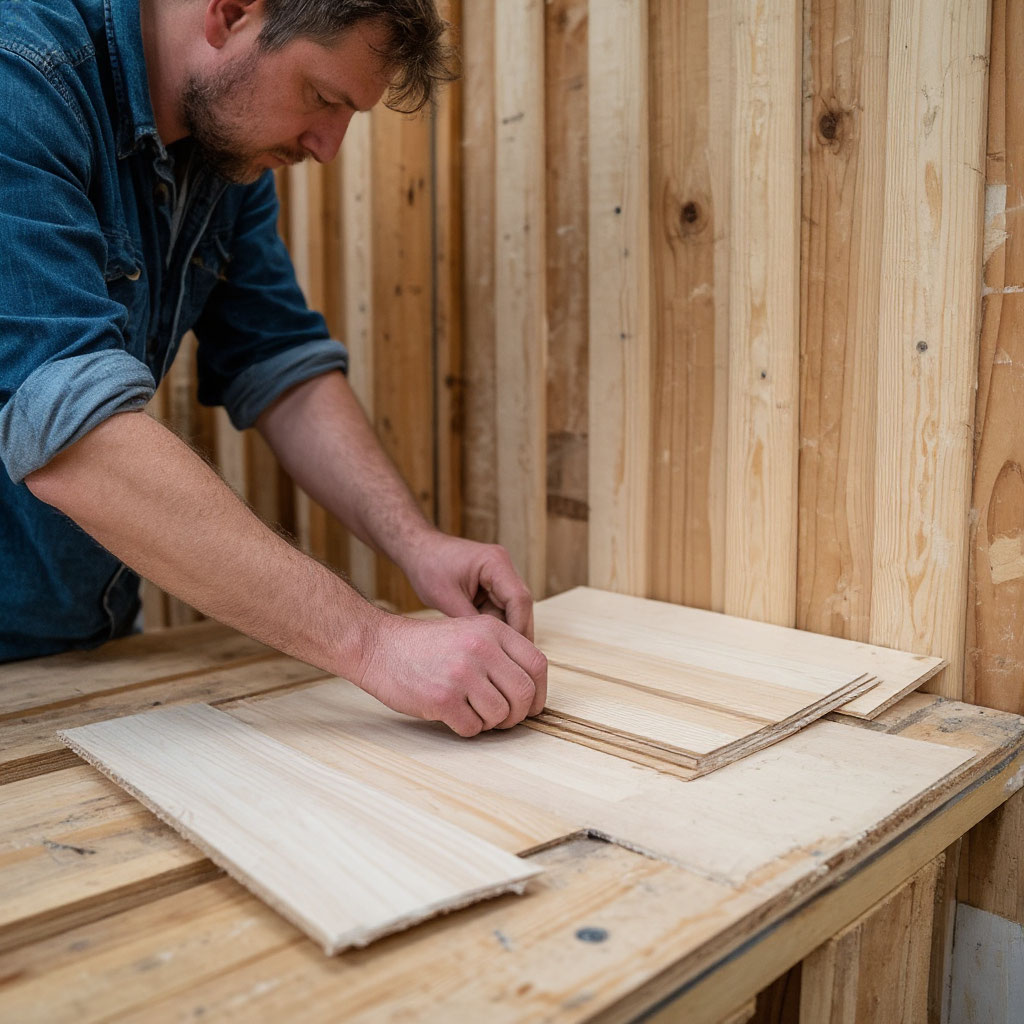
Step-by-Step Installation Guide
Proper preparation ensures a successful shiplap installation. Start by removing the old trim and inspecting the walls for damage. Installing a vapor barrier is especially important when insulating log cabin walls to prevent moisture problems.
Careful planning is critical. Starting at the bottom and working your way up at consistent intervals ensures professional-looking results. Accurate measuring and cutting, ideally with a miter saw, minimizes waste. Secure each board to the studs with a finishing nailer, remembering to leave small expansion gaps at the edges.
Finishing touches include filling the nail holes with wood filler and lightly sanding before applying your chosen finish. Many find it easier to paint or stain the boards before installation for a more even finish.

Pro Tips for the Best Results
Pre-staining or staining the boards before installation often produces smoother results. When working with uneven walls, shims help keep the panels level throughout the project. For improved insulation, consider placing foam behind the board before permanently attaching it.
Cost Breakdown
One of the biggest perks of shiplap? It’s one of the cheap interior wall options that still looks high-end.
- Pine shiplap: 2–4 per sq. ft.
- MDF shiplap: 1–3 per sq. ft.
- Tools (if you don’t own them): ~$100 for a basic nail gun and saw
Compare that to full log siding (8–12 per sq. ft.), and it’s easy to see why shiplap is a budget favorite.
Maintenance and Durability
Planks work well in dry climates, but may require periodic maintenance in wet areas. Applying a quality sealer helps prevent warping over time. Natural wood finishes gradually develop a weathered patina that many homeowners say adds authenticity to their cabin.
Why This Method Stands Out
For the interior walls of a log cabin, plank siding provides the perfect combination of affordability, ease of installation, and visual appeal. Its versatility suits both modern and rustic designs, with endless customization options through a variety of stains and painting techniques.
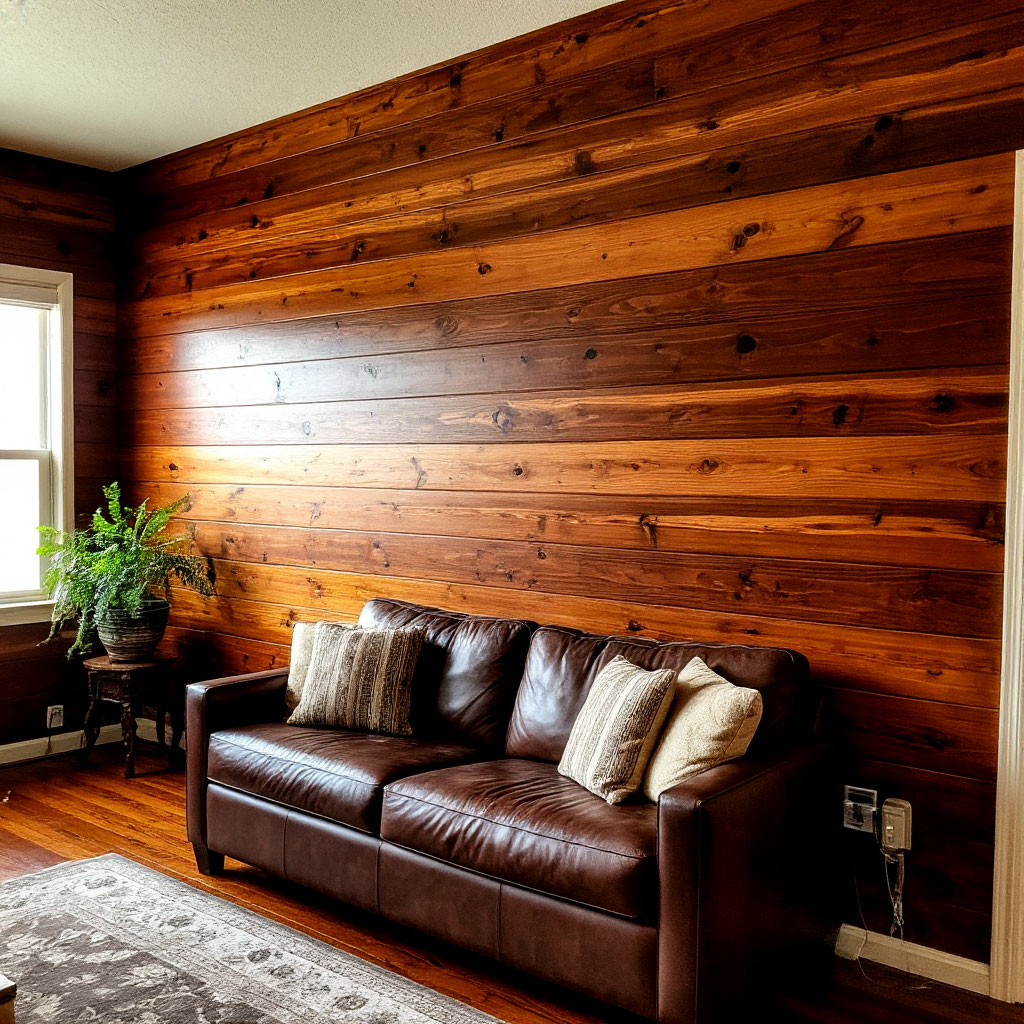
Method 2: Reclaimed Wood for a Rustic Look
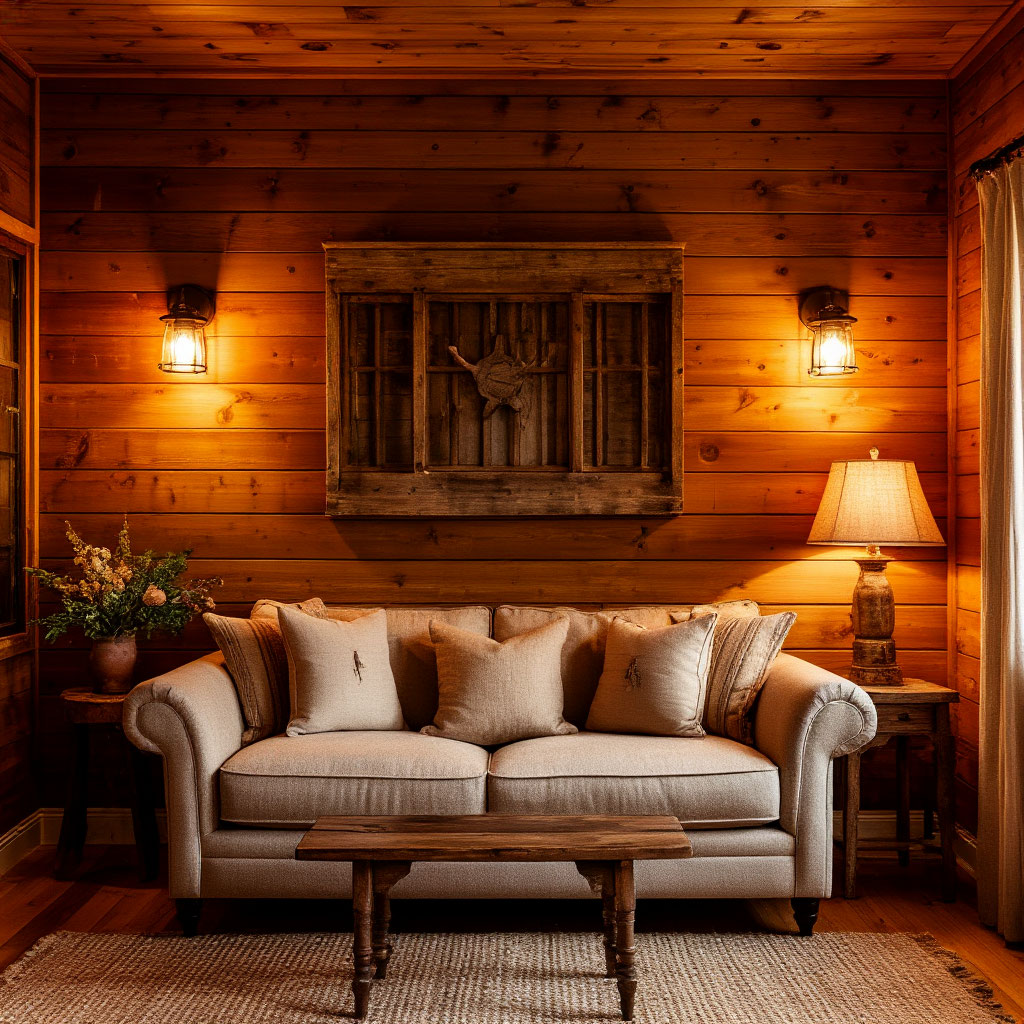
There’s something magical about weathered wood that instantly gives the interior walls of your log home an authentic, lived-in look. Reclaimed wood adds history and character that can’t be faked with new materials. While it takes more effort than clapboard siding, the results are worth every minute of work.
Finding the Perfect Reclaimed Wood
Finding good reclaimed wood can feel like a treasure hunt, but that’s part of the adventure. Old barns, torn-down factories, and even shipping pallets can all be great materials for your DIY log home siding project. Check local salvage yards, online stores, or ask around construction sites—you’ll be surprised at how much people are willing to pay.
The best finds often show their age through nail holes, saw marks, and natural weathering. Look for wood that’s structurally sound but visually interesting. Avoid anything with rot or serious insect damage unless you’re going for a “about to fall down” aesthetic.
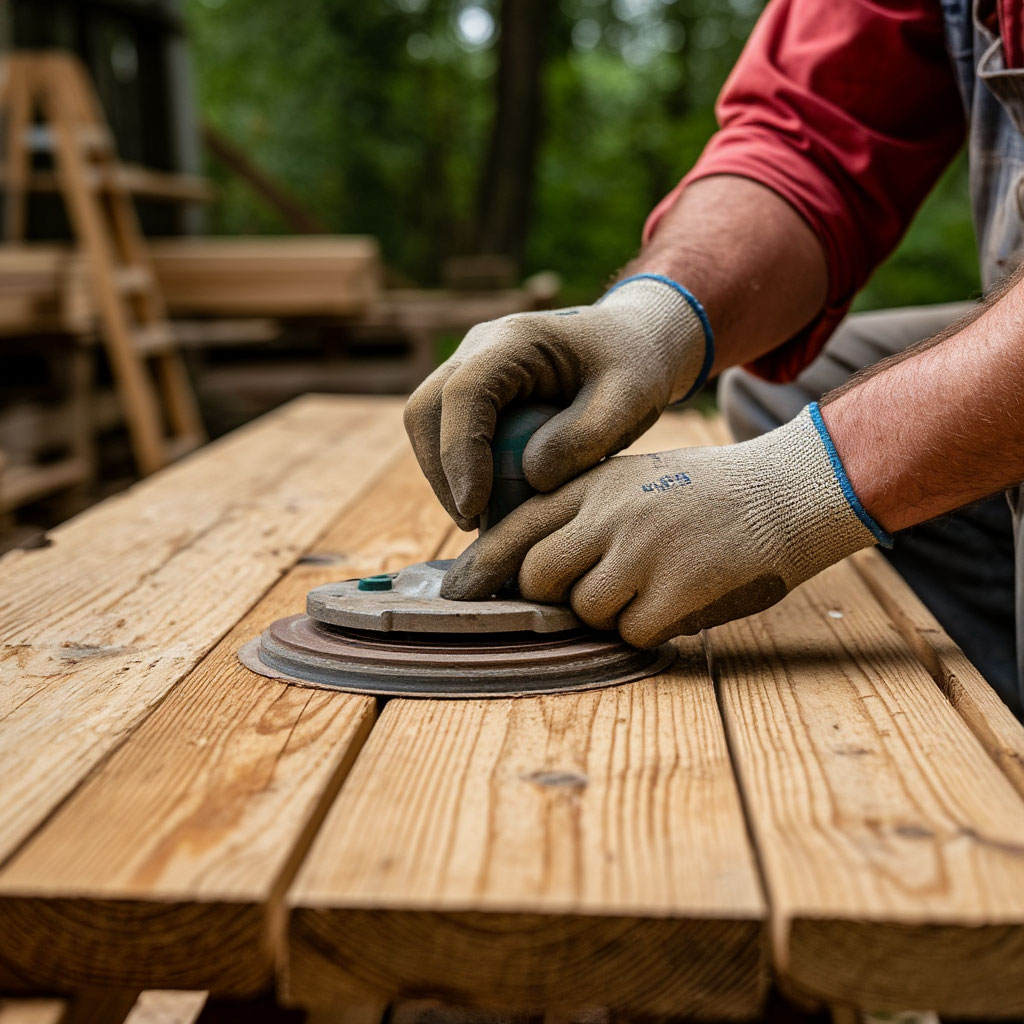
Preparing Your Rustic Treasure
Before those beautiful old boards hit the interior walls of your log cabin, they’ll need a little TLC. Start by removing any remaining nails or fasteners—a metal detector will help find hidden surprises. Scrub everything thoroughly with a stiff brush and mild detergent to remove all dirt and dust.
For added insect protection, consider treating the wood with a borate solution. If you’re using pallet wood, make sure it’s heat-treated (look for the HT stamp) rather than chemically treated. Sanding is optional—some like a rough texture, while others prefer to simply knock off splinters.
Installation That Respects the Material
When it comes to actually installing your log cabin wall ideas, you have options. The easiest way is to attach the boards directly to the studs with finish nails, leaving small gaps between the pieces to achieve an authentic, uneven look. For added stability, you can install plywood sheathing first as a base layer.
Mix up the width and orientation of the boards to create visual interest. Try alternating horizontal, vertical, and even diagonal patterns in different sections. Don’t worry about perfection—charm comes from imperfection. Those gaps and jagged edges that would drive a perfectionist crazy are what make reclaimed wood so special.
Finishing Touches for Durability
While some prefer to leave reclaimed wood in its natural state, a lightweight sealer can protect the interior walls of your log home without ruining the rustic feel. Clear matte polyurethane or tung oil highlight the natural beauty of the wood while providing some protection from moisture.
For a more dramatic effect, consider whitewashing or using a light stain to unify mismatched boards. Dark stains can hide some of the character, so test on scraps first. The goal is to highlight what’s already there, not hide it.
Budget Considerations
One of the best things about this approach to finishing the interior of a log home is that it can be incredibly affordable if you’re resourceful. Free pallets and scraps from demolition can bring the cost down to almost nothing, while high-end antique barn wood can cost $5-$10 per square foot.
Consider the cost of cleaning supplies, hardware, and the finish you choose. Even with these costs, reclaimed wood often beats other cheap interior wall options when you consider the unique look you get.
Troubleshooting Common Issues
Working with unconventional materials means expecting the unexpected. Warped boards can be held in place with extra nails or creative trimming. Gaps that seem too wide become design elements when you embrace them. If you’re short on materials, it’s the perfect excuse to create an intentional mixed-use section with another material.
For log home wall insulation, behind reclaimed wood, consider using spray foam for its ability to fill uneven spaces. Just be sure to leave enough ventilation space between the insulation and the wood to prevent moisture buildup.
Why This Method Shines
Nothing else gives your space that instant “this cabin has stories to tell” feeling quite like reclaimed wood. Each scratch and stain whispers about its previous life, adding depth no new material can match. It’s the ultimate way to create rustic cabin wall ideas that feel genuinely authentic rather than staged.
The extra effort pays off every time you walk into the room and feel that connection to history. Plus, you’re giving beautiful materials a second life rather than sending them to the landfill – something your eco-conscious friends will definitely appreciate.
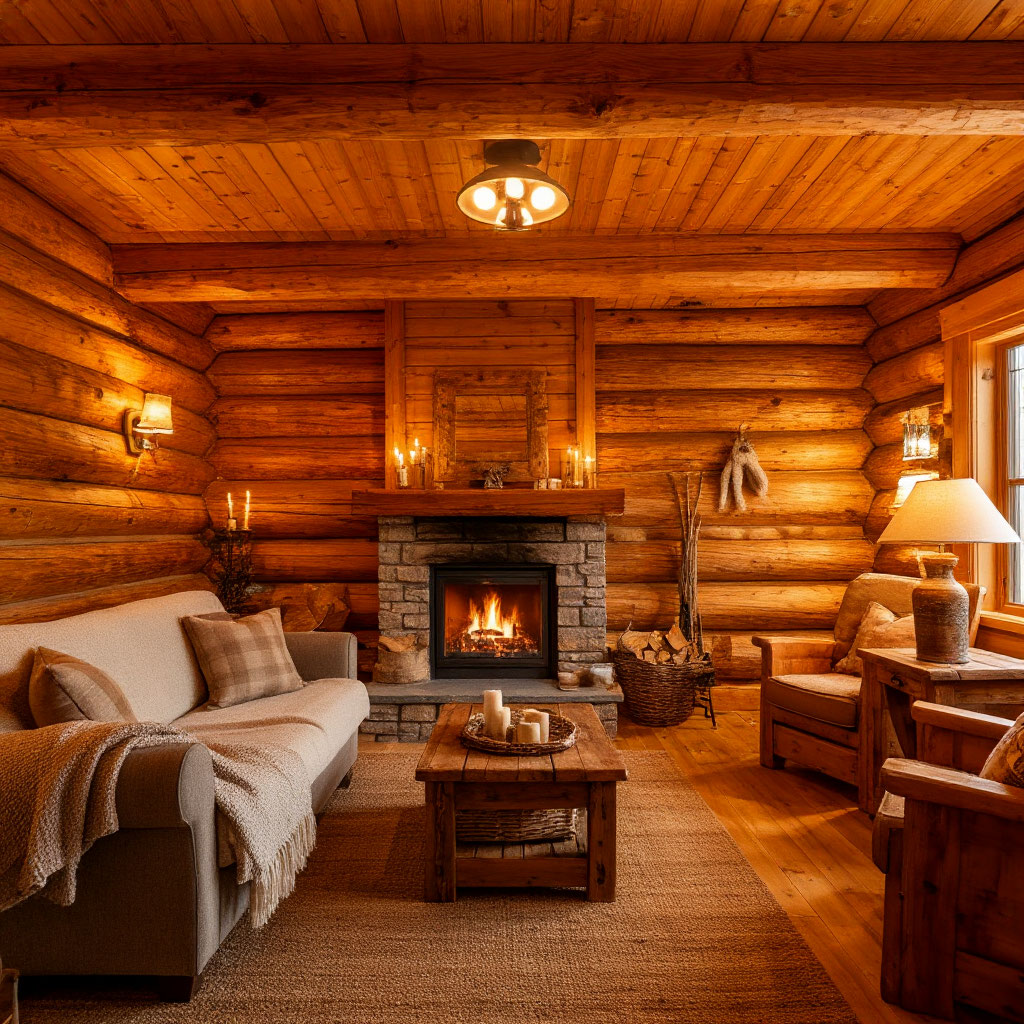
How to Insulate Interior Walls Properly
Those gorgeous log home interior walls won’t mean much if you’re freezing half the year. Proper insulation can transform your home from a seasonal retreat to a year-round refuge. Let’s figure out how to do it right without ruining the rustic charm of your interior.
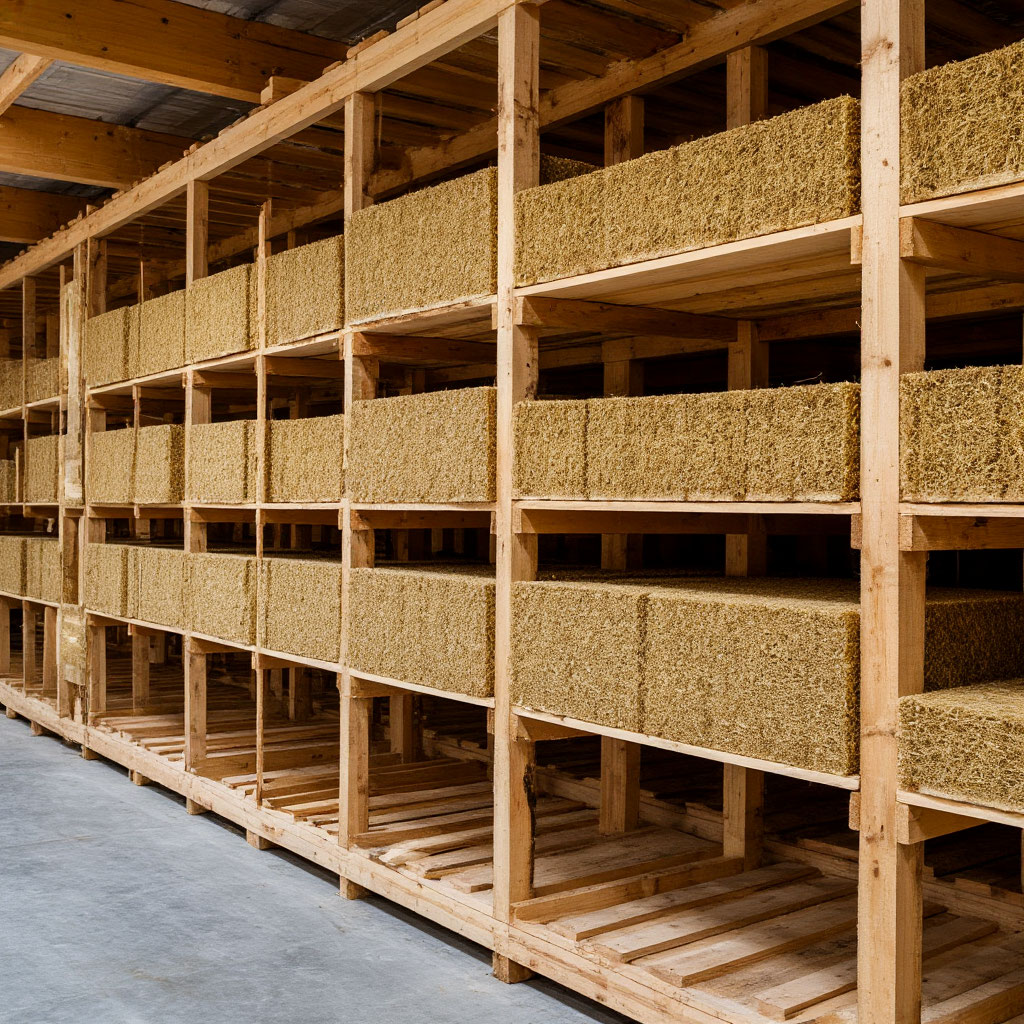
Understanding Your Insulation Options
Not all insulation is created equal when it comes to finishing the interior of a log home:
- Fiberglass batts may be the best choice for regular homes, but log structures often require more flexible solutions.
- Spray foam is great at filling the uneven gaps between logs, expanding to create an airtight seal.
- For those worried about chemicals, sheep’s wool or cellulose offer natural alternatives that still provide decent insulation.
Rigid foam boards work wonders when you’re dealing with flat interior walls. They are moisture resistant and add structural stability, although they require precision cutting. Reflective foil barriers can help in particularly cold climates by reducing radiant heat loss.
Preparing the Walls Before Insulating
Before you start insulating the interior walls of your log home, take the time to properly prepare. Start by checking for air leaks – hold a candle near the wall joints on a windy day and watch for a flickering flame. Use a quality caulk or sealant to seal any cracks from the outside first.
If you are working with older logs, consider treating them with borate to prevent insect damage. Install a vapor barrier on the warm side of your walls (usually facing inward) to prevent condensation problems. This step becomes crucial when insulating the walls of a log home to avoid moisture build-up inside the structure.
Installation Methods That Work
The best approach depends on your choice of wall covering. For those leaving exposed logs, professional spray foam between rows provides the best performance. When adding interior sheathing, create a framed wall with studs set a few inches away from the logs, leaving room for thicker insulation.
Fiberglass is fine if you’re on a budget, although rigid foam provides a better R-value per inch. For maximum thermal break, combine spray foam in the gaps between logs with batt insulation in the framed walls. Always leave an air gap between the insulation and any wood sheathing to improve ventilation.
Special Considerations for Different Climates
Your location will greatly affect your approach to DIY cabin insulation:
- In areas with extreme cold, prioritize creating an airtight shell with a vapor barrier on the inside.
- In hot, humid climates, more ventilation is needed to prevent moisture buildup—consider using breathable insulation like mineral wool.
Mixed climates present the biggest challenge. A hybrid approach often works best here: spray foam for the gaps between the logs, combined with moisture-control batts in the framed interior walls. Don’t forget the ceiling – heat rises, so proper attic insulation is often more important than the wall finish.

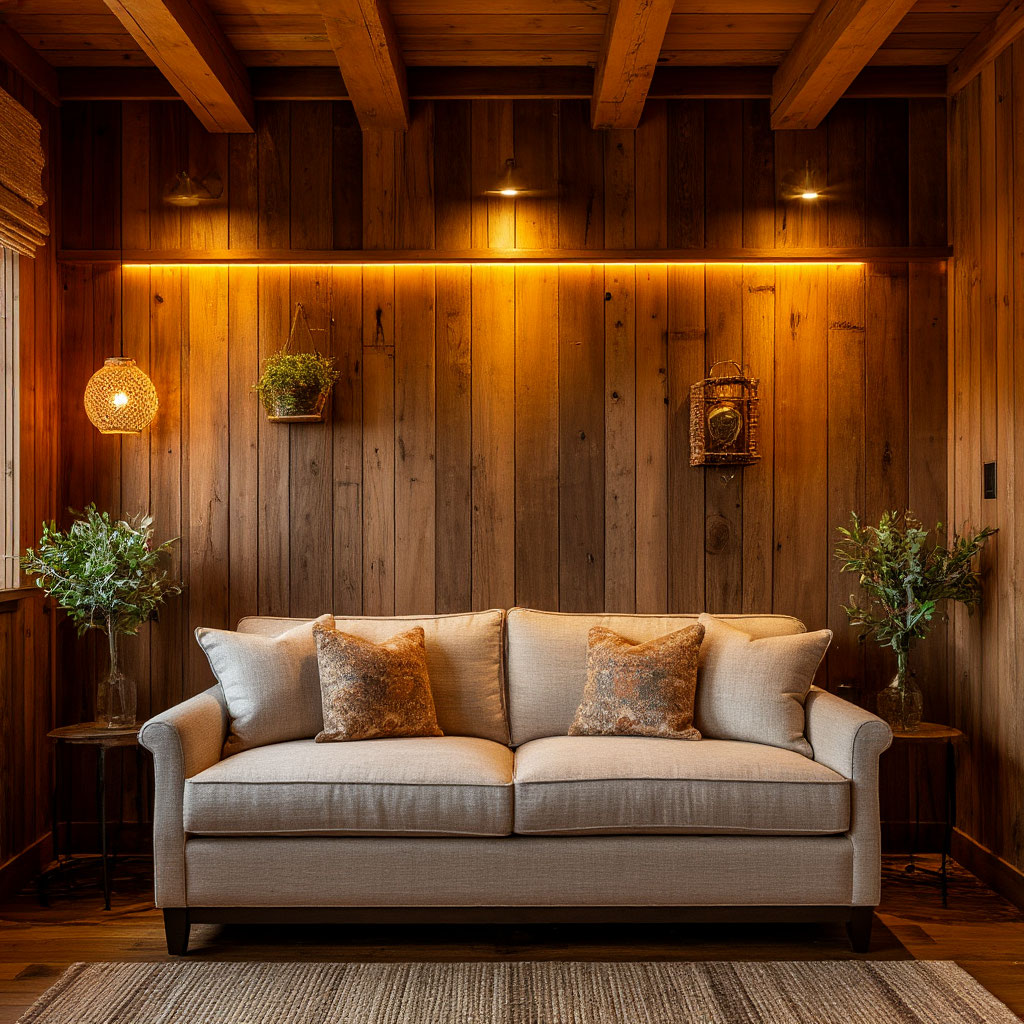
Balancing insulation and aesthetics
No one wants their cozy little home to look like a thermos. The trick is to seamlessly integrate insulation with rustic wall ideas. Sheathing framed walls with reclaimed wood paneling maintains character while hiding modern materials. Exposed beams can remain visible if carefully insulated between them.
For those who like the look of raw logs, consider interior storm windows. They preserve the look while adding an extra layer of insulation. Blackout curtains or insulated shutters offer flexible options for those very cold nights.
Budget is always a consideration when choosing cheap interior wall options, but insulation pays for itself over time. Spray foam costs more initially, but often outperforms cheaper materials in the long run.
Cost vs. Performance Breakdown
Budget always factors into cheap interior wall options, but insulation pays dividends over time. Spray foam costs more upfront (1.50−3 per board foot) but often outperforms cheaper materials long-term. Fiberglass runs about 0.50−1 per square foot but requires more meticulous installation.
Natural materials like sheep’s wool or cotton insulation typically fall in the middle price range. While more expensive initially, they offer health benefits for those sensitive to synthetic materials. Calculate your payback period – better insulation often pays for itself in heating savings within a few years.
Common Mistakes to Avoid
Even experienced DIYers make mistakes when insulating log home walls:
- Packing the insulation too tightly reduces its effectiveness—it needs air pockets to work properly.
- Neglecting to install a vapor barrier leads to moisture problems down the road.
- Forgetting to insulate electrical boxes causes cold spots.
The biggest mistake? Insulating without proper ventilation. Log homes need to breathe to prevent rot. Always include soffit vents, ridge vents, or other air circulation systems when sealing walls.
Maintenance and Care
Well-installed insulation can last for decades, but periodic inspections prevent problems. Look for condensation on windows—a sign that your vapor barrier may be failing. Infrared thermometers can help identify cold spots where the insulation may have settled or degraded.
If you notice a musty odor or visible mold, address it immediately. Sometimes adding or replacing insulation becomes necessary after extreme weather events or pest infestations. Consider having a professional energy audit done every few years to maximize efficiency.
Why You Can’t Skip This Step
The beautiful interior walls of a log home deserve proper insulation to enjoy year-round. Done right, it means lower energy bills, greater comfort, and protection for your investment. The upfront work pays off each winter morning when you wake up warm instead of reaching for another blanket.

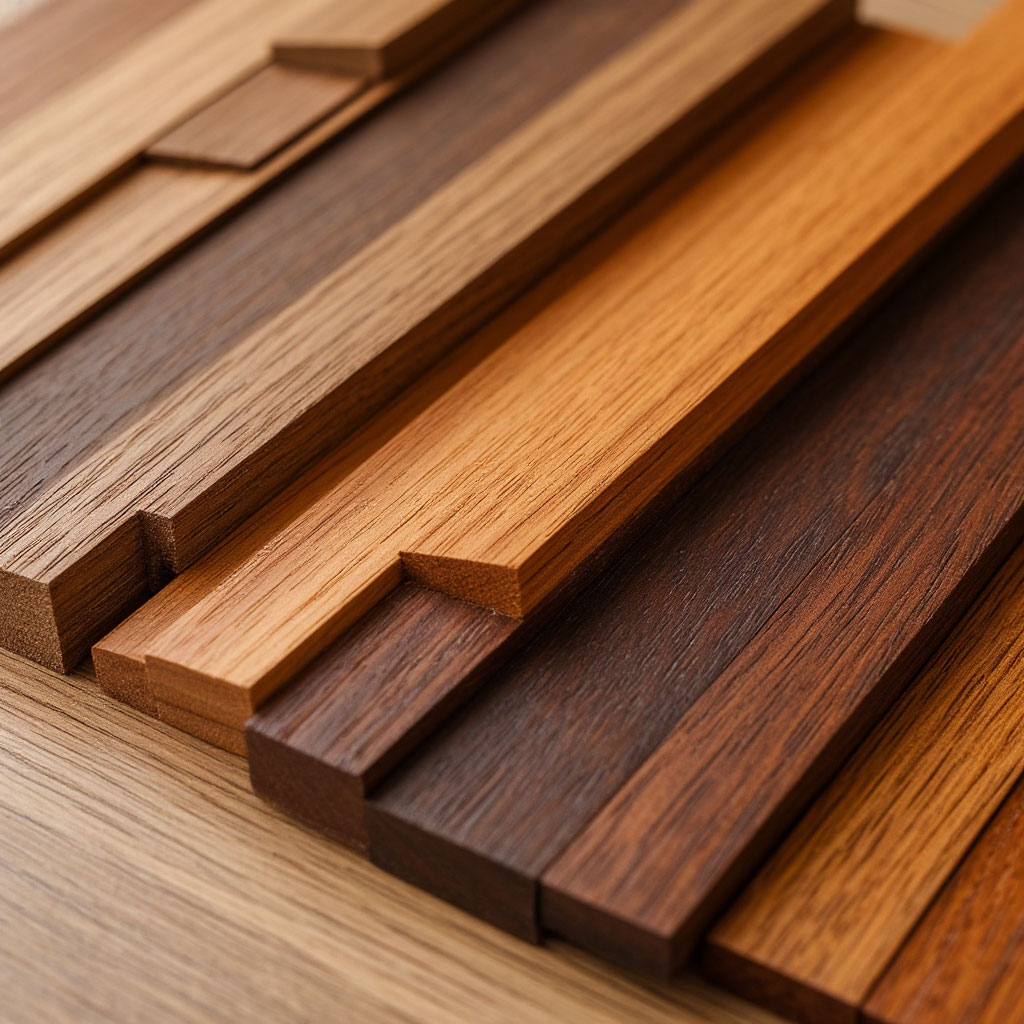
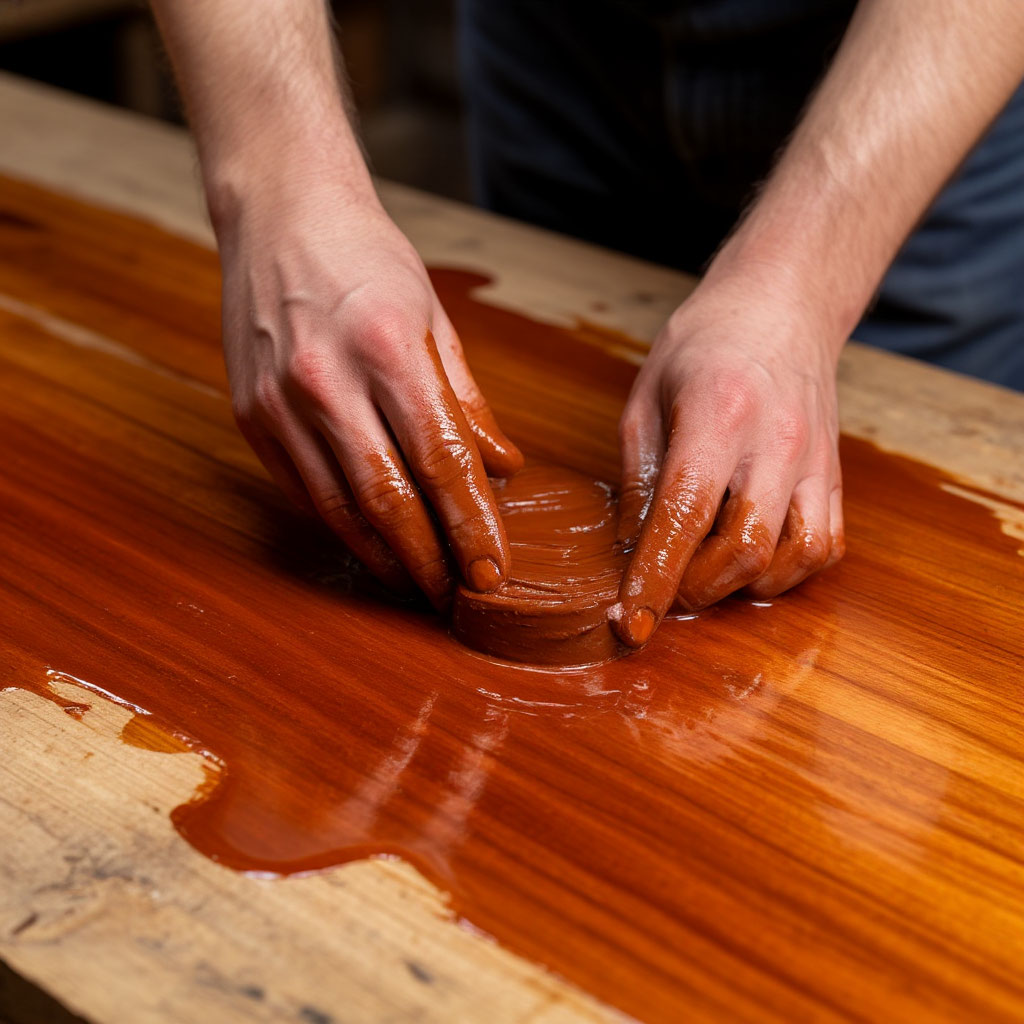
Finishing Touches: Staining & Sealing
The interior walls of your log home deserve more than just basic protection—they need a finish that enhances their natural beauty and stands up to everyday life. Whether you’re using untreated logs, plank siding, or reclaimed wood, the right stains and sealers can make the difference between “okay” and “wow.”
Choosing a Finishing Strategy
Different wall materials require different approaches. For fresh pine paneling, you’ll want penetrating oils that soak deep into the grain. Older reclaimed lumber can benefit from a lighter finish that preserves its weathered character. The key is to highlight what’s already there, not hide it.
Oil-based stains penetrate best for long-term protection in DIY home siding projects. Water-based options dry faster and are easier to clean, but won’t last as long in high-traffic areas. For those who prefer zero-VOC products, natural tung oil or beeswax blends offer chemical-free alternatives.
Application Methods That Work
Proper surface preparation ensures that finishes will adhere properly. Start by sanding with 120-grit sandpaper, gradually increasing to 220 for super-smooth results. Always sand with the grain to avoid visible scratches. A tack cloth removes dust better than damp rags, which can raise the fibers.
When applying stain to the interior walls of a log cabin, work in manageable sections. Use brushes for edges and corners, switching to cloth applicators for wide surfaces. Wipe off excess after 5 to 15 minutes, depending on the desired darkness. For sealers, thin coats are better than thick clumps every time — three thin coats provide better protection than one thick one.
Special Considerations for Problem Areas
Kitchens and bathrooms require special attention when finishing the interior of a log cabin. Moisture-resistant polyurethane adheres best near sinks and showers. In fire-prone areas, consider fire-retardant finishes that meet local safety codes.
Sun-drenched walls benefit from UV-inhibiting sealants that prevent premature fading. For families with children or pets, wipe-clean acrylic finishes make cleaning crayon or paw prints much easier.
Caring for Finished Walls
Proper care will keep your rustic wall ideas looking fresh for years to come. Dust regularly with microfiber cloths to prevent buildup. Reapply sealant every 2 to 3 years in high-wear areas. When cleaning, avoid harsh chemicals that can damage the finish — mild soap and water are best.
Watch for early warning signs such as whitish spots (moisture seeping under the finish) or rough areas (requiring light sanding and recoating). Catching these early can prevent more serious problems down the road.
Budget Finishing Options
You don’t need expensive products to achieve great results with inexpensive interior wall options. Basic polyurethane provides decent protection at a low price. For super budget-friendly solutions, mineral oil mixed with beeswax creates a do-it-yourself finish.
Big box stores often sell miscolored stains at deep discounts—great if you’re flexible about exact shades. Buying gallon sizes is usually cheaper per ounce than small cans if you have a large area to cover.
Pro Tips Worth Stealing
Painters working on high-end log home interiors swear by a few key tips:
- Using a pre-stain conditioner prevents staining on softwoods like pine.
- Buffing between coats with 0000 steel wool creates a silky-smooth finish.
- For dimensional depth, apply multiple coats of different stain colors.
- Dry brushing with metallic wax can highlight texture in ways that surprise and delight.
Why These Last Steps Matter
A quality finish takes your walls from a construction project to a work of art. It protects your investment from stains, scratches, and sunlight while allowing the wood to shine. Taking the time to do the job right means enjoying beautiful, insulated log home walls that age gracefully, not deteriorate.
FAQ
Do I need a vapor barrier behind my log cabin interior walls or will the wood “breathe” by itself?
Yes, in most heated cabins you still want a vapor barrier. Warm indoor air hits cold cabin wall insulation and turns into moisture, which can rot wood. The usual move is a sealed vapor barrier or foam board on the warm side of the wall before paneling. In humid areas, leave a tiny air gap so logs can dry instead of trapping water.
Can I run electrical wiring in DIY log cabin interior walls without cutting big channels in the logs?
Yes. Easiest method is to frame a thin service wall or use furring strips, then run standard Romex inside that cavity. You can also surface-mount conduit and paint it to match the wood. Where a cable passes through solid logs, protect it with a sleeve or metal plate so nobody drives a screw into it later.
Is tongue and groove pine on interior cabin walls a fire hazard compared to drywall?
No, tongue and groove pine is not automatically unsafe, but it is more combustible than drywall. You should keep pine cladding the required clear distance from wood stoves and heaters. Add working smoke and CO alarms on every level and in sleeping areas. In high-heat zones, use a heat shield or a strip of cement board instead of bare wood.
How do I stop mold behind cheap cabin wall panels and cabin wall insulation if I only heat the place on weekends?
Moisture control is the rule. Seal air leaks first, then insulate so interior air can’t hit a cold surface and condense. Use a vapor barrier on the warm side and leave a small drainage/air gap against exterior logs so trapped moisture can dry. Before leaving for the week, crack-vent the cabin or run a small dehumidifier to keep humidity under 60%.
Will plywood or paneling instead of full exposed logs hurt resale value of my log cabin interior?
No, most buyers care more about comfort, clean finish, and energy bills than seeing every raw log indoors. Neat plywood or shiplap over insulated framing looks intentional, not “cheap cover-up,” if seams are tight and trim is done. Good cabin wall insulation, controlled drafts, and a finished look usually appraise better than cold bare walls. If one accent wall shows real log texture, you keep the cabin vibe and still look move-in ready.
Transforming the interior walls of your log cabin doesn’t have to be complicated or expensive. Whether you choose budget-friendly plank siding, rich reclaimed wood, or another DIY cabin wall covering, the key is to balance aesthetics, durability, and cost. Don’t forget to properly insulate your log cabin walls to keep your space comfortable year-round.
From rustic wall ideas to cheap interior wall options, the right materials and finishes make all the difference. With a little effort, you can create a warm, welcoming retreat that reflects your style. Now it’s your turn to pick a method, grab your tools, and start finishing your log cabin interior walls like a pro. The cabin walls of your dreams are a weekend project!